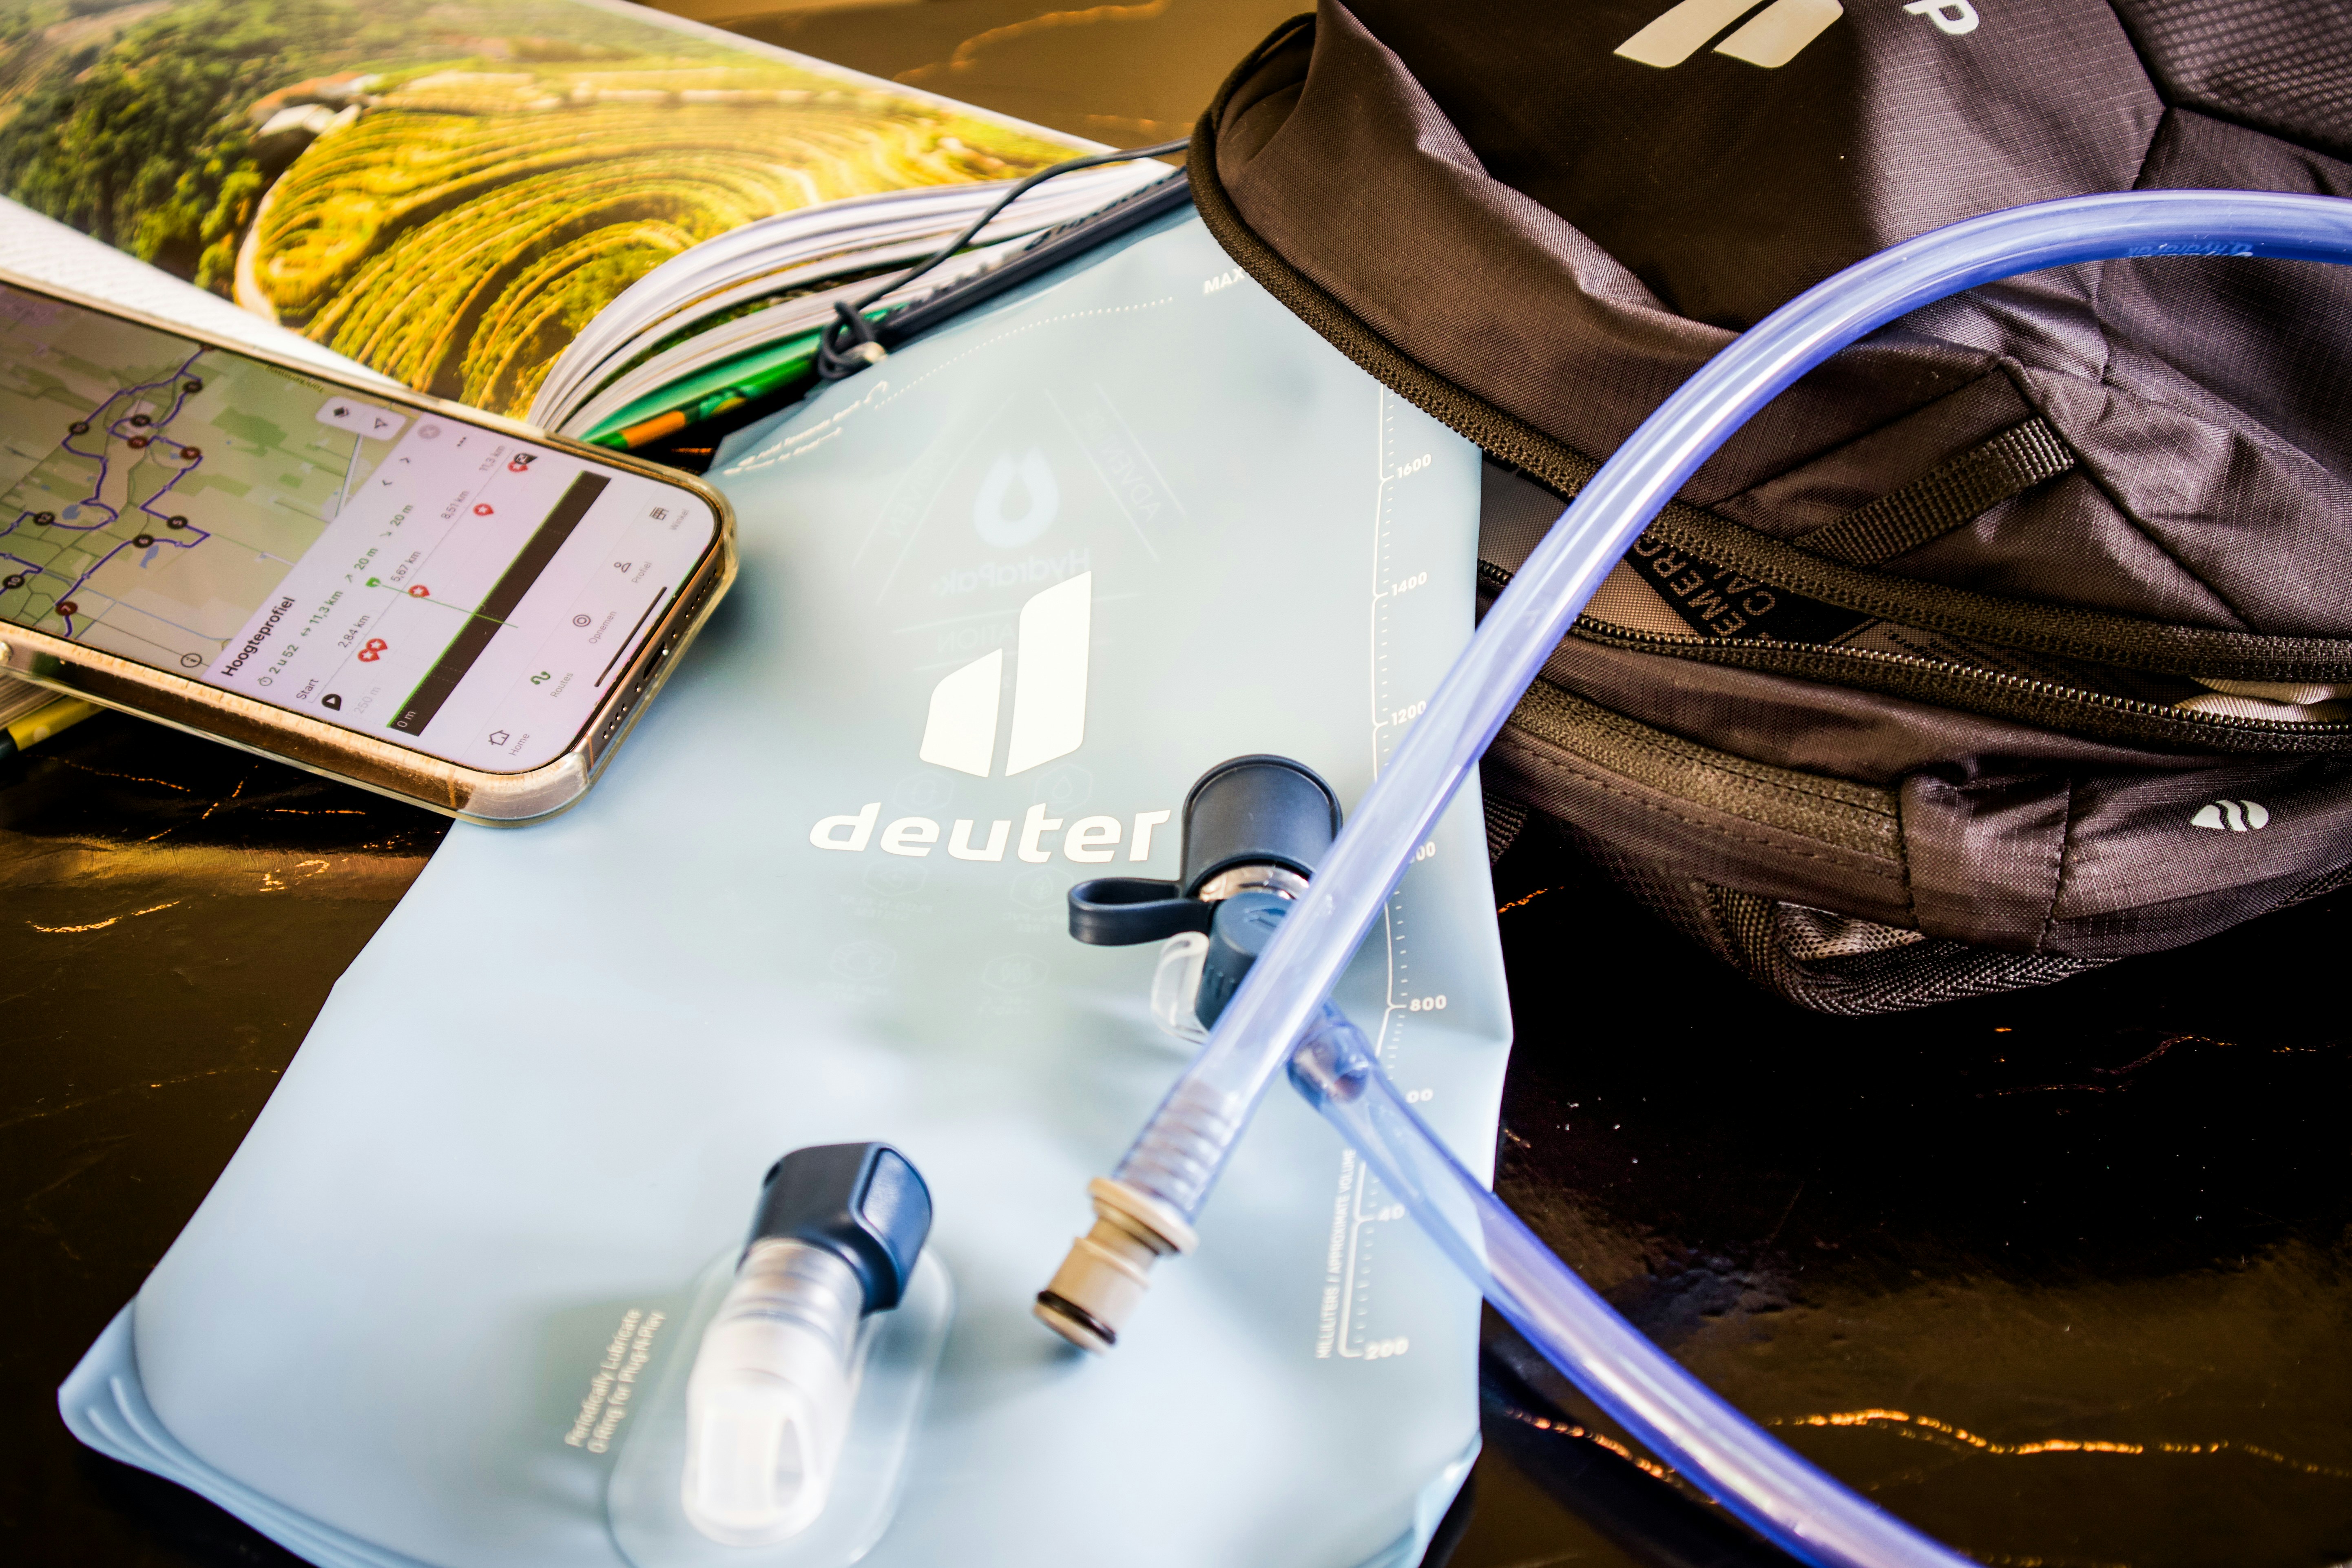
Get it out of the rucksack
A smelly hydration bladder needs a proper wash, including the hose and bite valve, followed by a thorough rinse and enough time to dry with everything open. Warm water and a little mild washing-up liquid are a good starting point. If there's a lingering taste or some stubborn residue, a reservoir cleaning tablet can help shift it.
It's tempting to give the bag a quick swill and call it done. But if yesterday's drink is still sitting in the hose, you'll notice it soon enough on the next walk. The other easily missed bit is drying: the sides flop together, a few droplets stay trapped in a corner, and back into the cupboard it goes.
So take the bladder out of the pack and give yourself room to work. Get a soft bottle or reservoir brush and a long, flexible tube brush ready. A drying rack is useful too. These are the basic tools in CamelBak's care guide, and they're enough for the everyday wash.
I'd bother buying the tube brush. You can get at most of the bag with an ordinary soft brush, but a narrow drinking hose is another job altogether. Platypus recommends working from the bite-valve end with its tube brush, keeping a finger through the loop at the other end. Have a bowl handy for the small valve pieces as well. You don't want those disappearing among the washing-up.
Give the bag and hose a proper wash
Empty the bladder, open the cap or slide closure, and disconnect the hose if it's removable. Some have a release button at the connection. Use that rather than pulling on the tube, and leave any permanently fixed joints alone.
- Add warm water and a little mild washing-up liquid. CamelBak's instructions start with the bag half full. Close it and give it a shake so the soapy water reaches the inside.
- Run some through the hose. Attach the hose, hold the bladder above the mouthpiece, and pinch or open the bite valve over the sink. Let the soapy water flow all the way through and out.
- Get the brush into the bag. Open it again and work gently around the corners, opening and hose connection. Hold it up to the light so you can see anything you've missed. Stick to a soft brush; sharp tools and rough scrubbers can damage the material.
- Rinse it all out. Tip away the soap, rinse the bag, then run clean water through the hose and valve as well. Keep rinsing until the suds and washing-up-liquid smell have gone. Nobody wants that in their first drink of the day.
Warm water is plenty for this. Osprey says to avoid both boiling water and bleach in its Hydraulics cleaning instructions. Leave the kettle out of it.
Give a brand-new bladder this wash before its first outing too. It's much easier to sort out an odd taste at the kitchen sink than when you're already halfway up a hill.
Don't forget the mouthpiece
The bag is the obvious part to clean, but spend a bit of time on the bite valve. If it has a removable silicone cover, take it off and wash underneath it, around the drinking opening and over the cover itself. Rinse the pieces separately so you can see that they're clean.
On HydraPak systems, the bite valve pulls off the hose, then the silicone sheath comes gently off the valve. With that out of the way, feed the tube brush into the open hose and scrub inside. Leave the parts apart to dry.
Older deuter Source Streamers come apart differently. Deuter says to turn the valve a quarter-turn to the centre mark before dismantling it, and to leave the 90-degree elbow on the hose. If yours isn't coming apart as expected, check which fitting you've got before pulling harder.
Shifting a smell that won't go away
If the wash hasn't done the trick, try a cleaning tablet made for hydration reservoirs. Brush out any visible dirt first, then give the bag, hose and removable mouthpiece parts a clean with the solution.
The dose depends on which tablets you have. Standard Bottle Bright tablets use one tablet per litre of warm water, with a 15-30 minute soak followed by a thorough rinse. So for a two-litre fill, you'd use two tablets. The larger Gear Cleaning Tablet treats three litres with one tablet. They're different sizes, so take a look at the packet before dropping them in.
Make sure the solution gets into the tube, and put the detached valve pieces in a bowl of it. Afterwards, rinse everything with clean water. If you can still see deposits, Bottle Bright recommends repeating the clean or going back in with a brush.
Use one cleaner at a time. Don't add vinegar, bleach or another product to the tablet solution. Also, buy tablets labelled for cleaning the equipment; don't guess at a dose using drinking-water purification tablets.

Turning the bladder inside out
Some bladders can be turned inside out, which makes the whole thing less of a fiddle. You can see what you're cleaning and leave the wet surface exposed while it dries.
For HydraPak's Elite, Force and Velocity models, reach in, take hold of the bottom and pull it through the opening. On the Shape-Shift, unlock the internal baffle first. The Contour's baffles don't separate, so leave those joined together. HydraPak explains the differences here.
HydraPak also allows its reservoirs on the top shelf of a dishwasher, as does deuter for the reversible HydraPak Streamer in its guide. For other designs, I'd stick with hand washing unless the instructions say yours can go in. And you'll still need to clean the hose and valve separately.
Let it dry before putting it away
This is the part to take your time over. Drain the bag, hose and valve separately, then leave them apart. Hang the hose with both ends open so water can drain out, rather than leaving it coiled up on the draining board.
The bag needs holding open. CamelBak recommends open drying, while Osprey uses a Hydraulics drying rack to keep the sides apart in a ventilated spot. If yours is reversible, leave it inside out while it dries.
Before putting the cap back on, look into the lower corners and check for droplets between the sides. Go by what you can see inside, rather than deciding an hour on the rack ought to be enough. The outside can feel dry while there's still water trapped in the bottom.
Choose an airy spot indoors. Deuter advises keeping its system out of direct sunlight when drying and storing it, because sunlight can make the plastic brittle over time.
A quick rinse when you get home
Emptying and rinsing the bladder after a walk saves you a bigger job later. Platypus recommends rinsing and drying after every use, and points out that drink mixes can leave a taste and allow bacteria to grow. If you've used an electrolyte or sugary drink, get the leftovers out promptly.
Osprey suggests a monthly deep clean if you use the bladder regularly. Do it sooner if there's residue or a smell. There's no sense waiting until next month when the mouthpiece already looks unpleasant.
For storage, HydraPak allows a clean, empty reservoir in the freezer, particularly in humid conditions. Wash and empty it first. The freezer won't get rid of leftover drink, and Osprey warns that water expanding in an overfilled bladder can damage it. Keep any water filter out of this routine: freezing can damage a used hollow-fibre filter.
If it still tastes or smells odd
Take the hose and valve off again and check the parts separately. If the smell is coming from the mouthpiece, another soak of the bag won't get you very far. Look under the silicone cover and inside the tube for anything you've missed.
With visible mould, stop using the system and clean all the affected parts thoroughly. Replace anything you can't get clean, including a hose with growth you can't reach. Deuter notes that tubes and mouthpieces need replacing from time to time as deposits build up.
A new bladder can also have a plastic-like taste. USWE says this tends to fade with use in TPU bladders. If repeated washing hasn't shifted it, contact the manufacturer. Pouring in a stronger drink mix will only make it harder to tell whether you've sorted it.
Once everything is clean and fully dry, leave the bladder open in a clean, dry place. Getting into that habit is a lot less hassle than trying to rescue it the night before a trip.
Sources and updates
Manufacturer guidance checked
Care instructions and product directions were checked on 2 November 2026.
For the bag around the bladder, see how to care for your rucksack and make it last longer.