To make a rucksack last longer, empty and air it after use, clean off dirt before it builds up in the zips and harness, and put it away fully dry. Wash it by hand using the method for your particular pack. Deal with small holes and broken buckles early, and keep sharp kit, excessive loads and damp storage from doing unnecessary damage.
You don't need to get a muddy hiking pack looking shop-fresh after every outing. A few scuffs are fine. The forgotten sandwich in the lid pocket, the gritty zip you're having to yank and the rain cover still stuffed away wet deserve rather more attention.
The awkward bit is that rucksacks aren't all made the same way. A framed trekking pack, a coated daypack and a waxed canvas bag can need different cleaning and repair methods. Here we'll work through the useful jobs, using guidance from Osprey, deuter, Gregory, The North Face, Hyperlite Mountain Gear and the companies making the care products.
The routine to keep
After a trip, get everything out, remove loose dirt and open the pack to dry. Spot clean small marks. Save a full hand wash for a pack whose maker permits it and which needs more attention. Before the next outing, check the zips, buckles, stitching and base while the bag is empty and easy to inspect.
Empty it before you put it away
Open every pocket, including the little ones on the hip belt. Take out food, wrappers, wet clothing and the waterproof liner. Remove the hydration reservoir rather than leaving it sitting against the back panel. It's much easier to see what's wet or dirty once the pack isn't full of other things.
Shake loose crumbs and grit into a bin. A soft brush helps with the corners. Look inside before turning the whole thing upside down; keys and head torches are quite good at hiding beneath the last bit of kit.
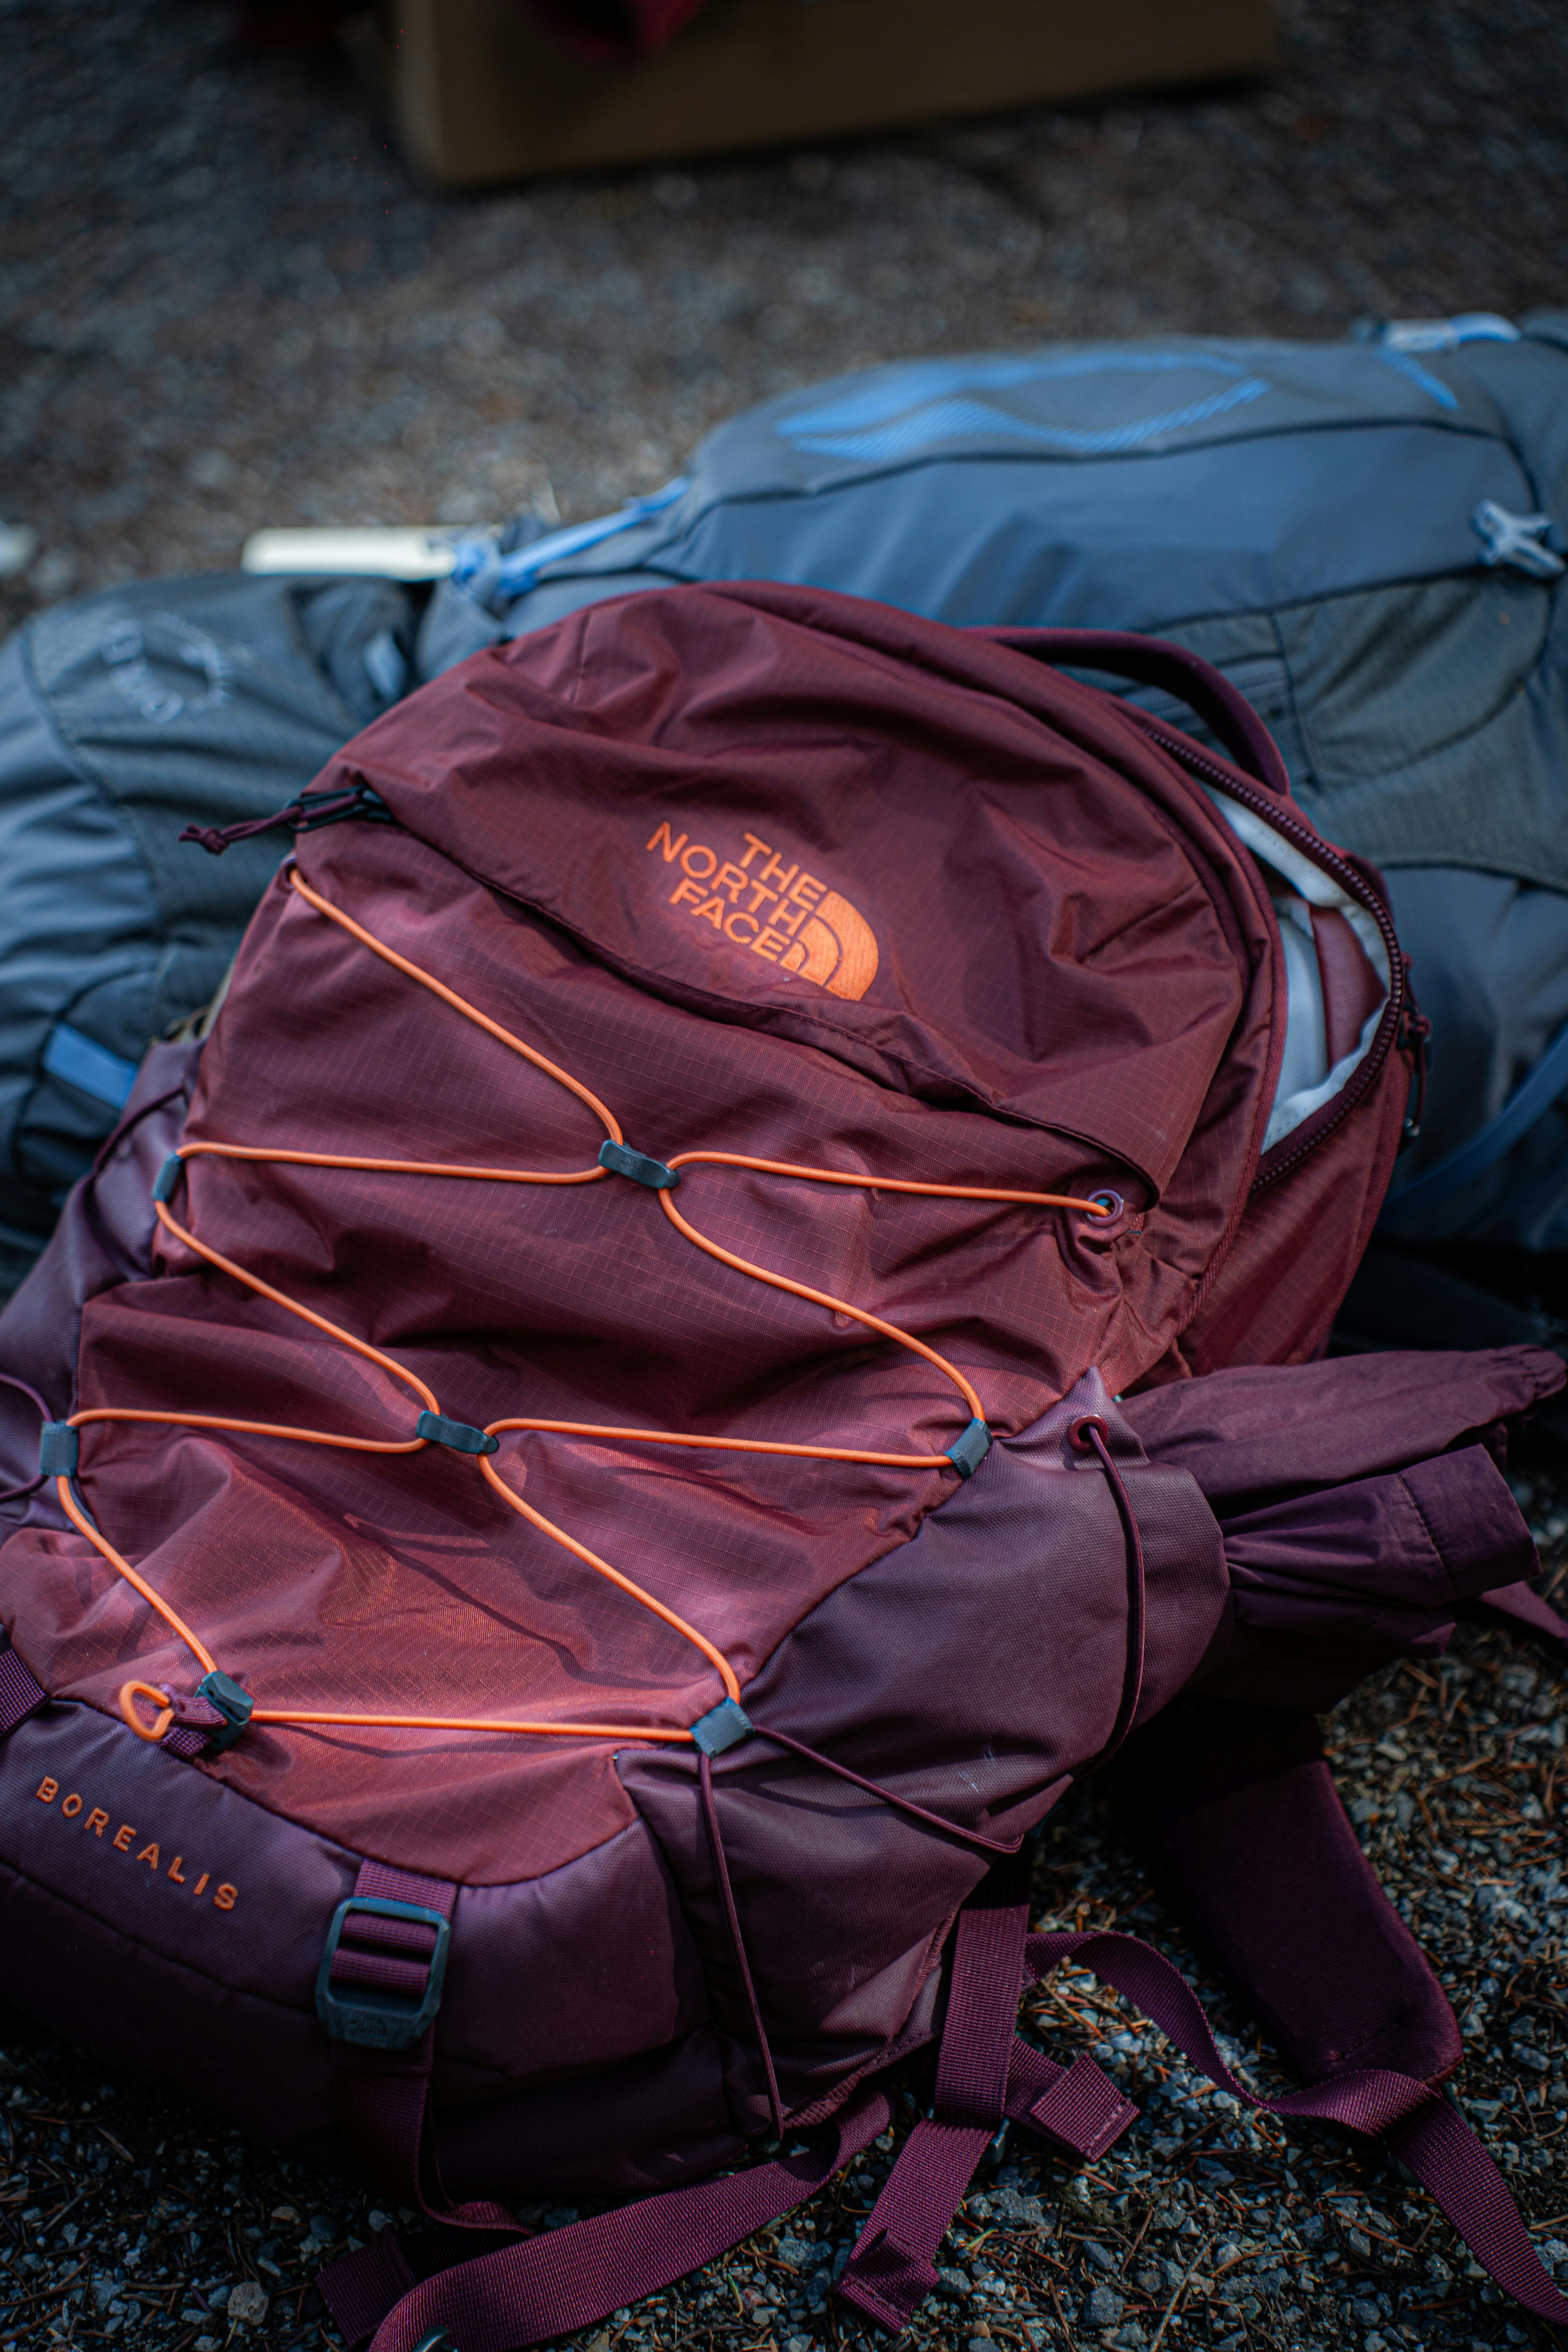
Then decide how much cleaning is needed. A muddy patch on the base doesn't call for soaking the whole bag. The North Face recommends a damp cloth and air drying for its backpacks, and specifically advises against full immersion. That makes spot cleaning the starting point for those packs, even when a different brand's instructions describe a bath. The North Face product care
Choose the method for your pack
Find the model name and care label before filling the bath. You're looking for whether immersion is allowed, what cleaner is suitable and which parts are meant to come off. A removable-looking frame isn't an invitation to dismantle it.
| Pack or material | Manufacturer guidance | What to do |
|---|---|---|
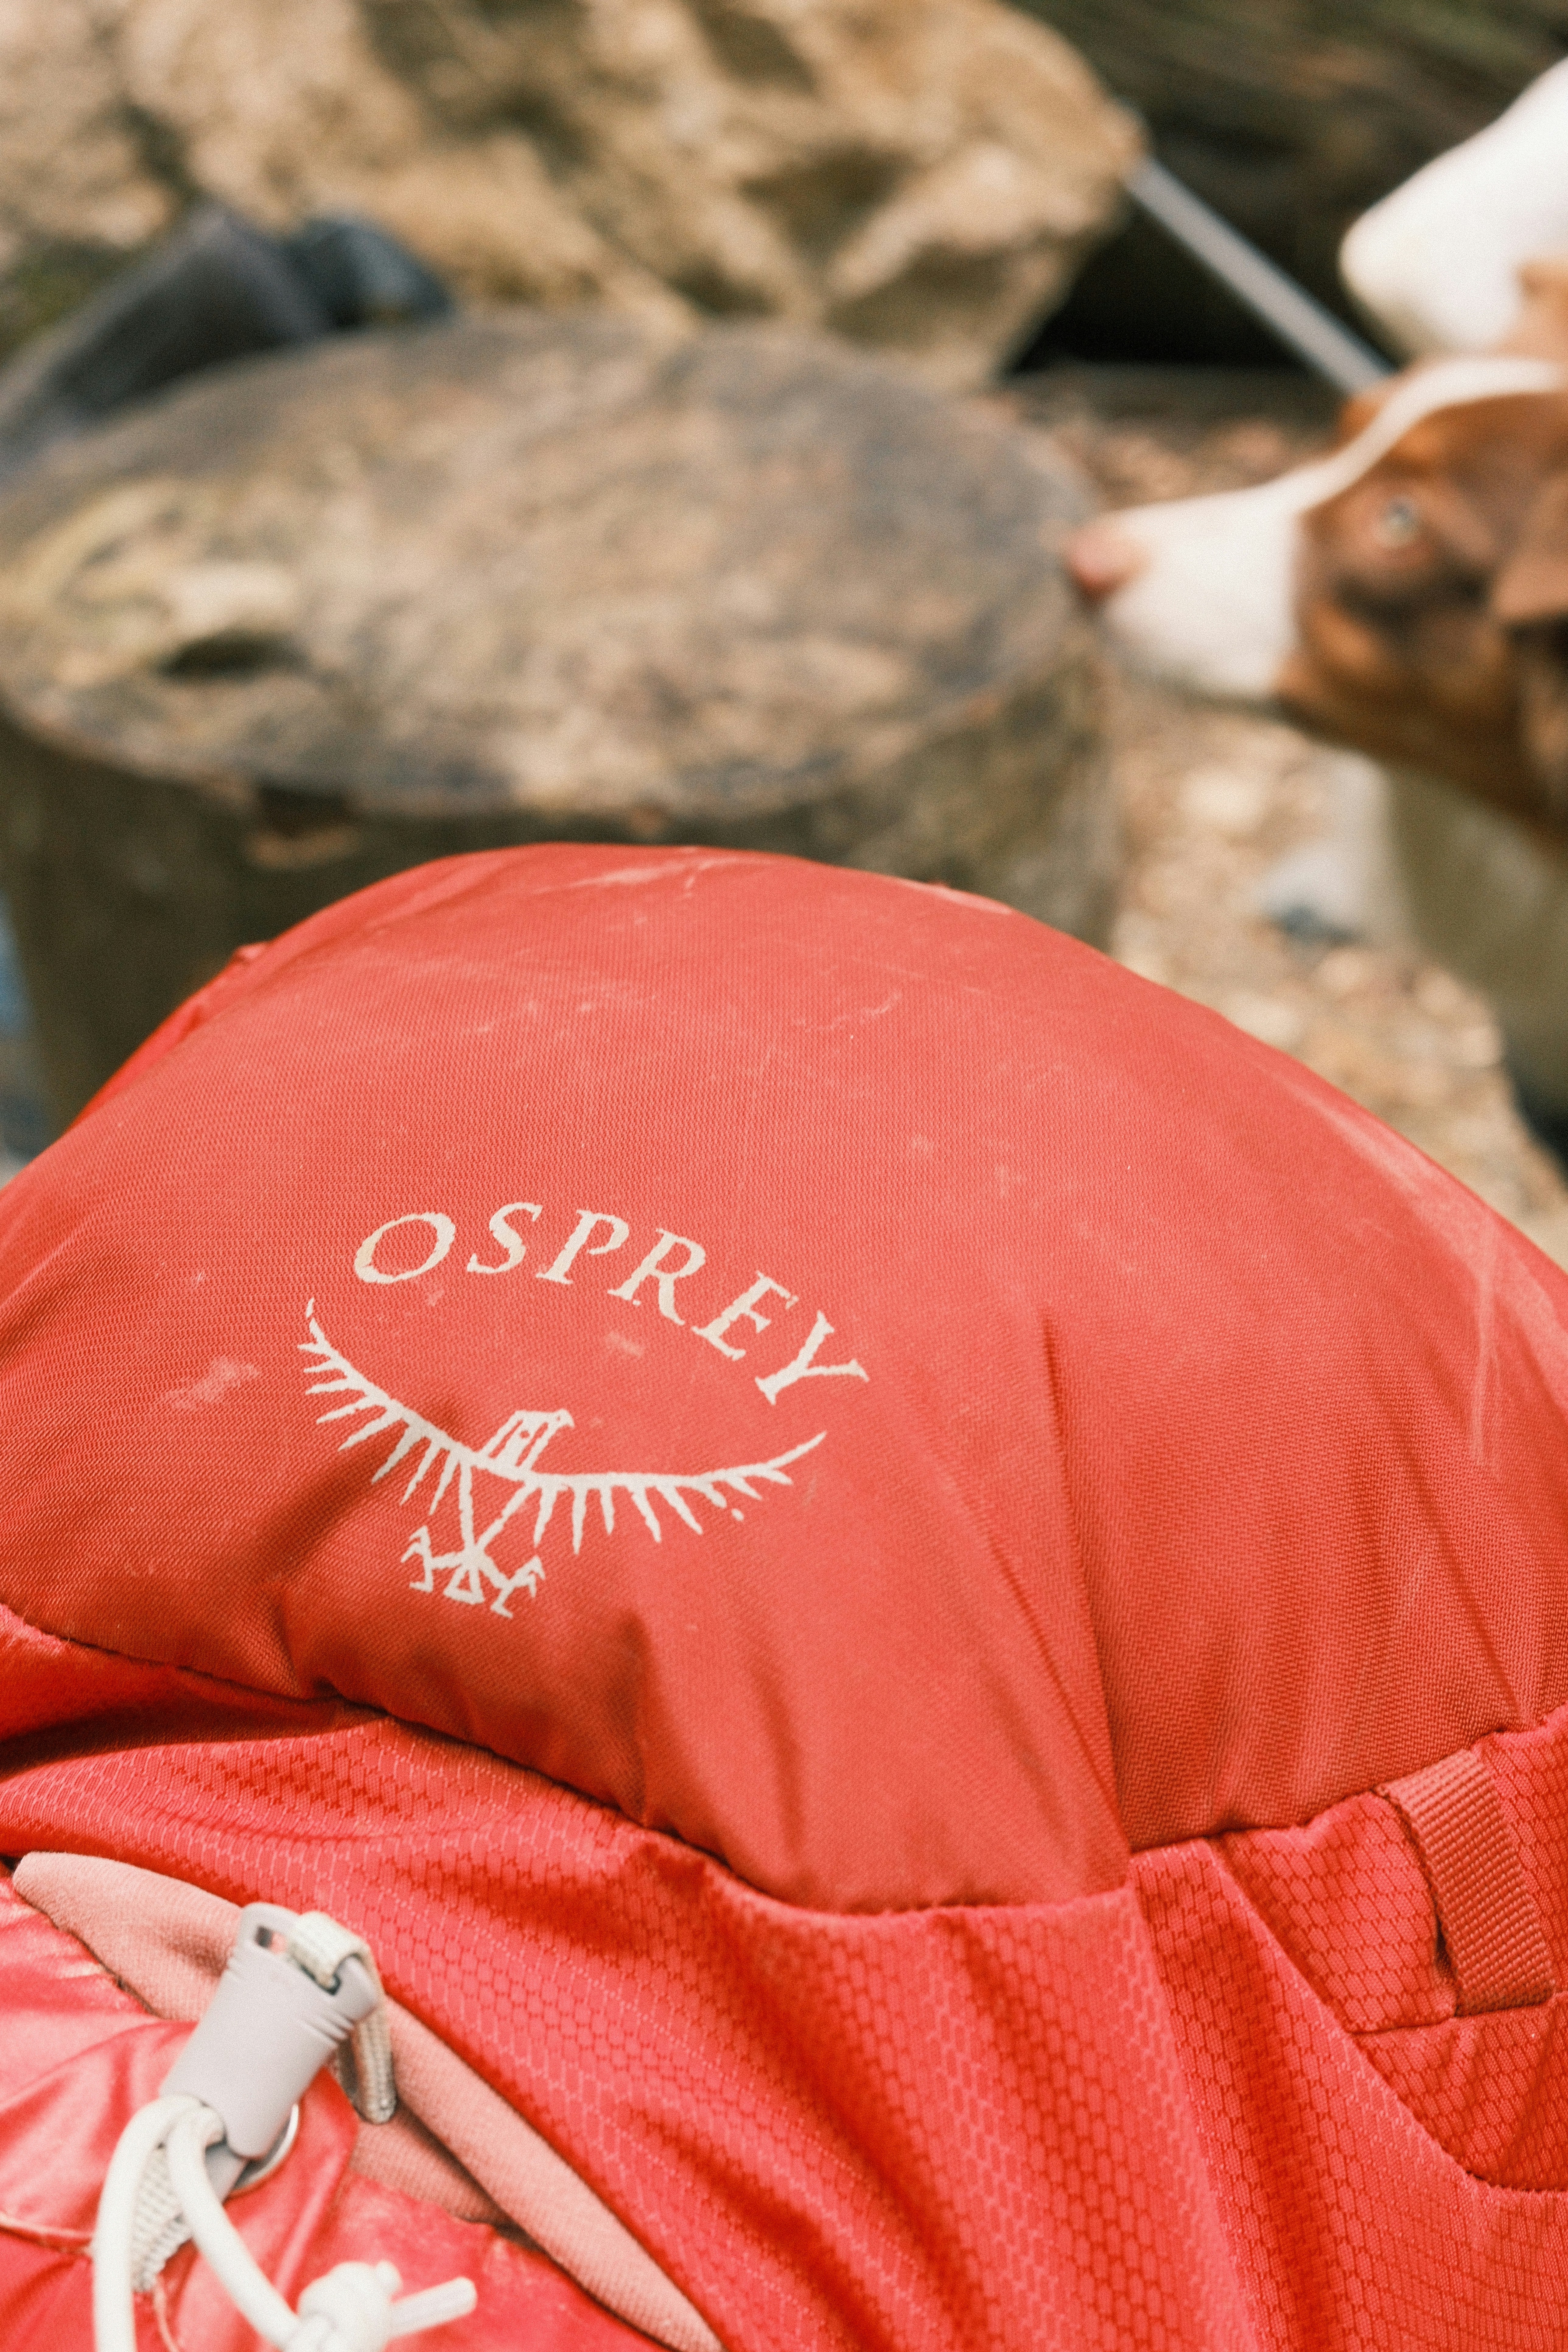
| Osprey packs covered by its general cleaning guide | Hand clean with mild soapy warm water; no machine washing. | Use a sponge or soft brush, rinse thoroughly and air dry. Its guide excludes POCO, avalanche packs and Raptor Pro, which need their own instructions. |
| deuter trekking packs | Hand washing is permitted; leave the frame in place. | Detach the rain cover and wipe it separately rather than submerging it. |
| The North Face backpacks | Spot clean; no full immersion. | Work with a damp cloth rather than borrowing another brand's soaking method. |
| Hyperlite Aero 28 | Spot clean with mild non-detergent, non-oil-based soap. | Use a soft damp cloth, then air dry fully before storage. |
| Fjällräven Kånken | Treatment depends on the fabric. | Vinylon F isn't waxed; G-1000 versions can be treated with Greenland Wax. |
Sources: Osprey, deuter, Hyperlite Mountain Gear and Fjällräven.
For a pack with wiring, an avalanche system, a child-carrier frame or a wheeled chassis, use its dedicated instructions before getting components wet. Osprey specifically says not to immerse its High Road wheeled chassis. A wipe-down is a much smaller job than drying out equipment that shouldn't have gone in the water.
Clean the fabric without scrubbing it to death
Get a clean sponge, a soft-bristled brush, a towel and the cleaner approved for your pack. Gregory calls for mild soap and cool rinsing water, while ruling out detergents and solvents. Osprey names Nikwax Tech Wash as an option in its cleaning guide. Use the permitted cleaner's dose rather than adding a generous splash of whatever is beside the washing machine.
For spot cleaning, dampen the cloth or sponge and work gently over the dirty area. Lift the dirt with repeated light passes. If a mark remains but the surface is clean, leave it. Gregory warns that excessive brushing can damage the protective coating. A cosmetic stain is a better result than a scrubbed-through finish. Gregory care and cleaning
If your pack allows a full hand clean, Osprey's method is a sink or bath with mild soapy warm water, followed by a thorough rinse inside and out. Take off harness components only where the design and instructions allow it, and make sure those parts get dried too. Leave fixed frame parts alone.
Keep the washing machine out of this routine. Osprey, deuter and Gregory advise against machine washing their packs. Straps, coated fabric and a structured harness don't need to be tumbled around a drum to remove a bit of trail dirt.
Give the sweaty harness some attention
Shoulder straps and hip-belt padding can need cleaning even when the main bag looks fairly respectable. Check the areas that sit against your back and clothes, rather than judging the whole job by the outside fabric.
For deuter packs, the maker recommends working soap and plenty of water through salt-stained padding with repeated hand squeezes. Rinse it properly afterwards. It also advises leaving its frames and rods installed, and warns that detergent residue can irritate skin. deuter harness and frame care
Squeeze the padding gently rather than trying to wring the harness into a rope. Keep going with clean water until the cleaner has gone. If the pack smells stale again once dry, inspect it for a missed food spill or damp pocket before adding another product to the job.
The hydration bladder is a separate item. Gregory recommends cleaning its 3D Hydro reservoir after each use and occasionally using suitable reservoir-cleaning tablets. It rules out bleach and boiling water for that reservoir. Use the instructions for your own bladder, hose and valve; washing the pack doesn't clean the water system inside it.
Let the padding dry, not just the outside
Wipe off excess water with a towel and leave every pocket open. Gregory recommends air drying away from direct sunlight and heat, and specifically rules out a tumble dryer, hairdryer or heat gun. Don't try to hurry a wet pack along on a radiator. Gregory drying advice
Check the padded hip belt, shoulder straps, bottom corners and the inside of the hydration sleeve before putting it away. The face fabric can feel dry while a thick bit of padding still holds water. Open the pack up, change its position and let air get to those awkward places.
A fixed overnight drying time isn't much use here. A small daypack and a thickly padded trekking harness won't dry at the same speed, and neither will thank you for being zipped into a cupboard while still damp.
Give the rain cover its own drying space. deuter advises wiping its covers separately, then drying them completely before storage to avoid colour transfer and material damage. Don't clean the pack beautifully and then put a wet cover straight back into its little pocket.

Clean a gritty zip before pulling harder
If a zip feels rough, take the tension off the opening and look for trapped fabric first. Fjällräven advises gently freeing an obstruction rather than yanking it; if it won't come out, the zip may need repair. Unpacking a little is a better first move than hauling on the pull. Fjällräven zip care
For dirt in the teeth, GEAR AID's cleaning instructions start with the zip open and a dry brush to remove grit. Its Zipper Cleaner + Lubricant is intended for outdoor gear, including packs, and works on coil, plastic, nylon and metal zips.
Where your pack maker allows that product, apply it along the zip as directed, work the slider back and forth and wipe away the excess. Keep the treatment on the zip rather than spraying the surrounding harness. GEAR AID application instructions
A missing tooth or a zip that opens behind the slider is a repair job. Lubricant won't replace missing parts. Photograph the problem and ask about a slider or zip replacement before deciding the whole rucksack is finished.
Treat water repellency and leaks as different jobs
Water beading on the outside tells you about the surface finish. It doesn't tell you that the seams, zip or roll-top closure will keep a sleeping bag dry. Hyperlite explicitly describes its Aero 28 as a pack, not a dry bag; deuter also recommends internal dry bags for keeping equipment dry in demanding wet conditions.
Keep the sleeping bag, spare insulation and electronics in suitable dry bags or a pack liner. A rain cover can protect the outside of a hiking pack, but packing the things that must stay dry inside their own protection is a useful extra step.
For compatible synthetic pack fabric that needs a fresh water-repellent treatment, Osprey recommends Nikwax Tent & Gear SolarProof. Nikwax's current spray-on directions are specific: clean first with its SolarWash, spray evenly onto clean wet fabric from about 15cm, wait two minutes, then wipe away surplus with a damp cloth. Air dry fully; the treatment develops as it dries. Its coverage guide is about 50ml per square metre. Nikwax SolarProof instructions
Use the ready-to-use spray directions for that bottle; a concentrate needs its own mixing instructions. Keep proofing products off skin-contact padding unless the pack's care instructions permit them. deuter flags potential skin irritation when these treatments reach shoulder-strap fabric.
Don't wax every fabric that looks like canvas
Fjällräven makes the distinction particularly easy to get wrong. A classic Vinylon F Kånken shouldn't be waxed, while G-1000 versions can be treated with Greenland Wax. Check the material specification, not just the logo or the bag's general appearance. Fjällräven's Vinylon F advice
For approved G-1000 fabric, the maker's method is a thin, even layer rubbed on with the wax block, then melted into the fabric using low to moderate heat. Greenland Wax melts at about 55-60°C. Work only on the G-1000 areas, keeping heat and wax away from other materials. This controlled treatment is a separate job from drying a wet pack with heat, which the cleaning guidance rules out. Fjällräven waxing instructions
Wax adds water resistance; it doesn't turn the bag into a dry bag. Other cotton or polycotton packs can have their own finishes and leather trim, so don't transfer the G-1000 process to them by appearance alone.
Patch small holes with the right adhesive
First identify the fabric and the side you're repairing. GEAR AID lists ordinary Tenacious Tape for materials including nylon and polyester. Its standard tape doesn't bond well to silicone-treated fabric; its separate Silnylon patches use silicone adhesive for that job. A Dyneema composite pack can need a different repair again. GEAR AID tape compatibility
For a small tear on compatible nylon or polyester, GEAR AID's method is to clean and fully dry the area, trim loose threads, then cut a rounded patch extending at least 13mm beyond the damage all round. It specifies isopropyl alcohol for removing oils; use that preparation only on a surface whose coating tolerates it, testing a hidden spot first. Smooth the tear flat, apply the patch without stretching the fabric and press from the centre out to remove bubbles. Give the adhesive 24 hours to reach full strength. Tenacious Tape application instructions
Hyperlite's DCF repair kit is designed for small abrasions, slices and punctures patched from inside the pack. Use a repair specified for the actual laminate rather than assuming every shiny ultralight fabric is the same. Hyperlite DCF repair kit
A patch over a hole in the bag body is a different repair from a shoulder strap pulling out. Split harness stitching, a broken frame or damage around a loaded attachment point needs assessment by the manufacturer or a pack repairer before carrying another heavy load.
Replace the buckle, not the whole pack
A broken plastic buckle is often replaceable. Measure the webbing width, rather than the outside of the buckle, and note whether each end is sewn into a loop or threaded through an adjuster.
Sea to Summit's Field Repair Buckles use removable screw pins, so a fixed loop can be fitted without unpicking the stitching. Its one-pin design has a fixed end and an adjustable ladderlock end; the two-pin design replaces non-adjustable connections. Choose the type as well as the width. Two buckles that look close enough aren't necessarily compatible, so replace both mating halves when fitting a different design. Sea to Summit buckle guide
Before a trip, check that it closes positively and the webbing still adjusts and holds as intended. For a proprietary hip belt or harness attachment, get the maker's replacement rather than cutting into structural stitching to make a generic part fit.
Reduce wear while you're carrying it
Don't use the zip to compress an overfilled bag. Take something out or repack it so the opening closes without a wrestling match. Fjällräven explicitly warns against overfilling its Kånken and putting strain on straps and zips. The same habit is worth adopting with a hiking pack: if you need to pull the two sides together with force, sort the packing first.
Cover sharp items before packing them, and choose a place to put the bag down rather than dropping it onto the first pointed rock. Lift it instead of dragging the base over rough ground. These are practical ways to avoid creating the puncture or abrasion you'll otherwise have to patch later.
Hyperlite recommends inspecting fabric, pockets, straps, clips and adjusters for damage before continued use. Do that while the pack is empty. Look at the underside of the base and behind the harness as well as the bits you see while packing. Hyperlite inspection advice
Store it dry, and investigate peeling coatings
Once everything is dry, put the rucksack somewhere ventilated, away from direct sun and damp storage. Gregory's maintenance guidance advises against hot, humid locations and tightly sealed plastic storage. Don't leave a damp pack in a car boot between trips and call that airing it. Gregory storage guidance
If the inside has become sticky, flaky or powdery, separate that from ordinary dirt. Gregory explains that internal textile coatings can degrade with age, with the rate affected by materials, climate and care. More brushing or another application of surface water repellent isn't a repair for a coating that's coming away. Photograph it and ask the maker what can be repaired. Gregory on ageing coatings
For persistent mould, widespread peeling or a smell that remains after the permitted clean and full drying, get model-specific advice before trying stronger chemicals. You need to know whether you're dealing with dirt, biological growth or failing material before choosing the next treatment.

A quick check before the next trip
- Every pocket is empty of old food and loose grit.
- The fabric, harness padding and rain cover are fully dry.
- Zips run freely without needing a hard pull.
- Buckles latch, webbing holds and attachment stitching is intact.
- Small tears have a compatible repair, with its bonding time allowed.
- Items that must stay dry have a liner or dry bag.
Most of the routine is a few small jobs done before they become annoying ones. Get the dirt out, let the pack dry and fix the little things while they're still little. The aim is a bag ready for another walk, not one that looks as though it's never been outside.
Sources and updates
Manufacturer guidance checked
Care instructions and product directions were checked on 2 November 2026.
For the rest of your kit, see our guides to looking after a tent and caring for hiking boots.