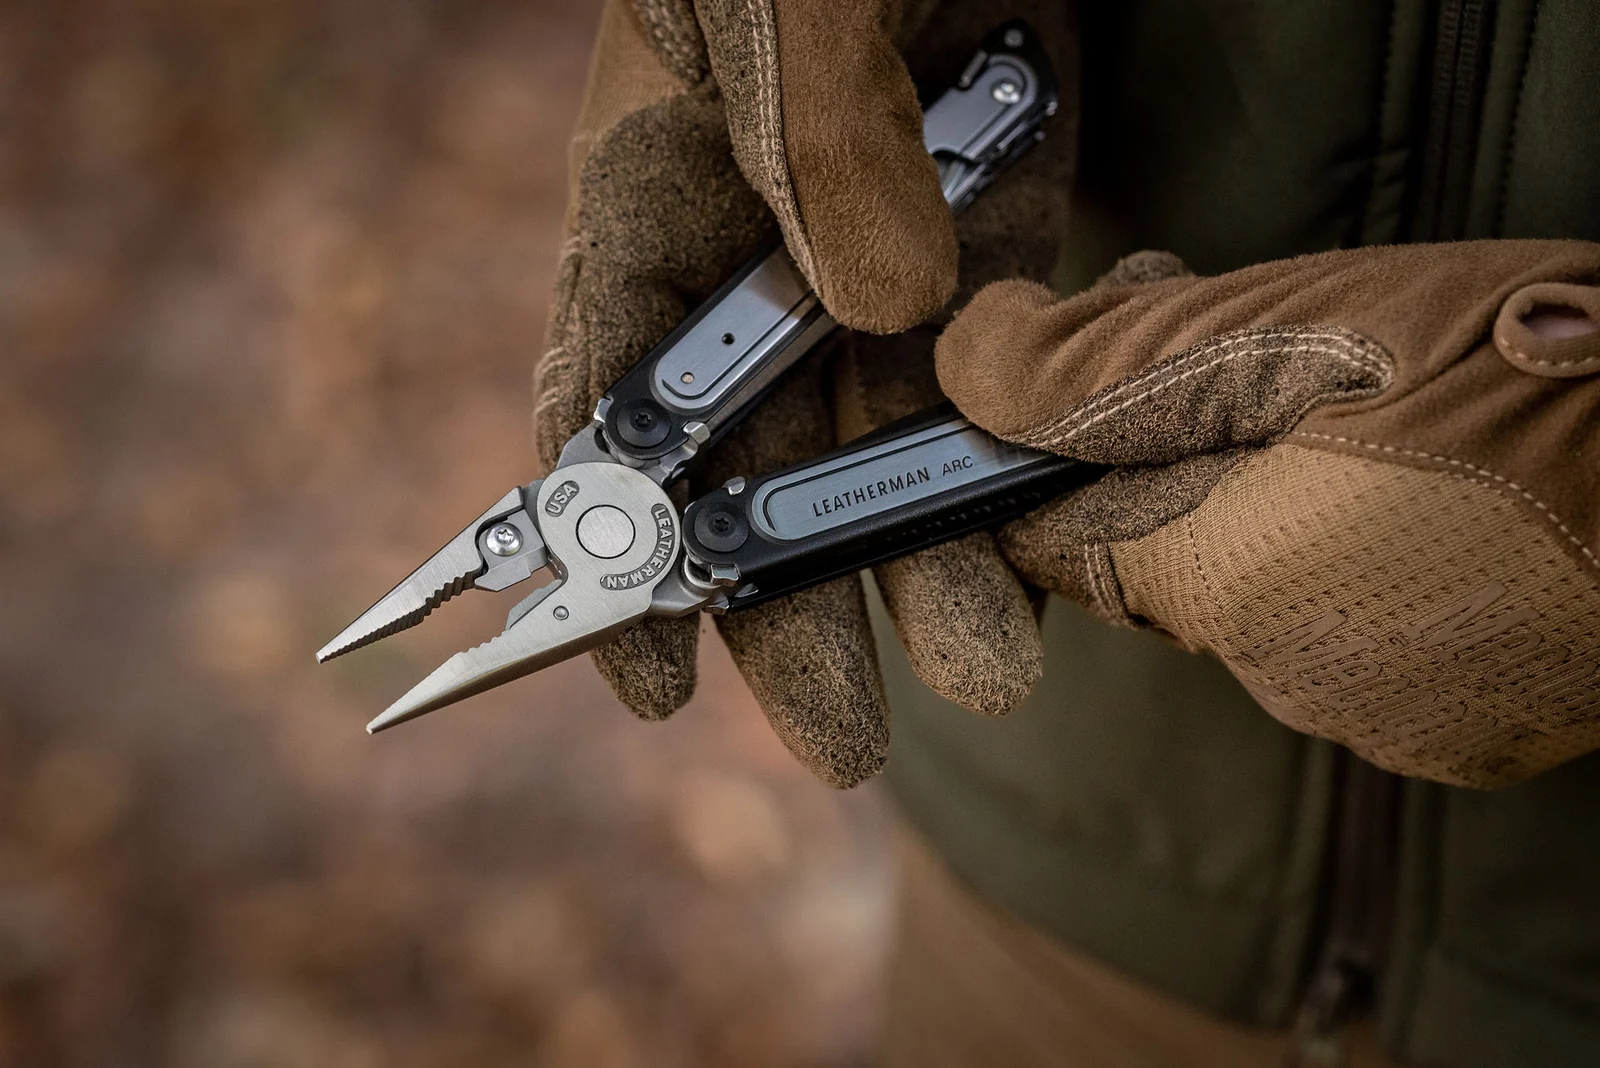
A good Leatherman should be a tool you reach for over many years. To keep it working well, remove dirt before it packs into the mechanism, dry it after wet use, lubricate the moving parts sparingly and maintain the cutting edges before they become a struggle to use.
That sounds straightforward until a blade starts sticking, orange spots appear around a pivot, or you discover that your sharpener's fixed angle does not match the knife. The useful advice is in those details: which cleaner to use, where the oil goes, how to preserve a serrated edge, and which screws you can leave alone.
This guide draws on Leatherman's published maintenance instructions, the guidance supplied by lubricant and sharpening manufacturers, and our reviews of the Wave+, ARC, Surge and Signal. Our Wave+ review covers nearly six years of use, including sailing and everyday repair work.
Leatherman care at a glance
Brush out loose grit, wash sticky dirt off by hand, rinse away salt, dry the recesses and apply a small amount of suitable lubricant. Match sharpening to the blade's existing bevel. Replace compatible consumable parts, and send damaged locks or a loose plier head for assessment.
Build a routine around what the tool has done
Unfold the pliers under a good light before putting the tool away. Look between the handles and around the cutters, then open each implement individually and check that it moves normally. A blade that suddenly feels gritty deserves attention before the next job. Keep your fingers clear of the folding path and close one sharp implement before opening another.
For ordinary pocket carry, a soft brush and a wipe often deal with lint. After cutting plant stems, inspect for sap. After fishing, check for scales, salt and damp line fibres. After workshop work, look for filings and chips. Match the cleaning job to what you find.
| When | Our practical routine |
|---|---|
| After a dirty or sticky job | Remove the debris before it dries inside the handles. Wash affected parts if brushing does not lift it. |
| After seawater or a salty soaking | Rinse with fresh water promptly, dry fully and restore the protective lubricant. |
| After washing | Check recesses for moisture, lubricate the moving interfaces and wipe off excess. |
| Monthly, if you carry it daily | Use this as a reminder to inspect locks, screws, cutter edges, the clip and sheath. Clean according to condition. |
| Before a trip or longer storage | Check every function, test the cutting edges and put the tool away clean and dry. |
The monthly reminder is our suggested habit. Leatherman calls for periodic cleaning, drying and lubrication, with extra attention after marine exposure; it does not prescribe one monthly oiling interval for every owner. A tool used on a boat needs a different response from one that spent the week opening clean parcels.
How to clean a dirty or sticky Leatherman
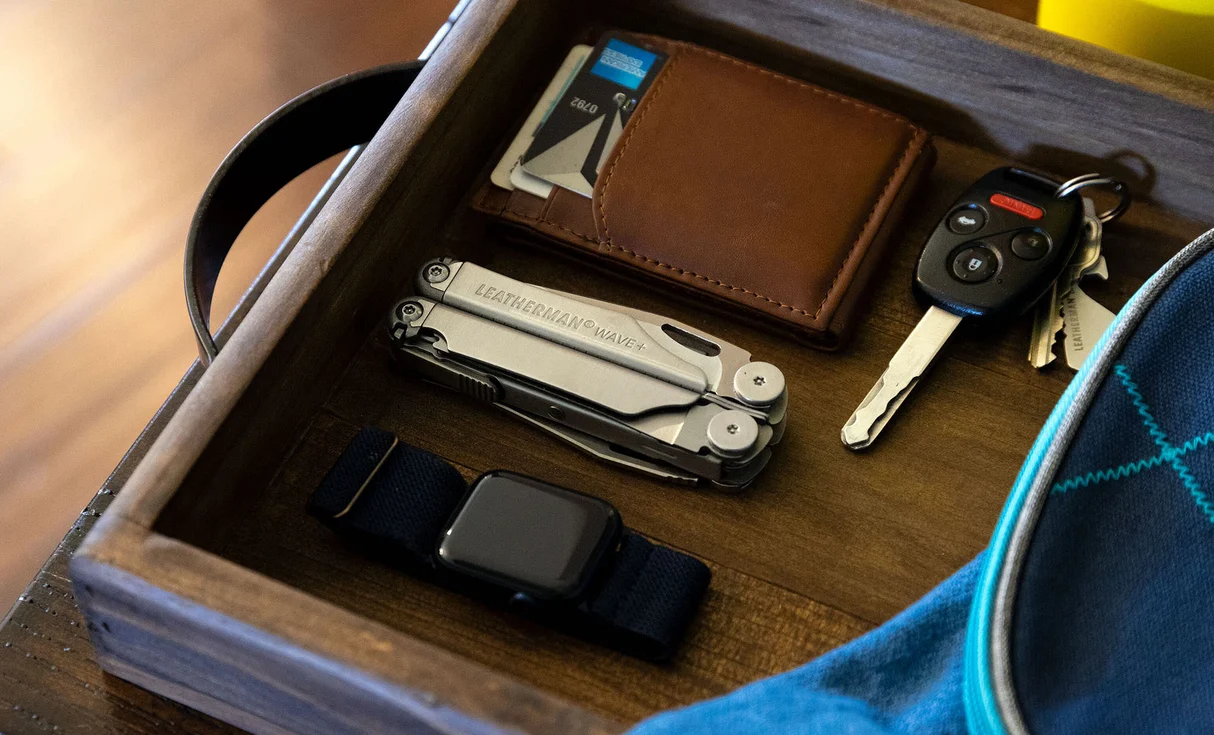
Put a light-coloured cloth or tray on the bench so you can see small removable bits. Gather a soft toothbrush, lint-free cloth, cotton swabs, a wooden pick and a bowl of lukewarm water with a little mild washing-up liquid. Leatherman's maintenance kit includes a brush, pick, swabs, cloth and oil; those are useful categories to copy when assembling your own kit. [2]
- Remove loose contamination first. Brush lint, sawdust and grit out of the handle channels. Use a wooden pick gently in corners. Avoid driving a hard metal point into a spring or scraping a coating.
- Remove the loose driver bit. Set it somewhere safe and clean it separately. Work over the tray so a dropped bit does not disappear down a drain.
- Wash the affected area. Brush with the mild solution, keeping the edge in sight. Work an individual implement through its travel carefully to expose its tang and flush out loosened dirt. Do not force a gritty joint.
- Rinse away the soap. Direct clean water through the channels you have brushed. A film of detergent mixed with old oil is something else you will have to remove later.
- Dry before lubrication. Blot with the cloth, use swabs in the accessible recesses and leave the tool in a ventilated place out of reach of children. Reposition it to expose trapped moisture.
Victorinox's pocket-tool cleaning instructions give a similar sequence of mild detergent, a soft brush, thorough rinsing, complete drying and a small drop of oil at moving interfaces. Its examples identify the tangs, springs and plier joints, which is a useful way to think about where friction occurs. [3]
Keep this a hand-cleaning job. Victorinox specifically warns that dishwasher heat, cleaning salts and strong detergents can damage pocket tools. Washing at the bench also gives you control over exposed edges and lets you inspect the mechanism as you go. A rinse is not complete maintenance if the tool then goes straight back into a damp sheath. [4]
Rinse salt out before oiling over it
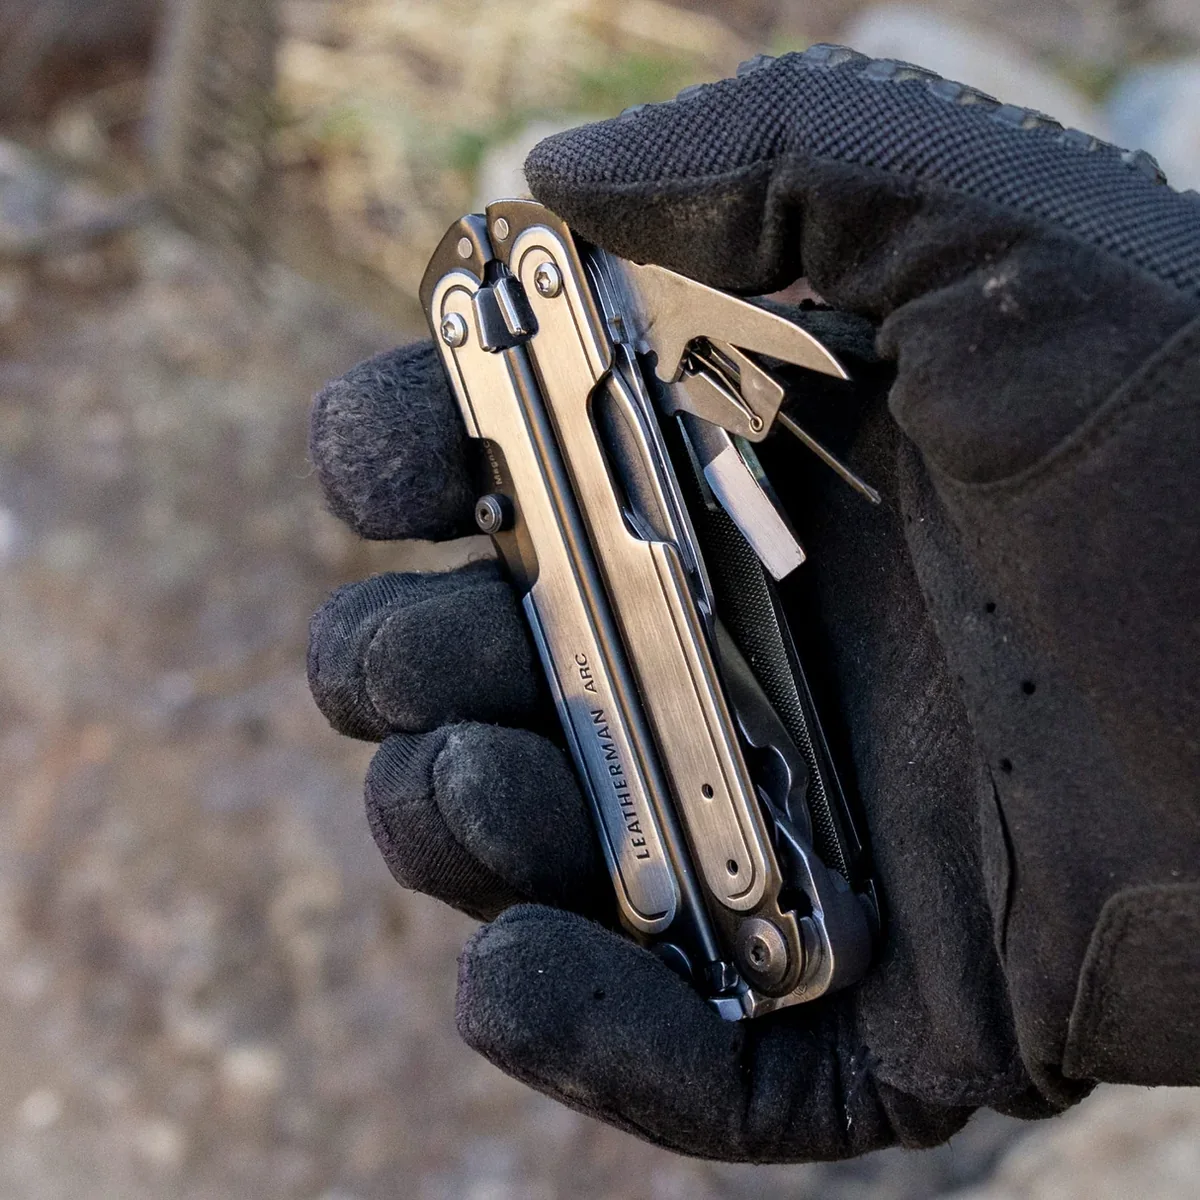
After seawater exposure, Leatherman specifies fresh-water rinsing, drying and light oil. Do that promptly instead of waiting for orange spots. A wipe of the outside can leave salt between the liners and around the plier pivot. [1]
Take the tool out of its sheath and give both their own attention. Rinse the tool's accessible channels, change its orientation and let the water run away. Dry the handles, cutter pockets and bit holder as well as the blade. Check with a fresh, dry swab: if it comes away wet, the recess is not ready for storage.
There is no useful universal instruction to wait exactly ten minutes. A quick rinse of one blade and a thoroughly soaked tool have different drying needs. Open only the parts you can leave safely exposed, allow air to circulate and check again before closing it. Keep solvents and lubricants away from ignition sources; a heater or flame is a poor drying shortcut.
In our Wave+ review, Adam reports that the tool remains free of corrosion after years of use that included sailing. Checking around the pivots and between the folded implements helps you monitor the same areas on your own tool.
Choose the lubricant for the job, then use less of it
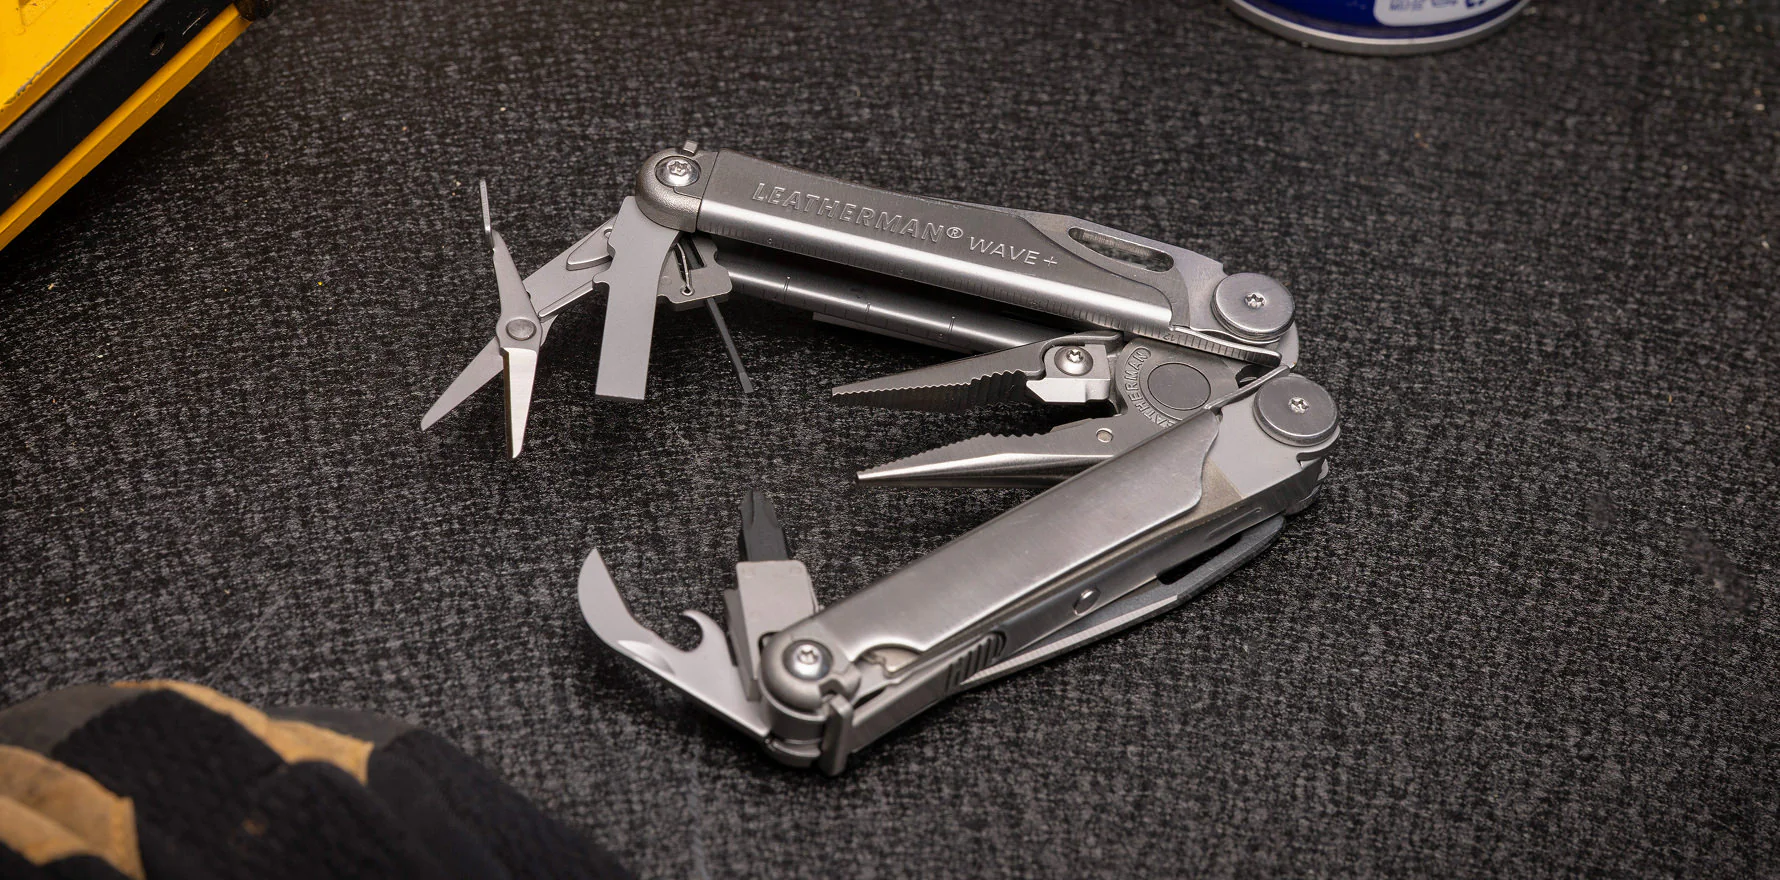
Leatherman names WD-40, Liquid Wrench and CRC 3-36 as low-viscosity cleaning options that help displace trapped moisture. For pivoting and wear areas it recommends a PTFE/Teflon-based lubricant. These instructions describe different maintenance jobs. [1]
| Job | Concrete option | How to choose |
|---|---|---|
| Flushing or moisture displacement | One of Leatherman's named low-viscosity products | Check the precise formula and its surface precautions. The brand name alone does not identify every product in the range. |
| Controlled pivot lubrication | Super Lube Multi-Use Synthetic Oil with Syncolon, 51010 precision oiler | The manufacturer lists the 7 ml oiler and its PTFE formulation. This is ISO 100 lubricating oil, so use it sparingly rather than treating it as a thin flushing spray. [18] [24] |
| A pocket-tool oil with a food-contact specification | Victorinox Multi-Tool Oil 4.3302 | Victorinox identifies it as food-safe and lists NSF H1 compliance. That is a specific alternative to an unidentified workshop oil. [4] [19] |
Apply a small drop where the implement rotates against its adjoining surface. Work that implement slowly several times, then wipe away oil that emerges. Do the same at the plier joint if needed. Keep the grips and blade faces dry to the touch: an oily outside attracts pocket dirt and is harder to hold securely.
Food-grade lubricant is still lubricant. Super Lube describes H1 as suitable for incidental food contact. Clean a blade before preparing food, and keep cleaning chemicals off food and preparation surfaces. Do not assume every aerosol sold under a familiar brand carries the same food-contact specification. [18]
A joint that remains rough after cleaning is giving you information. Adding repeated doses can hide the symptom beneath a wet slurry. Inspect for remaining grit, misalignment or damage before applying anything else.
Treat surface rust without polishing the finish away
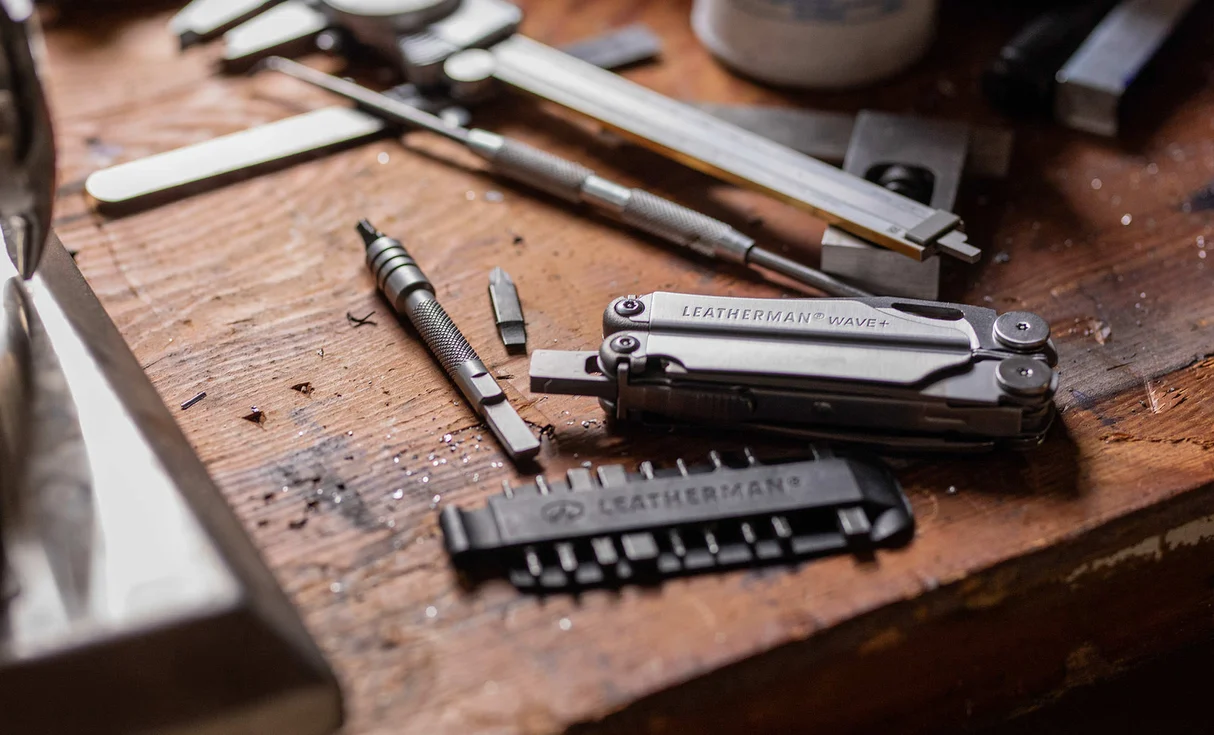
Start with a cloth and a soft non-metallic brush on a small stained area. Wipe, inspect and stop when the deposit has lifted. Leatherman permits a polishing cloth or non-metallic abrasive for stained surfaces, but that is not an instruction to scour every coated surface. [1]
Identify the finish before choosing a more aggressive method. Leatherman describes black oxide as a conversion finish and says some initial black transfer and cosmetic wear can occur. Its specific treatment is a thorough rub with a rag carrying CRC 3-36 or similar oil. Black transfer from that finish is a different observation from fresh orange corrosion or a cavity in the steel. [5]
ARC uses DLC on its knife blade, while Leatherman lists PVD for certain Signal variants. Those labels describe different finishes. Keep abrasive pads and metal polish away from a finish you want to retain, and test any cleaner on a small inconspicuous area first. The same scratch-removal method can leave a polished patch on one tool and remove colour from another. [7] [10]
For tar or similar deposits, Leatherman names mineral spirits or turpentine, and warns that acetone and brake cleaners can damage plastics. Use a small amount on the affected area with ventilation, follow the cleaner's own handling instructions and keep it away from the Signal's removable plastic accessories. [1]
Stop cosmetic cleaning if you uncover deep pitting, a cracked implement or corrosion around a locking interface. Photograph it for assessment. Removing the colour of a stain does not establish that a damaged part can carry load again.
Sharpen the plain blade to its existing bevel
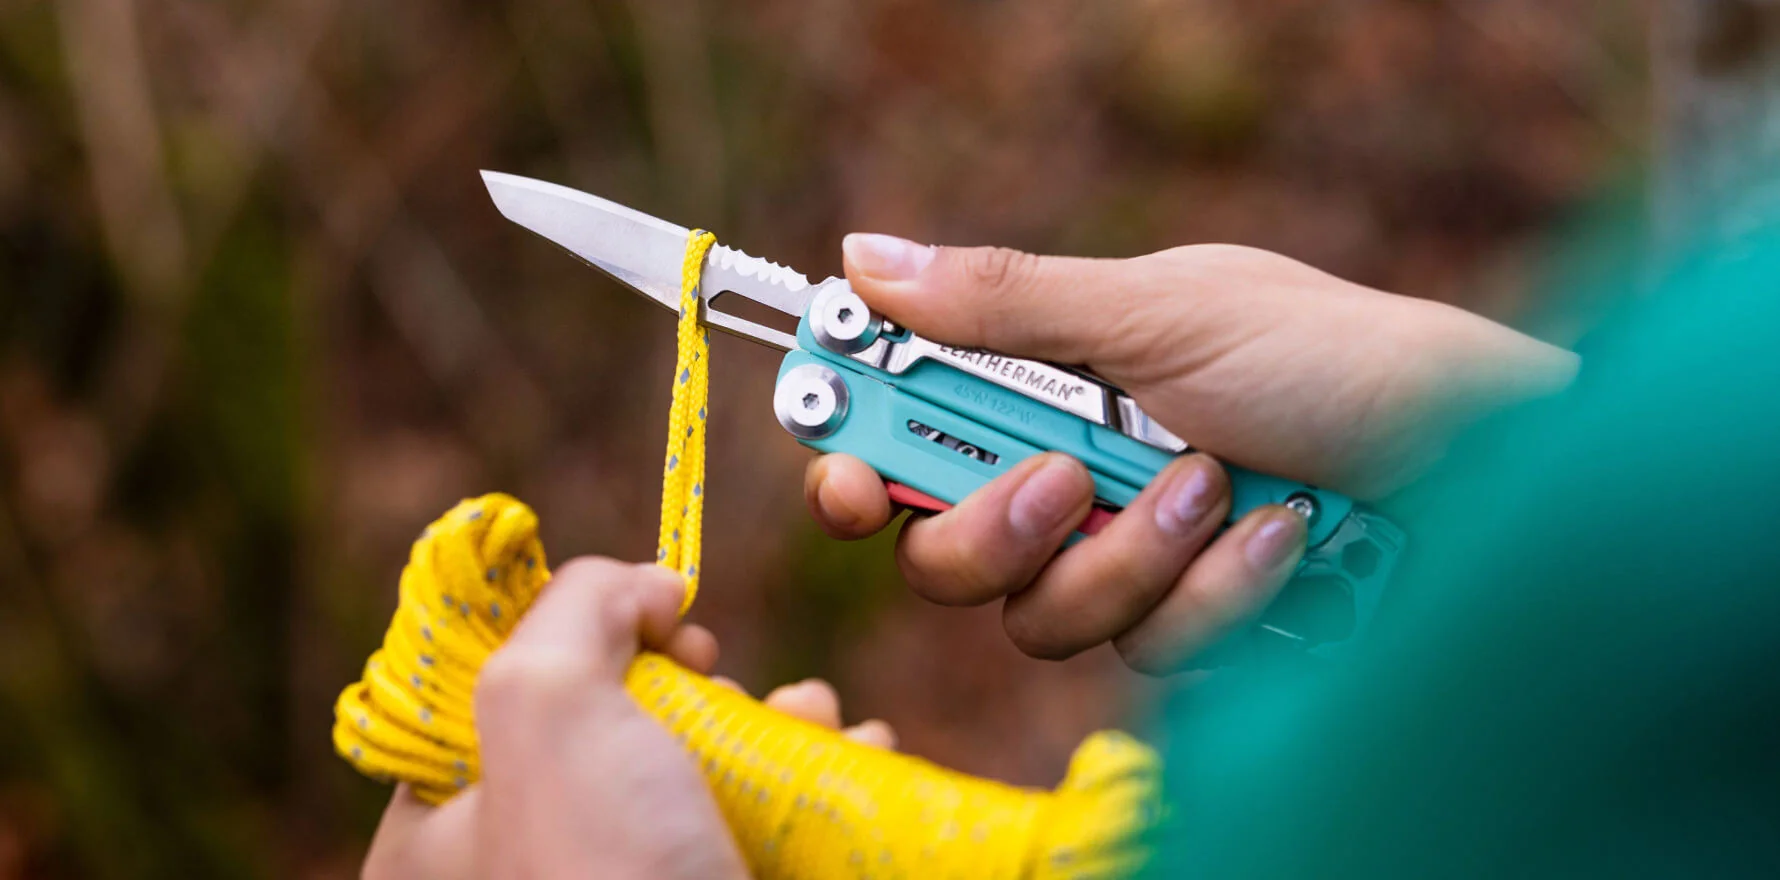
Leatherman's published standard for plain edges is 32° included, or 16° per side. The included angle is the sum of the two sides. Setting an adjustable sharpener to 32° on each side produces a very different edge. [1]
Check the edge in front of you, especially on a second-hand or previously sharpened tool. Work Sharp recommends colouring the bevel with a permanent marker and making a light pass on a fine abrasive to see where the contact falls. Marker left at the cutting edge shows that you are not yet working the whole bevel. Clamping depth and blade width also affect the real angle on a guided system, so a dial setting is a starting point to check. [14]
A controlled plain-edge touch-up
- Clean the blade and secure the setup. Use a stable bench and a non-slip base. With a clamp system, confirm that the blade is held securely and the folded tool's weight cannot tip the assembly. Keep the other implements closed.
- Match the bevel. Use the marker check and light pressure before committing to a run of strokes. Ensure the abrasive and guide can clear the handle throughout the stroke.
- Start fine when the edge only needs refreshing. On a DMT Fine/Extra-Fine Diafold, those surfaces are 600 and 1200 mesh. DMT allows dry use or water, without oil. Its coarser grades are intended for more substantial material removal. [16]
- Keep the angle steady through the tip. Work both sides consistently. Avoid lifting the handle sharply at the end and rounding the tip.
- Check that you have reached the cutting edge. When restoring a dull edge, look for a small, continuous burr on the opposite side: the fine lip of steel pushed over by the abrasive. Work both sides evenly. Stop and recheck contact if one section never develops a burr; polishing the shoulder above the edge will not sharpen it. [25]
- Finish with lighter alternating passes. Work Sharp's honing guidance reduces pressure as the edge is refined. Remove the remaining burr and check the result with a controlled paper cut. Keep fingers out of the cutting path. Rinse away sharpening residue, dry and clean the blade before use. [15]
For a concrete guided option, Work Sharp's original Precision Adjust covers 15°-30° and supplies 320-grit diamond, 600-grit diamond and fine ceramic abrasives. Its manual separates shaping, sharpening and honing. You need not start on the coarse plate every time a blade loses a little bite. Check that your particular blade and handle fit the clamp before buying a system. [13]
Keep lubrication advice separate from sharpening advice too. WD-40's own knife-maintenance article does not recommend its current products as sharpening-stone lubricant. DMT's water-or-dry instruction is one clear example of why the abrasive manufacturer's directions are important. [22]
The ARC's MagnaCut blade and the Wave+'s 420HC blade do not justify using force to hurry the job. Our ARC review describes its edge retention; our Wave+ review covers years of mixed cutting work. Touch up the blade when cutting performance drops, rather than grinding away steel on a calendar.
Give serrations and combo blades their own treatment
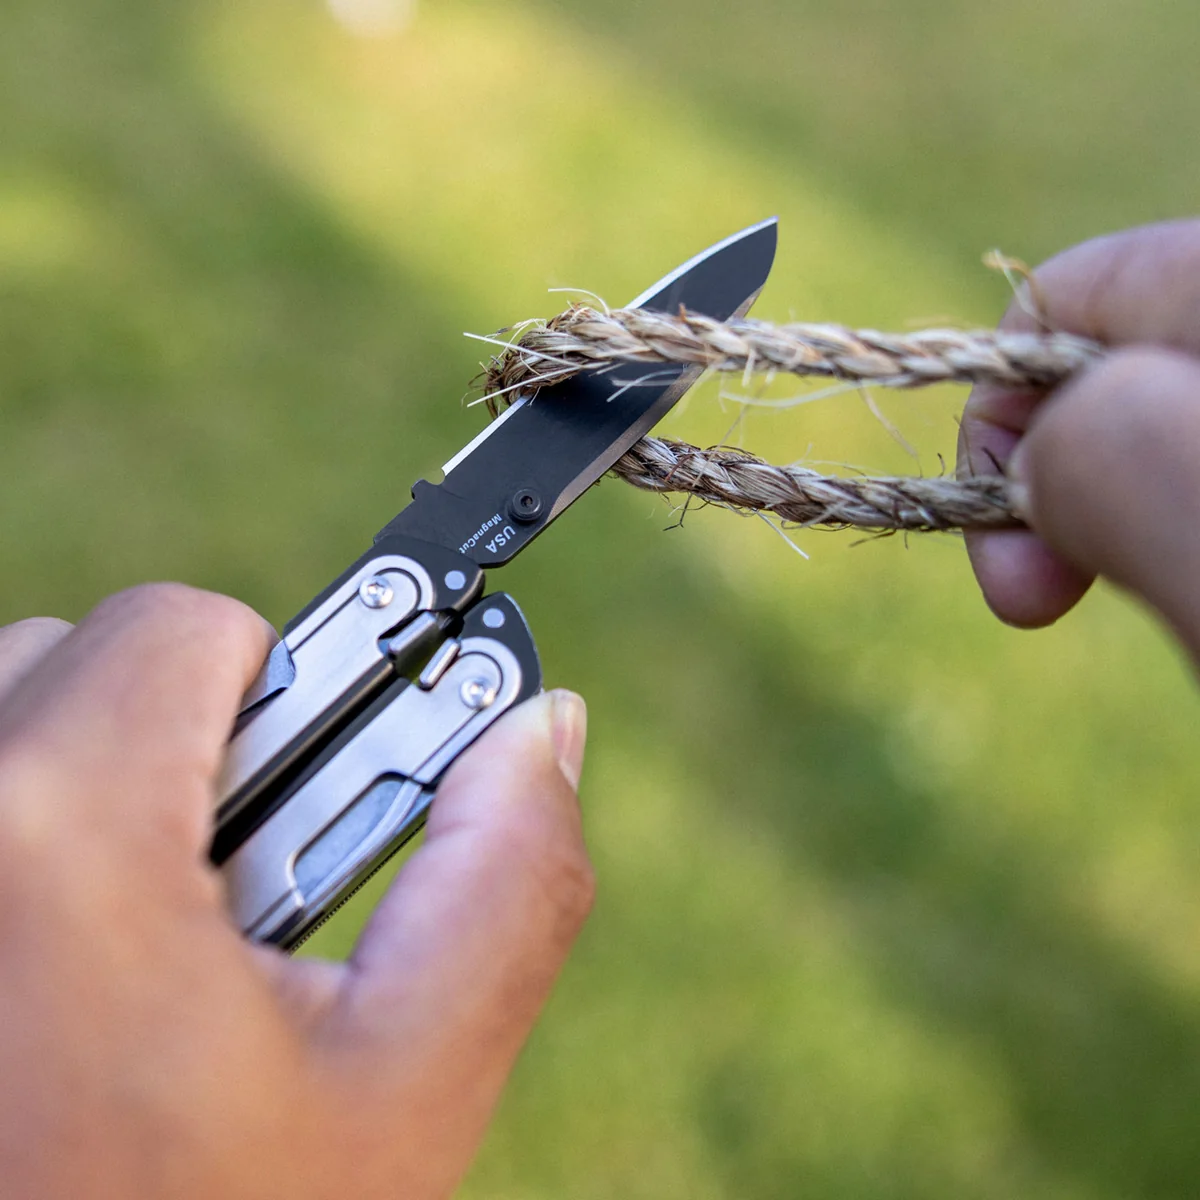
A Wave+ has separate plain and serrated knives; the Signal has a combo edge with both sections on one blade. Plan the job around that layout. A plain-edge pull-through slot cannot follow the hollows of a serrated section. [8] [10]
Leatherman specifies a 20° one-sided angle for its serrations and says to sharpen only the edged side. Grinding the flat back reduces the serrations' shape. Its branded sharpener provides a diamond-coated rod as well as carbide and ceramic sections for other edge work. [1] [17]
Choose a tapered rod that fits the hollow you are sharpening. Find the section of the taper that matches its diameter, settle into the existing bevel and use short, light strokes. Move through the hollows deliberately. Do not drive the rod's wider section through a small serration and enlarge it, or run a flat stone across the points as though you were sharpening a straight knife.
On a combo blade, finish the straight portion without carrying the abrasive into the teeth. Then change method for the serrations. Check the result on suitable scrap cord with the material supported and your hands out of the cutting path. A nick that repeatedly catches, or teeth that have been ground out of shape, needs a different repair from an ordinary touch-up.
Replace the right cutter inserts and protect the plier head
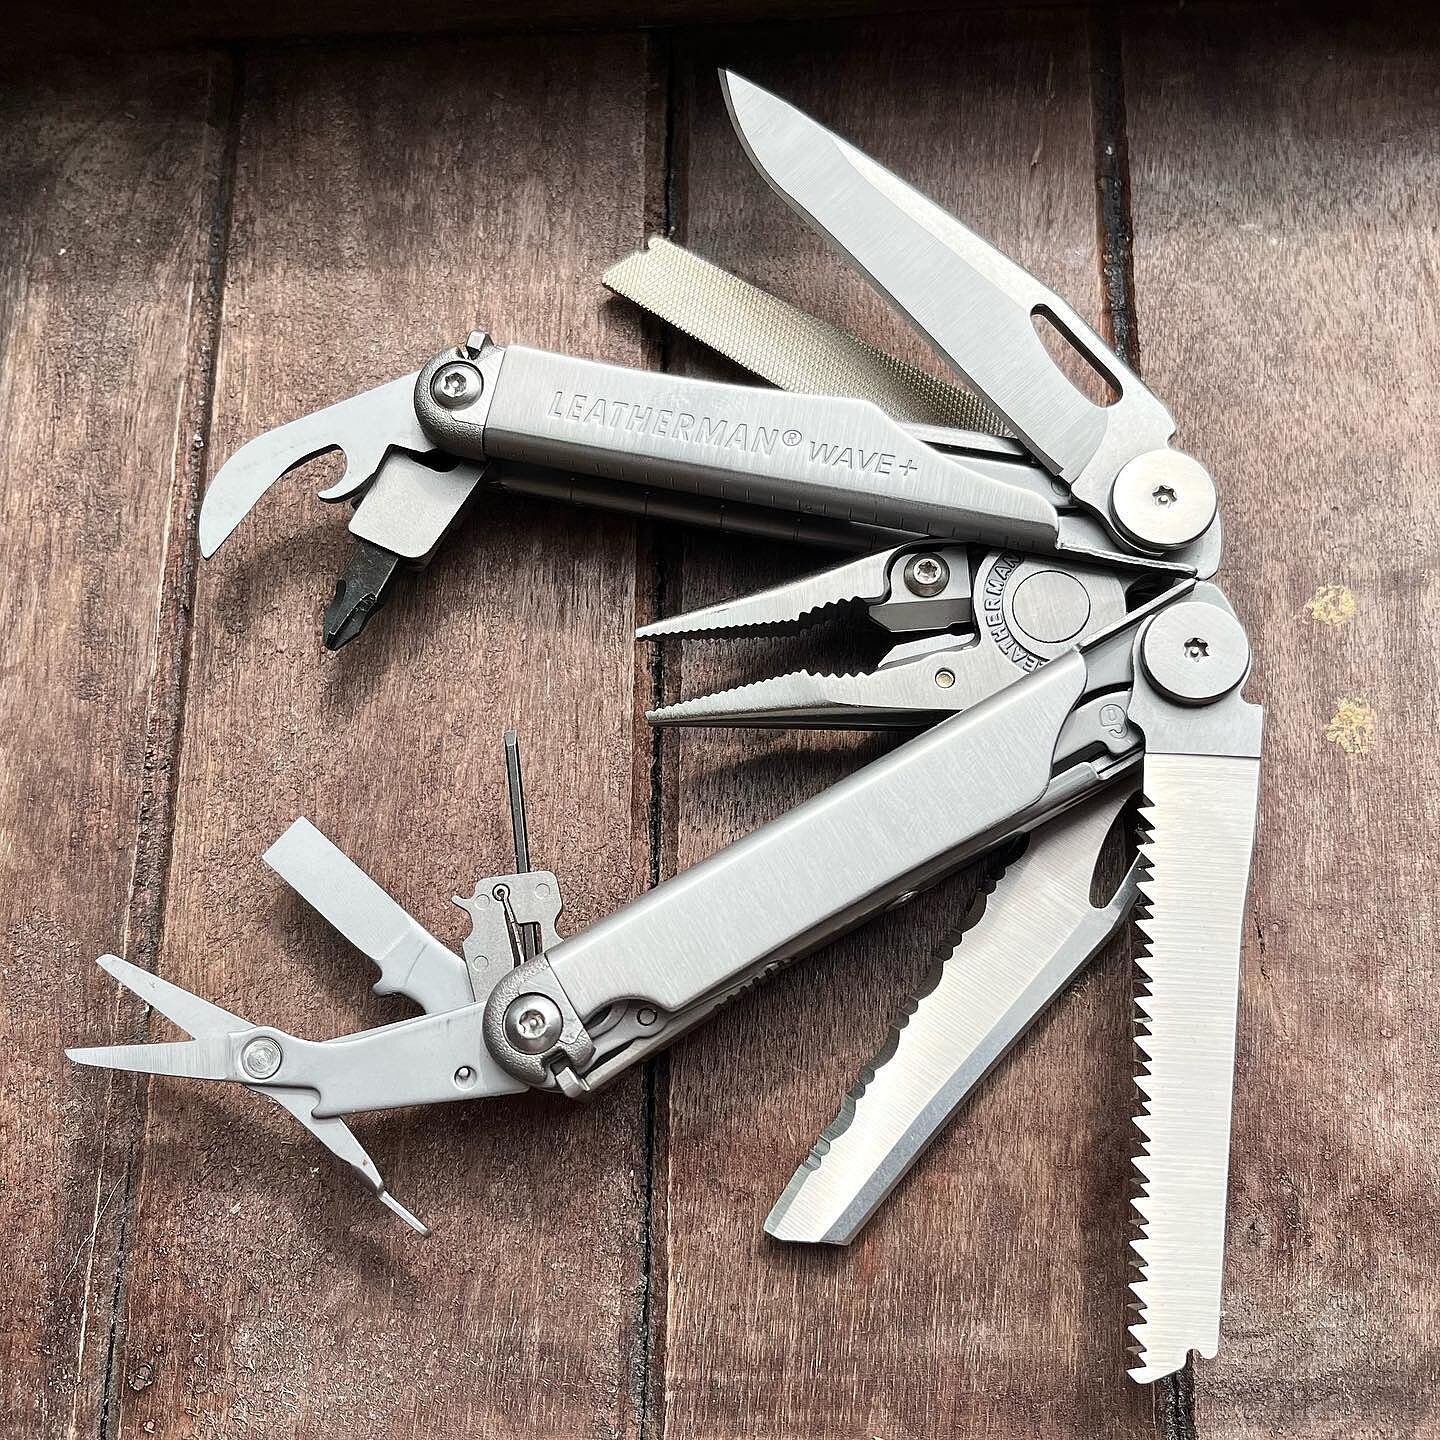
Open the pliers and inspect the cutter edges in good light. Check for a visible chip, trapped material or an insert that is sitting incorrectly. Do this with empty jaws; fingers are a poor way to feel for a damaged cutting edge.
Leatherman's standard replacement kit includes a pair of inserts, two screws and a Torx T8 tool. Match the compatibility list to the exact model. In particular, the separate EOD kit is listed for the MUT EOD and Super Tool 300 EOD. Similar-looking plier heads do not make those kits interchangeable. [11] [12]
- Place the tool on a clear tray and seat the T8 driver fully in the screw head before turning it.
- Lift out the damaged insert and remove debris from its seating pocket.
- Fit the correct new insert in the same orientation, sitting flat, and install the kit's screw according to its supplied instructions.
- Repeat for the other side, then open and close the empty jaws slowly. The inserts must pass without binding.
Stop if a screw is seized, the recess is damaged or an insert will not seat. Do not grind a new cutter until it fits, or substitute a torque figure from a different tool. The screw, seating pocket and insert work as a set.
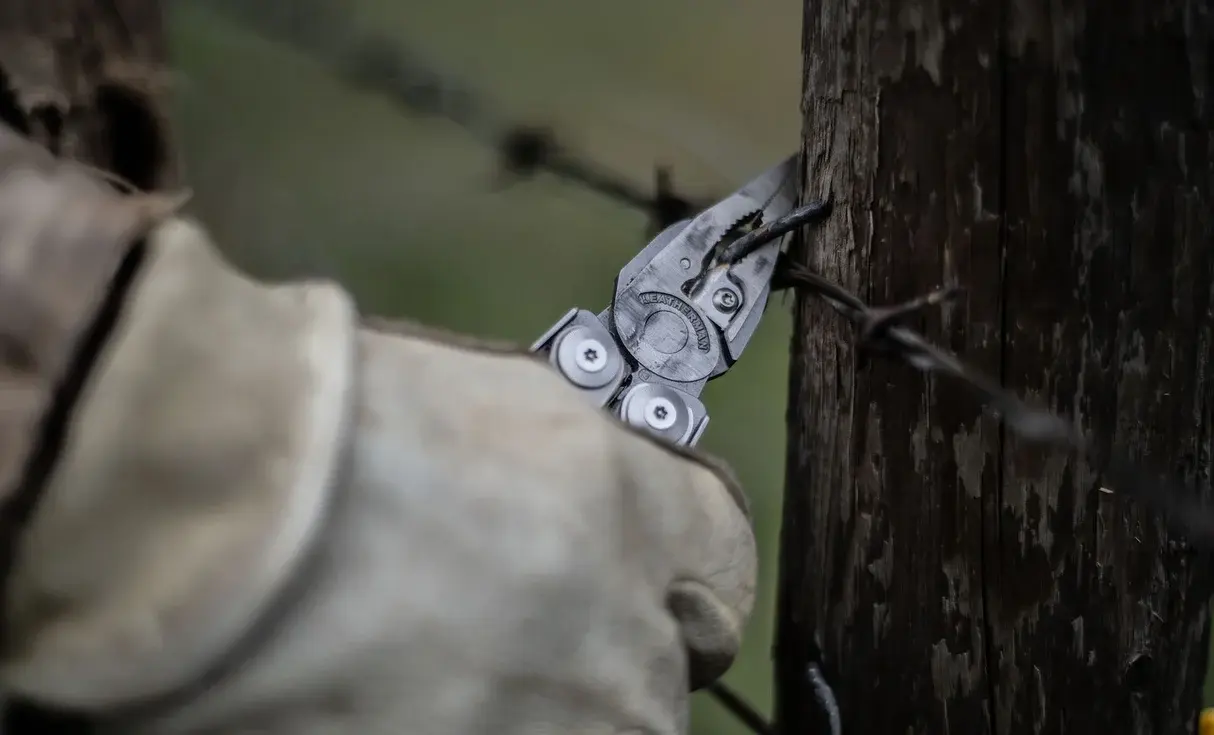
Use the designated hard-wire area for appropriate hard wire, and use dedicated cutters when the material exceeds the tool's capability. Leatherman distinguishes ordinary and hard-wire cutting areas in its beginner's guide. A bolt, nail or hardened fishing hook should not become an experiment in how much force you can put through the handles. [23]
Keep bits, saws and files out of abrasive dirt
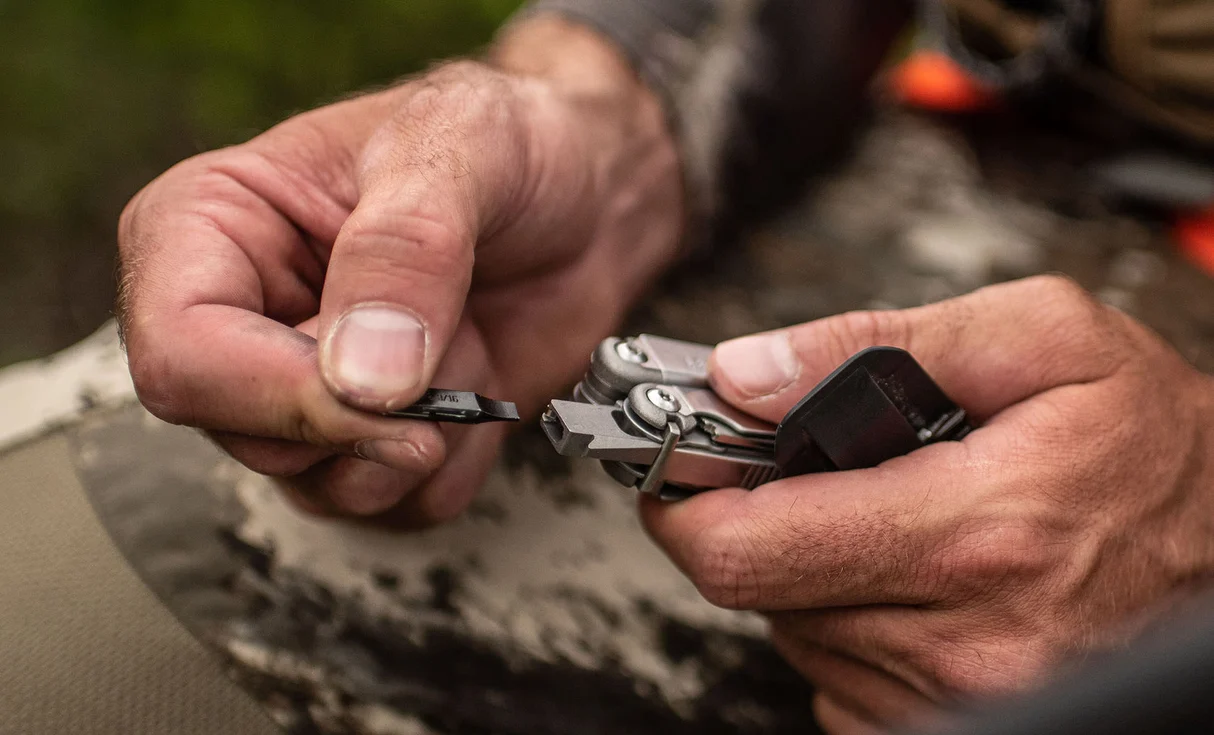
Take removable bits out after a dirty job and wipe their flats, tips and storage slots. Fit the bit all the way into its holder before applying torque. If the tip is rounded or twisted, replace it before it damages a screw you need to remove. A bit that only balances in the recess is liable to slip.
Use a driver that fits the fastener. Do not lean on a tiny eyeglass driver to free a larger screw, or use a knife tip as a substitute flat screwdriver. In our Wave+ review, the small driver and bit system earn their place through ordinary repair jobs. Preserving those small tips is more useful than proving they can survive one oversized fastener.
Brush wood chips from the saw and filings from the file after use. Work along the grooves and lift contamination out rather than crushing it deeper. Dry those surfaces after wet cleaning. If the diamond face is loaded with material, cleaning it is the first job; attacking it with another file can damage the surface you wanted to expose.
Use the implements for their intended direction of work. Keep a folding saw aligned in its cut and release a pinch before pulling sideways. A bent saw blade or needle-nose tip needs assessment, rather than another bend intended to make it look straight.
Pay attention to the parts unique to your model
ARC and other FREE-platform tools
Leatherman identifies the ARC's magnetic architecture as part of its FREE mechanism. After work around steel filings, inspect the handle channels and latch areas for particles. Lift loose debris out with a soft brush or swab. If you find a visible chip at a contact surface, remove it before repeatedly cycling the mechanism across it. Keep abrasive dust away from the open tool when sharpening nearby. [7]
Surge blade exchanger
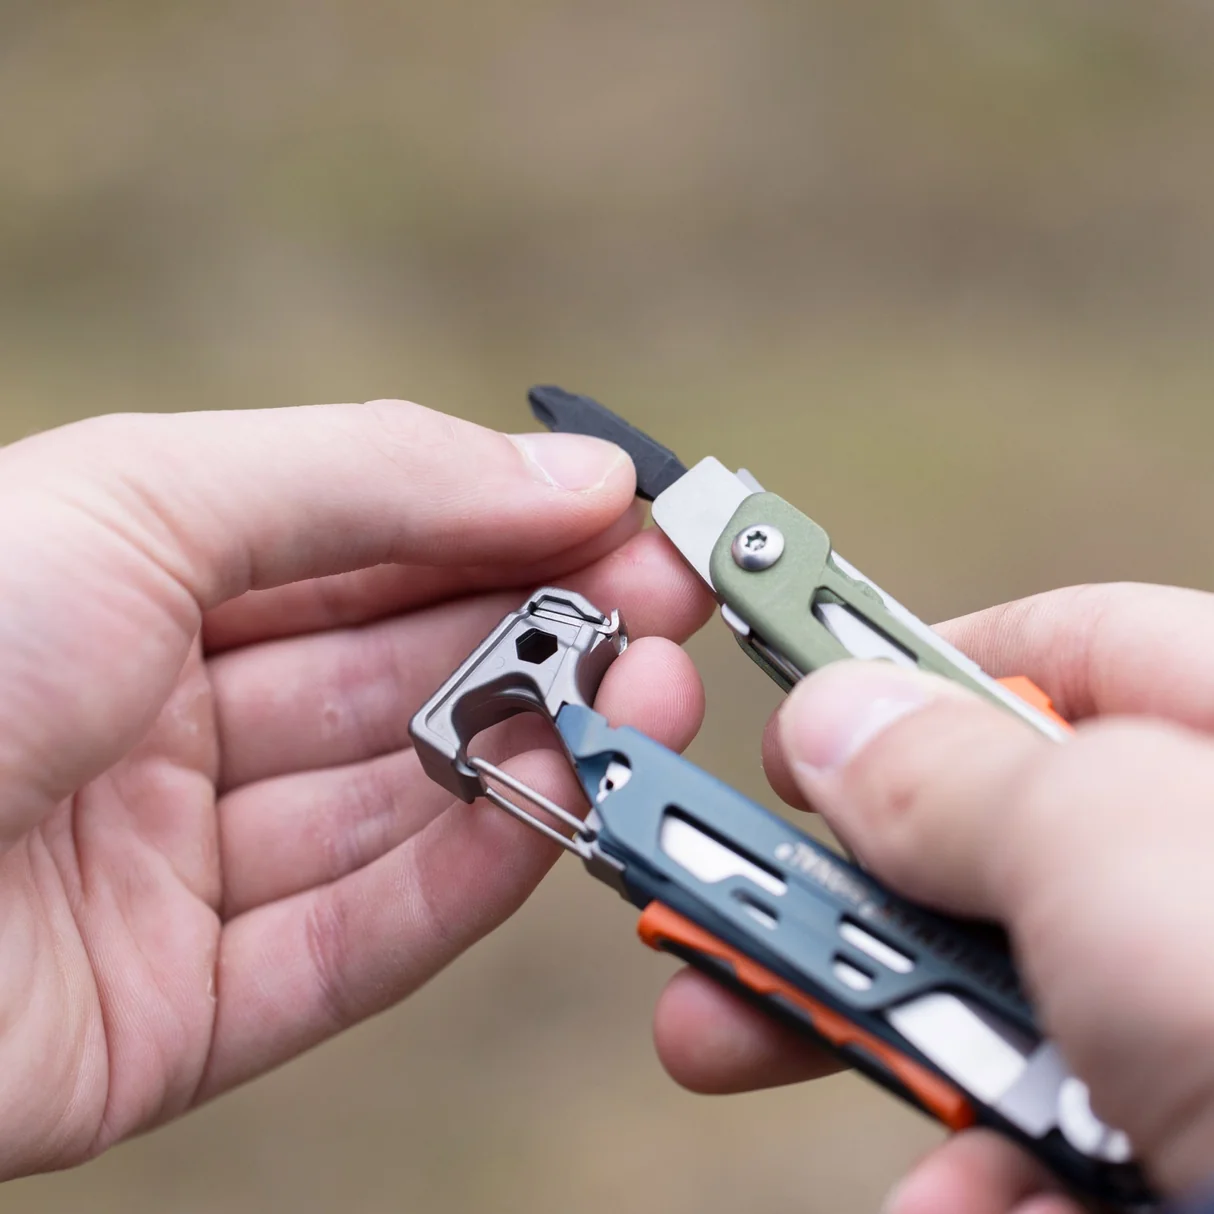
The Surge's exchanger accepts its saw and file, and Leatherman describes it as a T-shank adapter. Brush out the holder before inserting a blade, seat it fully and check that the retention mechanism engages. An unfamiliar blade that fits the slot still needs to clear the handles when folding. Remove it if the tool cannot close normally. [9]
Signal removable accessories
Remove the ferro rod and sharpener deliberately, keeping track of the retention pieces rather than pulling at their housings. Clean and dry the receiving spaces before refitting them. Keep oil off a ferro rod's working surface and keep the plastic housing out of the hammer's impact area. Our Signal review identifies the small fire-starting and sharpening inserts as occasional backups, so carry a separate sharpener for a substantial edge repair.
Before putting any model away, count its removable pieces: the driver bit, accessories and clip or lanyard fittings. Finding an empty holder at the workbench is much easier to deal with than finding it halfway through a trip.
Distinguish dirt and stiffness from a damaged lock
After cleaning, open each locking implement fully and check that its lock engages and releases as designed. Keep your hands out of the closing path. If engagement is uncertain, stop using that implement under load and arrange an assessment. Do not test it by striking the spine or forcing it towards your fingers.
Use the before-and-after comparison. Gritty movement that improves when you remove dirt is useful evidence. A lock that skips, a blade that contacts an adjoining implement, or increasing sideways play points to a different problem. Lubricant can reduce friction; it cannot replace missing metal or restore a damaged spring.
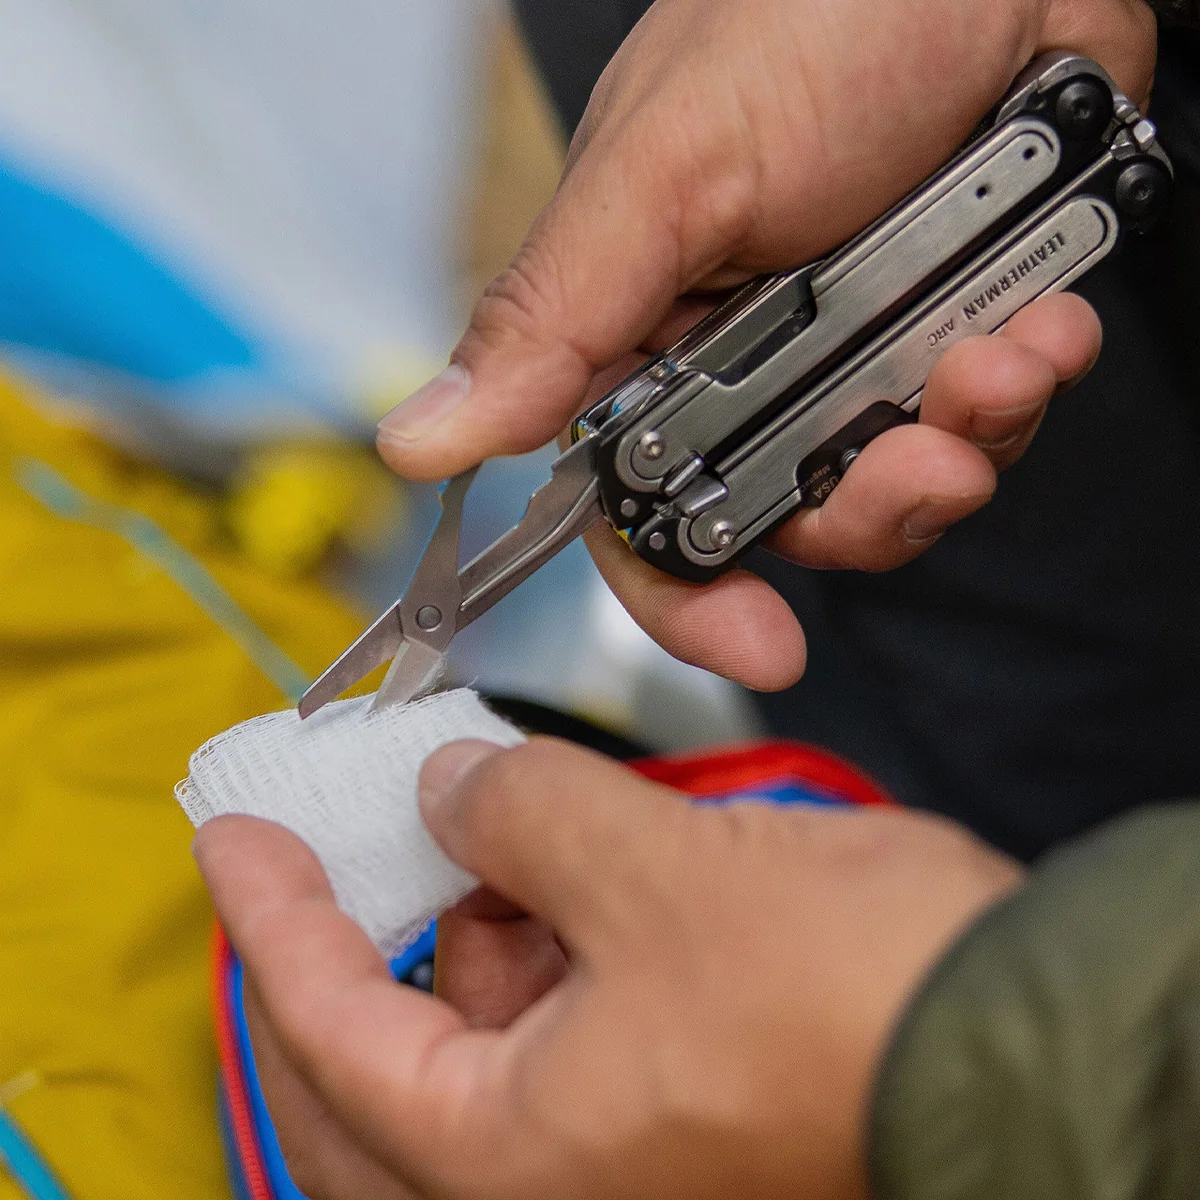
Scissors deserve their own check. Clear fibres from the hinge, wipe the blade faces and check whether the spring returns them normally. Cut a small piece of ordinary paper without twisting the scissors. Our Wave+ tester reports a sticky scissor spring from new that still needs manual opening after nearly six years. That specific fault is worth recognising rather than describing every stiff mechanism as normal bedding-in.
Leatherman's FAQ reserves full disassembly for factory-trained technicians and explains that pivot tension is controlled during reassembly. Taking the tool apart can lose components, compromise function and affect warranty protection. User-replaceable cutter inserts are a separate job from loosening every handle pivot in search of smoother action. [6]
Store the tool dry, and check what carries it
Close and store the tool only after the cleaning work is complete. Empty damp pockets and take it out of a wet sheath. A dry-looking handle can be sitting against damp fabric for hours. Leave both parts somewhere ventilated, then inspect the tool again before longer storage.
Clear grit from a sheath and inspect its belt loop, stitching and closure. Check that a pocket clip retains the tool normally and has not been bent outwards. A clip or accessory that no longer holds securely needs the correct replacement, rather than repeated bending until the metal fails.
Leatherman's Wave+ specification identifies a lanyard ring. If you use one near water, fit the attachment to the intended point and check the cord and connection for wear. In our Surge review, the size and weight make a sheath or bag a more realistic carry method than loose pocket carry. Choose a method that retains the particular tool securely and lets it dry after use. [8]
For a tool you are putting aside for months, wipe the exposed steel with a light protective film suited to the finish, close it safely and keep it in a dry place. Leave a note with any fault that still needs repair. Storage is an easy point at which a temporary workaround becomes a forgotten problem.
Use the right repair and sharpening service for your country
A chipped knife, unreliable lock, loose plier head or cracked handle belongs in the repair queue. Take a close-up of the fault and another photograph showing its position on the whole tool. Explain what happens during normal operation, identify the exact model and mention any components with sentimental value before sending it.
Leatherman's UK warranty page describes a 25-year limited warranty for material and workmanship defects and gives the UK and Ireland service route. It also says that sheaths, accessories and worn colour finishes are outside that warranty. The published policy is useful for choosing the route; cosmetic finish wear and a failed locking part are different service enquiries. [21]
Sharpening availability differs by market. The US page currently lists a free service for MagnaCut-bladed products, including the ARC, limited to non-serrated edge sections and excluding ordinary sharpening of chipped or broken blades. The UK warranty page currently says it does not provide general servicing or blade sharpening. Check the regional service page before posting a tool abroad or assuming a Wave+ qualifies for a US MagnaCut offer. [20] [21]
If you use a local sharpener, specify the model, the existing edge and Leatherman's angle guidance. Explain whether the job is a plain-edge touch-up, serration work or damage repair. Asking for a sharp blade without identifying that distinction leaves too much of the job unspecified.
Finish with a repeatable five-minute inspection
Once the tool is clean and dry, make the final inspection the same each time. It is easier to notice a change when you use a familiar sequence.
- Look: check the blade, cutter edges, plier tips, springs and visible fasteners for damage.
- Move: open and close each implement separately, checking its designed lock and release.
- Cut: test maintained edges on suitable scrap material with a clear cutting path.
- Wipe: remove excess lubricant from the surfaces you grip and the blade you will use.
- Account for parts: refit the correct bit and accessories, then check the clip or sheath.
If anything has changed significantly, deal with it before the next job. Regular maintenance works best when it remains a small, specific response to dirt, moisture, wear or a developing fault.
Leatherman field reviews
Read the reviews behind this guide
See the Signal review for its removable accessories, or browse our knife and multitool reviews.
Sources and further reading
Manufacturer guidance checked on 29 October 2026. The working routines and examples above apply that guidance to the tasks described; our review observations remain linked to the individual field reviews.
- Leatherman UK: cleaning, lubrication, corrosion and sharpening angles
- Leatherman: contents of its maintenance kit
- Victorinox: pocket-tool washing, drying and oiling sequence
- Victorinox: dishwasher cautions and pocket-tool oil selection
- Leatherman UK: black oxide care and finish transfer
- Leatherman: disassembly and service guidance
- Leatherman ARC: magnetic architecture, MagnaCut and DLC finish
- Leatherman Wave+: tool layout, locks and lanyard attachment
- Leatherman: Surge T-shank blade exchanger
- Leatherman Signal: combo edge, accessories and finish specifications
- Leatherman: standard cutter kit, screws and T8 driver
- Leatherman: EOD cutter-kit compatibility
- Work Sharp: Precision Adjust clamping, angles and abrasive stages
- Work Sharp: marker test and the effect of clamping position
- Work Sharp: refining an edge with lighter alternating strokes
- DMT: diamond grades and dry-or-water sharpening
- Leatherman: carbide, ceramic and serration-rod sharpener
- Super Lube: Multi-Use Synthetic Oil viscosity and incidental food-contact specification
- Victorinox: Multi-Tool Oil 4.3302 specifications
- Leatherman US: MagnaCut sharpening-service scope
- Leatherman UK: warranty and regional servicing information
- WD-40: keeping sharpening lubricant separate from storage protection
- Leatherman: ordinary and hard-wire cutting functions
- Super Lube: 51010 precision oiler and Syncolon PTFE formulation
- Work Sharp: forming the edge and recognising a burr