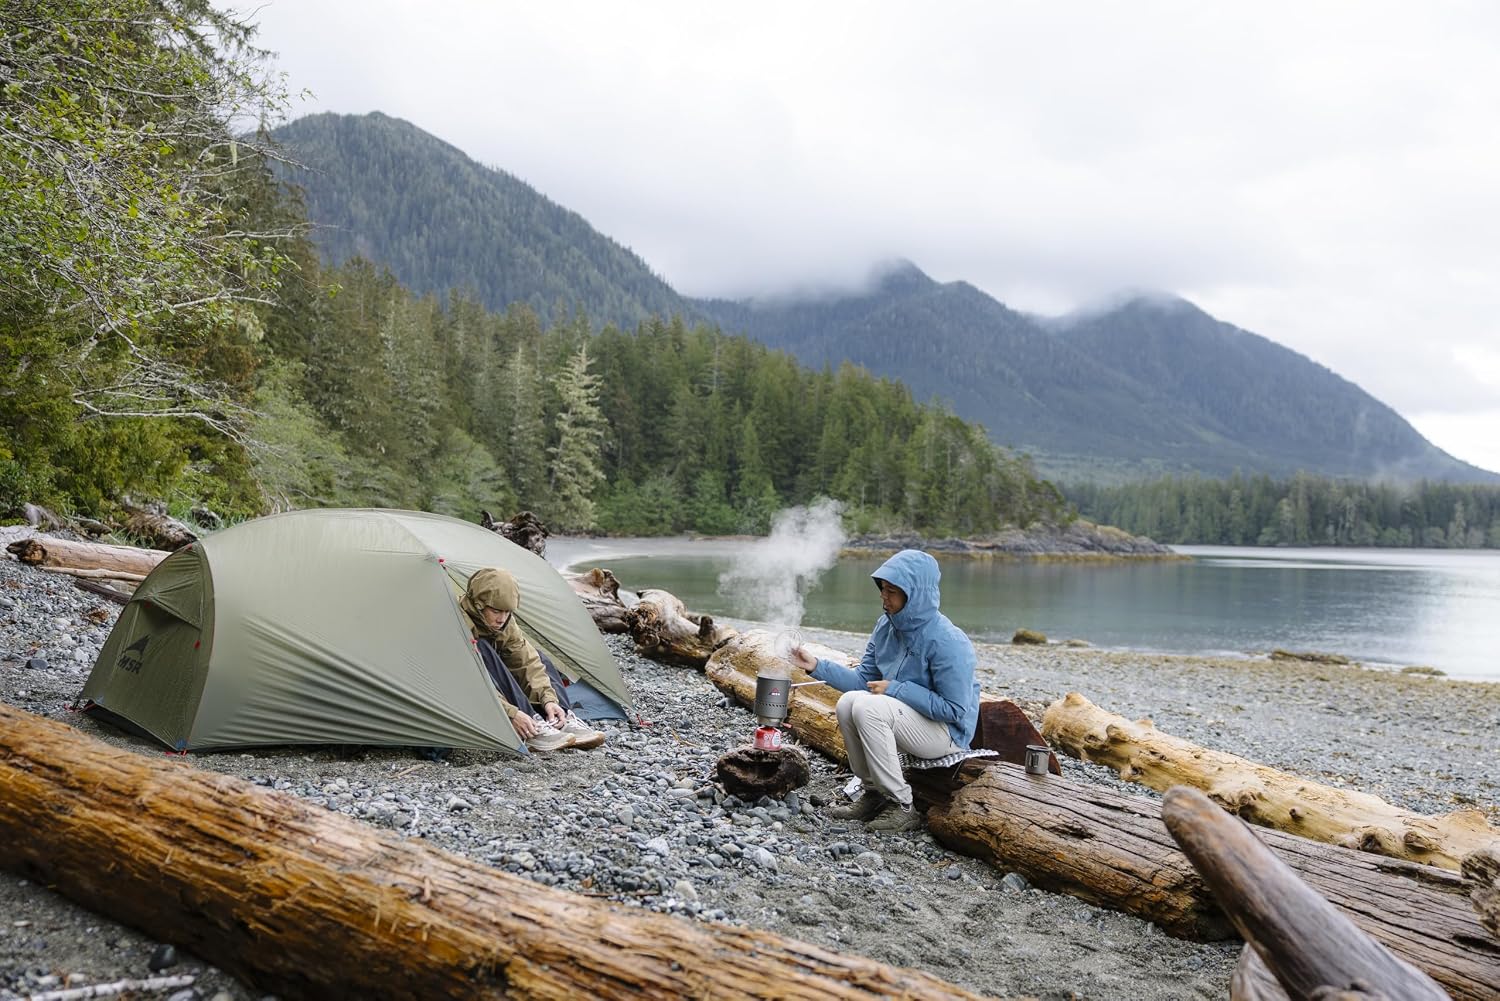
A good tent isn't cheap, and you want it to last through many years of outdoor adventures. Drying it properly, cleaning it gently and dealing with small repairs promptly are the foundations of keeping it in service.
A poorly maintained tent can leak, develop musty smells or become mouldy, making a trip unpleasant and leaving you with an unreliable shelter when you need it most. Looking after the fabric, poles, zips and waterproofing helps keep your tent fresh, functional and ready for the next adventure.
In this practical guide, we run through the best ways to make your tent last longer, drawing on care advice from more than a dozen tent manufacturers and our review team's combined experience of nearly a century enjoying the great outdoors under canvas.
The essentials
At camp, protect the floor and pitch with the correct tension. At home, clean only as needed and let every component dry before storage. Investigate leaks before buying a treatment: condensation, worn water repellency and a damaged waterproof coating need different responses.
Dry the whole tent, including the bits that stay damp
Unpack a wet tent as soon as you get home. MSR warns that mildew can start developing in a wet, crumpled tent in as little as 24 hours. A weekend's condensation is enough reason to dry it again, even when it never rained. [1]
Separate the flysheet, inner and footprint where the design allows. Pitch them in a ventilated space or hang them over a broad support. Spread out folds, turn the floor over and reposition the fabric as it dries. Outwell specifically identifies the groundsheet, seams, webbing, storm straps and fabric around zips as places where moisture remains trapped. Those are the last areas to check with your hands before packing. [6]
On a multi-day trip, wipe or shake off condensation before packing and take the next suitable opportunity to air the tent. Keep a wet fly away from the dry inner when you can. The Camping and Caravanning Club recommends a separate bag for a removed inner to keep outside dirt off it. Put the damp parts somewhere you will remember to unpack them when you return. [45]

Protect the floor without collecting rain underneath it
Check an established pitch for loose sharp stones, sticks and thorns before laying out the tent. Keep boots and gritty equipment off the sleeping-compartment floor. A pebble beneath the fabric becomes a more serious abrasion point when someone kneels on it.
A footprint protects the floor, but its size is important. REI recommends keeping a groundsheet within the tent floor's outline. Fold exposed edges underneath: an oversized sheet catches rain running off the fly and funnels it under the floor. Cut or fold a homemade footprint to the sleeping area's shape rather than leaving a broad apron outside. [2]
Keep the muddy underside away from the inner during pack-up. Roll dirty pegs into their own bag too, rather than letting their points and dried mud work against the fabric. A groundsheet makes a useful clean surface for sorting the tent before it goes into its bag. [45]
Practise the pitch and use the guy points
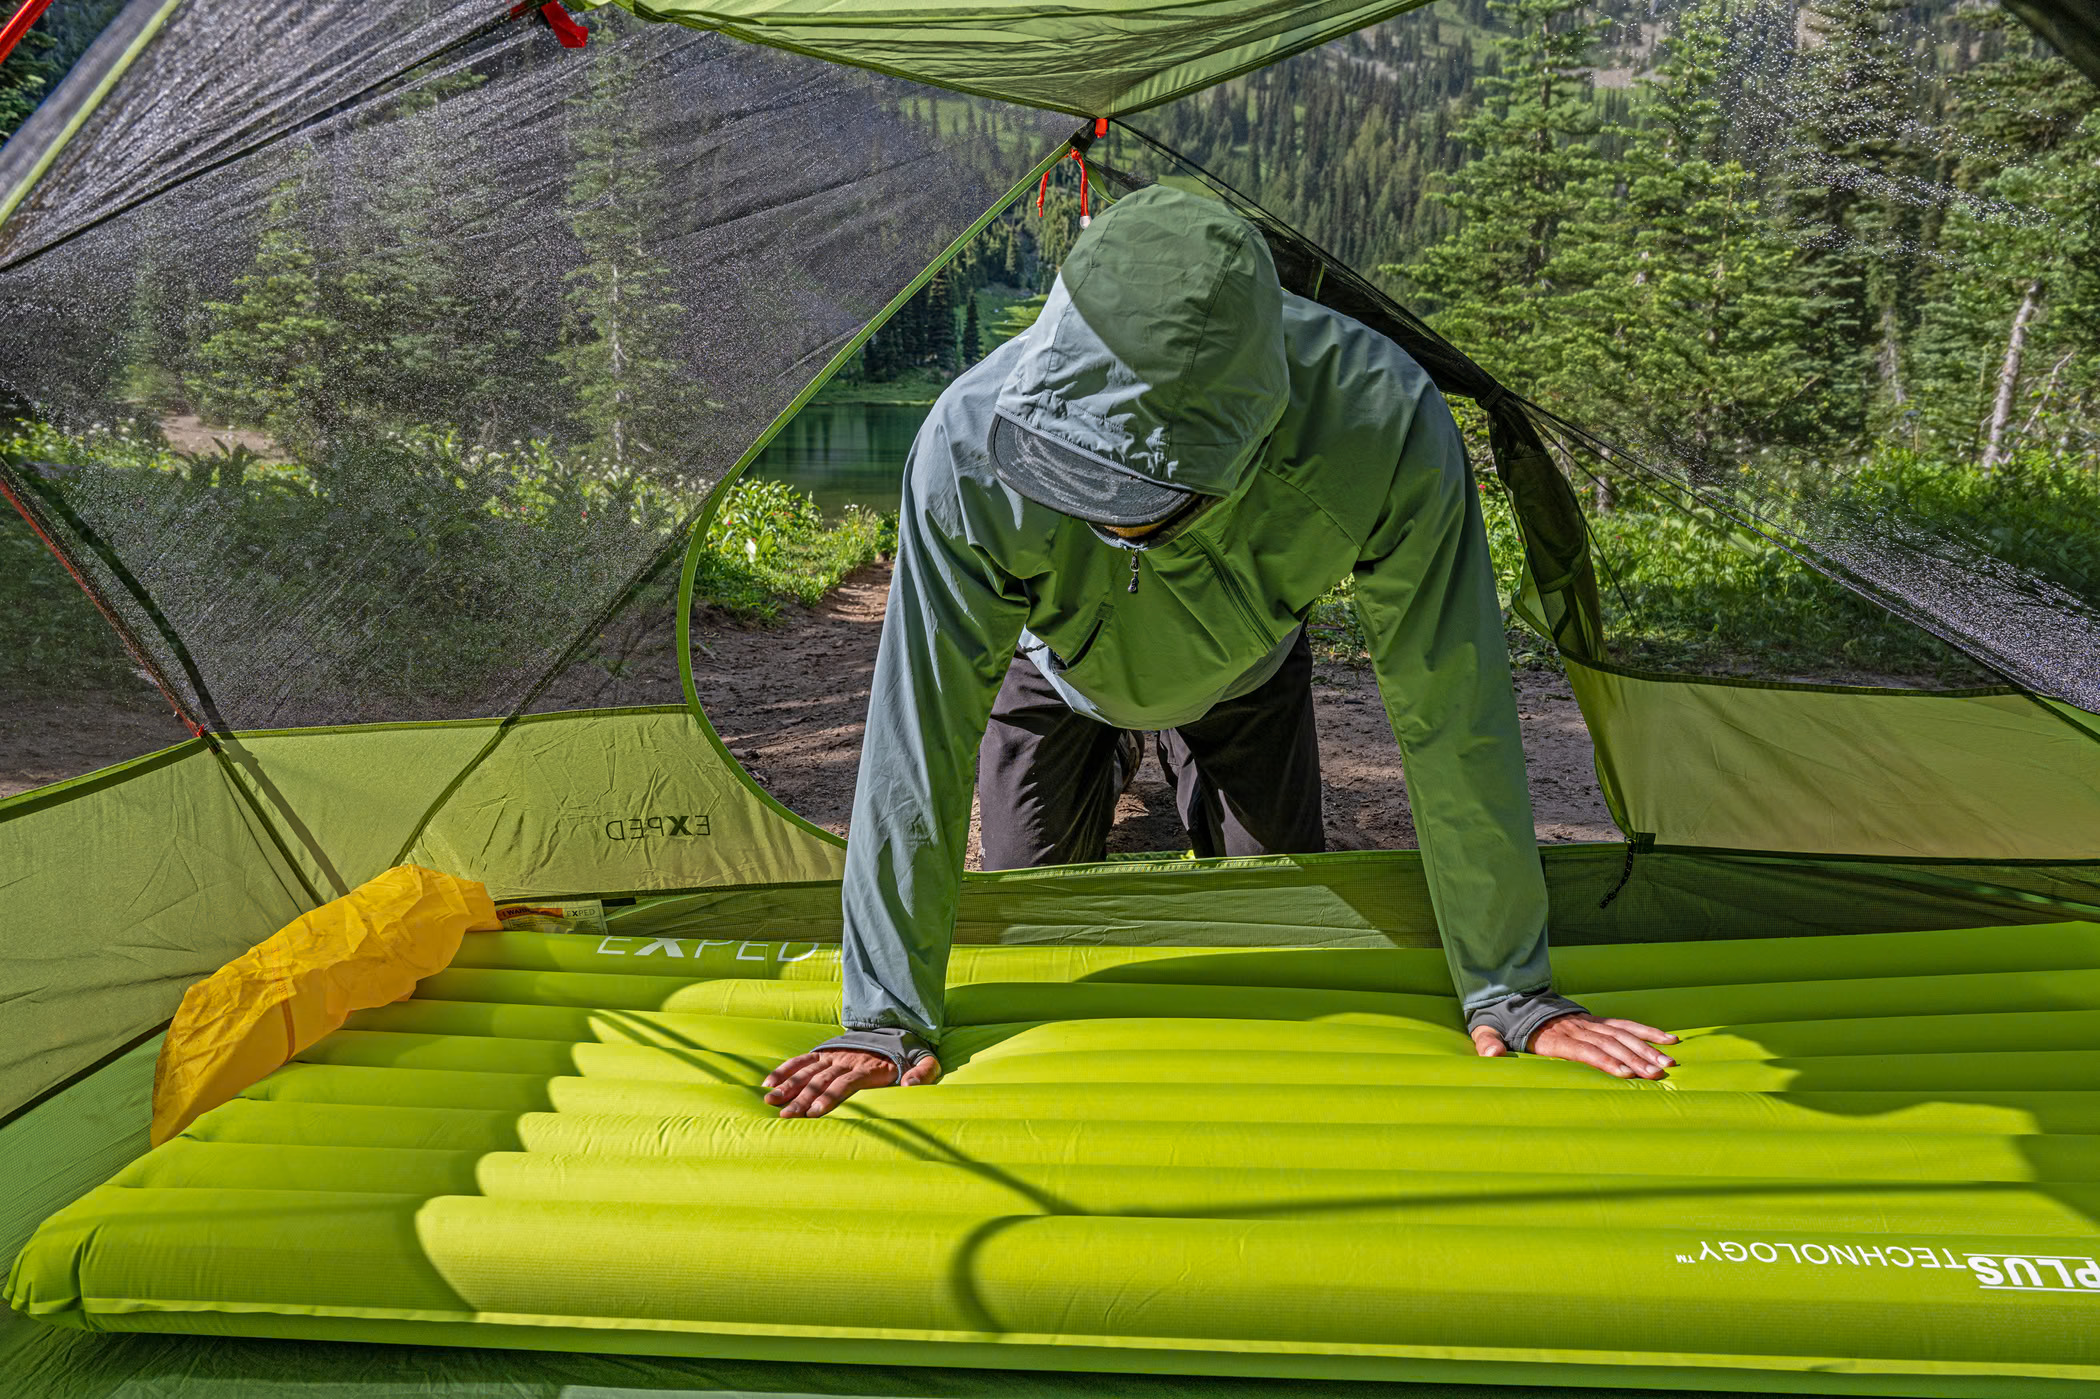
Pitch a new tent at home before taking it away. Identify the poles, clips, tensioners and pegging sequence while you have time to work them out. Check that the doors close freely before finishing the tensioning; a door dragged out of shape makes its zip harder to operate.
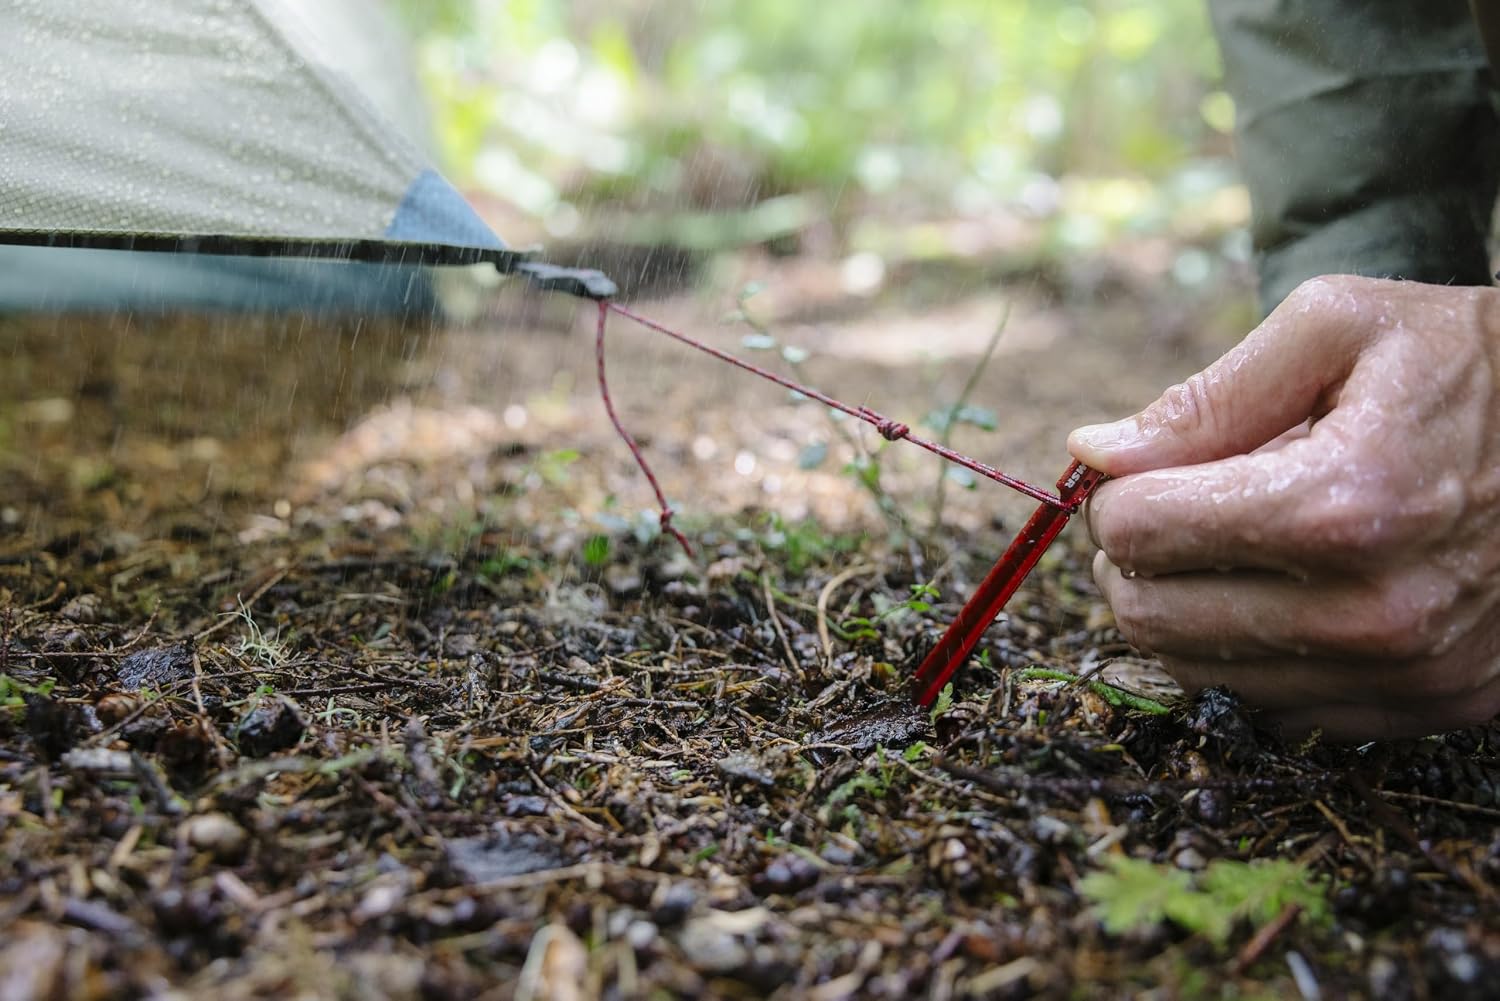
Hilleberg's tunnel-tent advice calls out peg tensioners, guylines, pole cups and the entire pegged perimeter. Outwell cautions against pitching excessively tight. Aim for the intended shape and even support, with the fly separated from the inner. If a panel looks wrong, check the peg position and pole seating before pulling harder on one corner. [3] [4]
Match the pegs to the ground. In our Hubba Hubba HD 2 review, the supplied Mini-Groundhogs held in ordinary forest soil, while larger stakes worked better in soft moss. The Copper Spur UL2 review also describes checking fly tension during prolonged rain when water collected on the roof. Revisit the pitch after conditions change, rather than assuming the first adjustment is the last.
Seat each pole joint before bending the frame
Unfold shock-corded poles a section at a time and seat every joint fully by hand. Letting the elastic whip the sections together can chip the ends. A partly engaged joint concentrates bending force at the edge instead of distributing it along the connection. Check the assembly before putting it under tension. [2]
Stop if a pole catches in a sleeve. Straighten the fabric and guide the joint through instead of driving it forwards. In the Wawona 6 review, the long X-shaped poles snagged during solo pitching; a second person guiding the sleeve made setup considerably easier.
For takedown, release the pole from its holder and push it out of the sleeve. Pulling can separate sections inside the fabric and stretch the cord. REI recommends starting at the middle when folding conventional shock-corded poles, then folding the remaining halves. Wipe away grit before joining or packing sections so it does not collect in the fittings. [2] [16]

Clean a stiff zip before adjusting the slider
If a door zip becomes stiff, first look for trapped fabric and grit. Hold the fabric clear, back the slider away from the snag and work slowly. Forcing it risks tearing the surrounding material or damaging the slider.
NEMO gives a useful cleaning sequence: unzip the door, brush both sides of the track with an old toothbrush, then brush on Gear Aid Zipper Cleaner and Lubricant and test it again. MSR recommends rinsing sand from its zips with water. Use water and a brush after a sandy trip; if the track is clean but still reluctant, NEMO's specified lubricant is a concrete next step. [5] [40]
A zip that moves freely but opens again behind the slider has a different problem. The slider may have spread and stopped bringing the two sides together. NEMO describes gently pressing the top and bottom of the slider back towards each other with needle-nose pliers, a little at a time and testing after each adjustment. A heavy squeeze can jam the track or break the slider, so stop before you crush it. Damaged teeth or a recurring failure call for a correctly sized replacement slider or zip repair. [41]
Keep seam adhesive away from the teeth when repairing nearby fabric. Gear Aid warns that its WP adhesive can gum up a zip if applied carelessly. Mask the working area and keep the moving parts clear. [32]
Choose the cleaning method for your tent, not the strongest cleaner
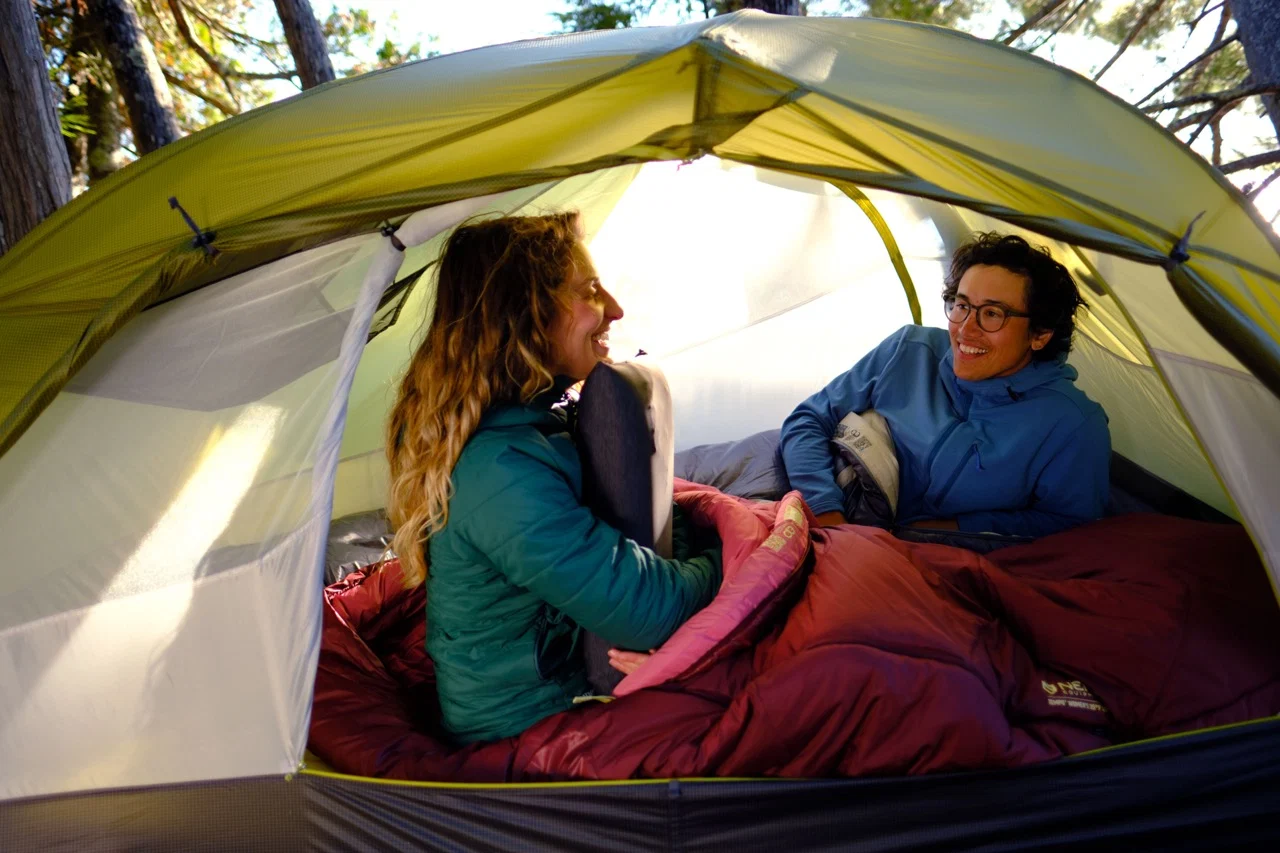
Empty the tent and remove loose dirt before wet cleaning. For marks that lift with water, use lukewarm water and a soft sponge. Work gently on the coated underside of the fly and floor. Aggressive scrubbing can remove the layer you are trying to preserve.
The manufacturers do give different answers about deeper washing:
| Manufacturer | Published recommendation | Practical implication |
|---|---|---|
| MSR | Clean when heavily soiled or smelly; use warm water, a sponge and mild non-detergent soap for heavier cleaning. | A full wash after every short trip is unnecessary. [1] |
| Outwell | Lukewarm water and a soft sponge only for everyday care; no soap or detergents. | Start with water rather than borrowing another brand's wash recipe. [6] |
| Big Agnes | Warm water and a tent-specific wash, naming Nikwax Tech Wash. | Hand wash, rinse thoroughly and dry completely. [21] |
| Nordisk cotton tents | Brush or wipe off dirt first, then use lukewarm water. Cotton wash is a later option and requires reproofing. | Cotton wash and proofing are separate jobs. [26] |
For an approved hand wash, work in a clean bath or large tub with space to move the fabric gently, rinse away the cleaner and air-dry. Keep tents out of washing machines and tumble dryers. Big Agnes also gives special instructions for mtnGLO tents: disconnect the light controller, protect the USB connection and do not submerge the tent body. Built-in electrics change the cleaning job. [21]
Check sticky marks before reaching for a solvent. EXPED suggests hardening tree resin with an ice cube or cold pack, then carefully lifting the brittle material with a spoon. That is a useful first attempt before choosing a compatible stain treatment. [29]
Musty smells and mould need their own diagnosis
Sea to Summit recommends Revivex Odor Eliminator for early mildew odour, but warns that more advanced mildew may accompany a compromised urethane coating. Vango recommends well-diluted Milton for mould, whereas MSR warns against bleach. Those are model-specific care recommendations, not interchangeable household cleaning recipes. For an Outwell or MSR tent, do not substitute the Vango treatment. [27] [22] [1]
Gear Aid's tent-deodorising method uses a brief soak, capped at five minutes, followed by air-drying without rinsing or heat. Use the tent-treatment dilution on the bottle you have. Rinsing removes the active treatment, and a longer soak is not a stronger version of the same repair. Cleaning an odour also will not rebuild a peeling waterproof coating. [46]
Trace the water before treating a leak
On a damp morning, wipe the inside of the fly and check where new moisture appears. Widespread droplets on the cool inner surface suggest condensation; a repeatable drip along one stitched line gives you a seam to investigate. Water can also run along fabric before it drips, so look above the wet sleeping bag rather than treating only the spot directly beneath it.
NEMO recommends opening the tent's vents, keeping wet gear out of the sleeping space and wiping away collected condensation before packing. Use low and high openings where the design provides them, and keep the fly's ventilation gaps open instead of pulling every edge down to the ground. [8]
Our Copper Spur UL2 review describes less condensation with vestibule doors partly open in dry weather. The Hubba Hubba HD 2 used both kickstand fly vents for crossflow during its spring test. Adjust those features before spending money on waterproofing.
Once everything is dry, investigate a suspected leak with the tent pitched and a gentle water test, watching the seams and floor from inside. Retest a completed seam repair after it has cured. Never run a stove inside the tent to warm or dry it; Coleman identifies both fire and carbon monoxide risks. [43] [49]
Reproof when your tent needs it, using the maker's interval
Keep a tent out of unnecessary direct sun between trips. On a long exposed stay, shade or a suitable separate tarp reduces UV exposure. A spray treatment cannot restore tear strength already lost through ageing; Hilleberg makes that distinction in its retreatment advice. [9]
For reproofing, there are useful differences between the manufacturers:
| Manufacturer | When it recommends treatment | Named treatment or check |
|---|---|---|
| Robens | Every two years for 2-3 weeks of use annually; annually for 3-5 weeks. | Its guidance names Fabsil Universal Protector as a DWR option. [24] |
| Hilleberg | When an outer tent has lost water repellency; it specifically says not to treat a new tent with this product. | Nikwax Tent & Gear SolarProof. [9] |
| Outwell | Check whether sprayed water beads and runs off or begins to soak into the outer fabric. | Use the water test to identify declining repellency. [47] |
Treat those as advice for those manufacturers' fabrics, rather than imposing one annual ritual on every tent. Before reproofing, remove dirt using the cleaning method approved for your model. A dirty surface can interfere with water shedding.
A worked example: applying SolarProof
For a synthetic tent approved for Nikwax Tent & Gear SolarProof, Nikwax specifies clean, wet fabric. Shake the bottle, spray evenly from about 15 cm, wait two minutes and wipe off excess with a damp cloth. Let it air-dry fully before use or packing. Its approximate coverage is 50 ml per square metre, so estimate the area before starting and buy enough for the whole fly. [42]
Nikwax specifies Cotton Proof for cotton, polycotton and canvas instead. Keep the exact product names straight: a cleaner, a surface water repellent and a seam sealer perform different jobs. The air-dry instruction also means no tumble dryer or heat gun to hurry this treatment along. [42]

Separate a tired surface finish from a failed waterproof layer
If water stops beading on the outside, the surface water-repellent finish may need refreshing. A polyurethane-coated fly also has a waterproof layer beneath that finish. Reproofing the outside helps it shed water, but does not replace a damaged inner coating. REI separates DWR renewal, seam sealing and urethane recoating into three different repairs. [10]
Look inside the fly and at the floor. A small wet line at a seam, otherwise sound fabric and a little lifting tape suggest a local seam repair. Widespread flaking, stickiness or a strong deteriorating-coating smell point to a larger coating problem. Sea to Summit warns that an aftermarket repellent will not restore waterproofness once the urethane coating is compromised. [27]
For a local leak, dry the area, identify which coating is on the repair side and use the sealing steps below. For a failing PU surface, recoating is possible on suitable fabric: Gear Aid sells Seam Grip TF for that job and explicitly excludes silicone-treated fabric. Removing a failed coating and replacing it is a substantial job, so compare that work with a replacement fly or floor before painting anything over the top. [19]
For suitable PU fabric, Gear Aid's TF procedure is to remove the deteriorated coating first, then clean and dry the surface. Shake the bottle, saturate its foam applicator and spread a thin film over the affected coated surface, typically the fly's underside or the floor's upper surface. Keep panels separated. Its TF tips specify four hours at room temperature before use, with a dryness check; its wider tent-recoating guide says to wait 24 hours before storage. That gives you a practical reason to start well before departure. [51] [50]
Do not cover dirt, loose coating or an unidentified damp patch with an all-over spray. You can spend the afternoon treating the wrong layer and still have the original leak when it rains again. Diagnose first, then buy the product for that repair.
Seal a leaking seam with the right chemistry and enough curing time
First check the material specification for the part and side being repaired. The fly, floor and inner can be different. A description such as "15D nylon" tells you the fibre and yarn weight, but not which adhesive will bond. Look for PU or polyurethane, silicone, silnylon, silpoly, sil/sil or sil/PU in the coating specification.
Gear Aid points out that some fabrics have silicone outside and polyurethane inside. For that construction, a silicone product belongs on the silicone surface and a compatible urethane product on the PU surface. Using a nylon patch or sealer on the strength of the word "nylon" alone can leave you with an adhesive that peels away. [11]
| Repair surface | Concrete sealer options | What to avoid |
|---|---|---|
| PU-coated nylon or polyester | Gear Aid Seam Grip WP; Seam Grip FC for suitable seam-sealing work. | Seam Grip SIL is not intended for PU coatings. [32] [33] [34] |
| Silicone-coated nylon or polyester | Gear Aid Seam Grip SIL. Tarptent also names Permatex Flowable Silicone Windshield and Glass Sealer for its silicone-coated fabrics. | Tarptent explicitly rules out polyurethane-based Seam Grip WP on its fully silicone-coated fabrics. [33] [43] |
A worked repair on a sound PU-coated seam
- Expose and dry the leak. Pitch the tent or spread the panel so you can see the seam without stretching it out of shape. Work on the coated side specified for that tent.
- Clean the bonding area. Gear Aid's WP instructions specify isopropyl alcohol for used seams. Use a small amount on a cloth, test an inconspicuous spot and let it evaporate. Do not scrub away a sound waterproof coating.
- Deal with lifting tape. A small loose section can be reattached with WP. Widespread tape failure needs the failing tape removed and the seam cleaned before resealing. Do not glue a fresh bead onto tape that is coming away everywhere.
- Brush on one thin, continuous coat. For WP, Gear Aid specifies the inside seam. Cover the stitching and the leaking area, with gloves on and ventilation. Keep sealant away from zip teeth and moving fittings.
- Leave the panels apart while it cures. Then water-test the repaired seam before your next trip. Folding wet adhesive against another panel can bond the wrong parts together.
Those WP preparation and application instructions come from Gear Aid; REI also emphasises selecting the correct sealer and completing the cure before packing. For a silicone-coated seam, select SIL rather than substituting WP. [31] [10]
Sealing a silicone-coated seam
On a used silicone-coated fly, gently clean the seam with rubbing alcohol on a cloth and allow it to dry. Support the seam so the stitching is accessible, then brush a thin film of Seam Grip SIL across the stitching and into the seam folds. Use the coated side identified for the repair, keeping the fabric open while it cures. REI describes the alcohol preparation; Gear Aid specifies SIL for silicone-treated fabric and lists a 3-6-hour cure. [10] [33] [50]
Work neatly rather than leaving a thick ridge of sealant. The aim is to seal the needle holes, not fill the whole panel with adhesive. After curing, check for missed stitching with a gentle water test. Dry the tent again before packing it.
Dry to the touch and ready to pack are different stages
| Product or maker's process | Published time | Important condition |
|---|---|---|
| Seam Grip WP | 8-12 hours | Gear Aid says low humidity can make it take longer. [31] [32] |
| Seam Grip FC | 2 hours | A different, water-based urethane formula; not for silicone-treated fabric. [34] |
| Seam Grip SIL | 3-6 hours | For silicone-treated fabric. [33] |
| Tarptent's seam-sealing process | 1-4 hours to dry; 24-48 hours to cure fully | Its published process distinguishes surface drying from full cure. [43] |
Different sealants use different chemistry, and temperature and humidity affect the job too. Read the instructions on the tube in your hand. A two-hour figure found online for FC is not a shortcut for an eight-to-twelve-hour WP repair. Gear Aid lists application temperatures of roughly 16-38°C for these sealants, so a cold shed in winter is a poor place to expect the quoted timings. [32] [33] [34]
Choose a patch for the coating, then give it a clean bonding surface
A patch does not have to use the same base fibre as the tent. The adhesive has to bond to the surface in front of it. Check the fly or floor specification, including which coating is on the side you plan to patch. These are useful starting choices for a small tear in otherwise sound material:
| Material being patched | Specific options | Compatibility trap |
|---|---|---|
| Non-silicone nylon or polyester, including suitable PU-coated tent fabric | Standard Gear Aid Tenacious Tape Repair Tape or Hex Patches. | Do not carry that choice over to a silicone-coated surface. [35] [48] |
| Silnylon or silpoly with a silicone repair surface | Gear Aid Tenacious Tape Silnylon Patches, which use silicone adhesive. | Ordinary Tenacious Tape does not bond well to silicone for a lasting repair. [37] [48] |
| Dyneema Composite Fabric shelter laminate | Zpacks DCF repair patches or DCF Tape Strip. | Zpacks says its DCF tape will not stick to silicone-coated fabric. [38] |
| Insect mesh | Gear Aid Tenacious Tape Mesh Patches. | Use a screen-repair product that keeps the mesh function, rather than covering a large area with solid fabric tape. [39] |
For a sil/PU fly, identify the repair side before picking the row. A standard patch may suit the PU inner surface, while the silicone outer surface needs the silicone-specific patch. If the product listing only says "nylon tent", find the coating detail in the model's technical specification before ordering. [11]
Make a small peel-and-stick repair
- Unload the fabric. Slack off the affected panel and bring the tear's edges together without overlap. Put something smooth and firm behind it. The Camping and Caravanning Club suggests a book or chopping board held by a helper inside the tent.
- Clean and dry it. Remove grit and loose threads. Gear Aid specifies isopropyl alcohol for its standard tape and silnylon patches; check the tent's surface instructions before using it and let the area dry fully.
- Leave a generous border. Gear Aid specifies at least 0.5 inch, about 13 mm, of overlap in every direction. NEMO's tent-repair tutorial uses a full inch, about 25 mm. Use the overlap specified for your kit, and round the corners so they are harder to catch and lift.
- Press from the middle out. Avoid touching the adhesive. Smooth the patch onto the supported fabric, working out air bubbles and wrinkles. Press the edges down firmly. NEMO uses the back of a spoon to apply pressure.
- Respect the bonding time. Keep the repaired area free of unnecessary tension while the bond develops.
Gear Aid says standard Tenacious Tape reaches full adhesive strength after 24 hours. Its Silnylon Patch product describes an immediately usable repair, while NEMO's walkthrough allows at least two hours before stressing its patched fabric. Those timings describe particular products and procedures. Read the information on your own packet instead of borrowing the first timing you find online. The adhesive, surface and conditions determine how the repair develops. [36] [37] [12] [45]
A patch placed on wet grit bonds to contamination instead of the tent. Square corners can catch, and wrinkles give water and dirt an easier route beneath an edge. If a patch is lifting, correct the preparation and material choice rather than stacking another layer on top. Reserve this approach for small fabric damage; a torn guyline anchor needs a repair that can carry its load. [35] [36]
Carry a pole sleeve that fits, and practise using it
A pole repair sleeve should be slightly larger than the pole it will cover. Slide it over a sound section at home to confirm the fit, then keep it with tape in the repair kit. An incompatible sleeve is dead weight when a pole breaks.
For a straightforward broken section, line up the ends, centre the sleeve over the break and tape both ends of the sleeve to the pole so it cannot migrate. REI describes the same method; if the break is at a joint, the splint may hold two sections together and prevent normal folding during pack-up. Treat it as a field repair, then replace the damaged section. [44]
EXPED supplies a useful model-specific detail: repair sleeves on many of its tents are carried as spacers at the ventilation hoods; its HL and UL exceptions carry them with the accessories. Find yours before the first trip. [29]
When ordering a replacement, give the maker the model, year, pole position, section length and diameter, plus photographs of the end fittings. Decathlon recommends checking compatibility before fitting its replacement sections. For shock cord alone, Hilleberg publishes a rethreading procedure and specifies a new cord length of 70% of the pole length for its process. Use that number for the Hilleberg procedure, not as a universal pole specification. [14] [13]
Use the storage method for your fabric
Once it is completely dry, store the tent somewhere cool and dry, away from direct sun. MSR recommends an oversized cotton bag or mesh duffel and even suggests a pillowcase. Sea to Summit says to keep its tents loosely folded on a ventilated shelf or in a mesh bag, rather than tightly rolled in the supplied stuff sacks or sealed in a tote. [1] [27]
Zpacks gives different guidance for its Dyneema Composite Fabric shelters: once clean and dry, they can stay compressed in a stuff sack; a non-compressing bag is optional. That is a useful material-specific distinction. Follow the relevant method rather than assuming every lightweight shelter needs identical packing. [30]
Terra Nova recommends separating components and loosely folding the fly and inner for longer storage. Clean and dry the pegs, keep sharp parts bagged and leave your repair note with the tent. A missing buckle is easier to order when you notice it than when you are loading the car for another trip. [25]
Pitch it before a trip and check the repairs under load
Do a trial pitch after winter storage, after a repair or before a trip where a faulty shelter would leave you short of options. Fit every pole, close each door and tension the guylines. A patch that looked neat on a flat table also needs to sit properly when the panel is pitched.
Inspect pole ends and hubs, pegging loops, clips, cord, mesh and seam tape. Run the zips through their full travel. Look for local lifting tape and widespread coating deterioration as separate problems. NEMO's repair index includes individual pole sections, shock cord, grommets and zips, so a failed component can have a specific repair route. [17]
Water-test a cured seam repair before packing for the trip. If it leaks, mark the point, dry it and investigate the gap or adhesion problem. Repeatedly painting fresh material onto a wet or poorly bonded repair makes diagnosis harder. Tarptent recommends checking a dried seam-sealing job with a hose. [43]
Know which repairs need more than a patch
A clean, small panel tear is a different job from a ripped pole sleeve, detached guyline anchor or a zip with damaged teeth. The latter repairs need the correct construction and reinforcement. Send photographs showing the whole component as well as a close-up, so a repairer can see how the load travels through it.
Tarptent offers replacement sliders and an in-house repair service. It asks for only the affected parts where possible and requires them to arrive clean and dry. NEMO offers assessment and spare-part requests too. Those are useful routes for a sound tent with one failed component. [28] [18]
If large areas are sticky, peeling or brittle, ask about a replacement fly or inner before investing in local patches. Surface water repellent cannot rebuild lost fabric strength or an absent waterproof layer. Include the model and purchase details when asking for parts so the maker can distinguish between generations. [9] [19]
Keep a useful repair kit and an after-trip routine
Pack for the tent you own: the correct patch type, an appropriate pole sleeve, a little strong tape, spare guyline, a few suitable pegs and a small zip brush. Add seam sealer only after checking its chemistry and how long it needs to cure. A kit is more useful when you know what every item can repair. [20] [35] [37] [38]
- At pack-up: empty the inner, remove grit, wipe condensation and separate wet or dirty components where practical.
- At home: unpack promptly, clean affected areas and dry the underside, seams, straps and zip surrounds.
- Before storage: check faults, arrange repairs and pack using the fabric-specific method.
- Before departure: trial-pitch, check the kit and water-test any cured leak repair.
Replace a temporary field fix with a suitable permanent repair when you get home. The Camping and Caravanning Club makes the same recommendation: leaving it until the next holiday is an easy way to forget the problem. [20] [45]

Tent reviews
Read the full tent reviews
Sources and further reading
We checked tent-care guidance from 14 manufacturers: MSR, NEMO, Hilleberg, Outwell, Big Agnes, Vango, Coleman, Robens, Terra Nova, Nordisk, Sea to Summit, Tarptent, EXPED, Zpacks.
- MSR: keeping a tent clean and dry
- REI: tent care basics
- Hilleberg: tips for a better tunnel-tent pitch
- Outwell: cleaning and maintenance instructions
- MSR: tents and shelters owner's manual
- Outwell: drying and storing your tent
- NEMO: cleaning, repairing and storing your tent
- NEMO: minimising and preventing condensation
- Hilleberg: retreating weathered tent fabrics
- REI: how to waterproof a tent
- Gear Aid: choosing a compatible sealant
- NEMO: patching a hole in a tent
- Hilleberg: replacing pole shock cord
- Decathlon: pole-repair kit compatibility guidance
- NEMO: storing outdoor equipment
- Hilleberg Atlas: care and maintenance instructions
- NEMO: common gear issues and repairs
- NEMO: repair assessment and spare parts
- Gear Aid: polyurethane fabric-sealant compatibility
- Camping and Caravanning Club: looking after your tent
- Big Agnes: washing and drying a tent
- Vango: cleaning a tent and preventing mould
- Coleman: tent cleaning, care and storage
- Robens: tent maintenance and seam repairs
- Terra Nova: tent care, storage and mildew
- Nordisk: cotton tent cleaning, mould and repairs
- Sea to Summit: tent maintenance and waterproof coatings
- Tarptent: zipper problems and tent repairs
- EXPED: tent care, condensation and repairs
- Zpacks: tent cleaning, drying and storage
- Gear Aid: Seam Grip WP preparation and application
- Gear Aid: Seam Grip WP specifications
- Gear Aid: Seam Grip SIL compatibility and curing
- Gear Aid: Seam Grip FC compatibility and curing
- Gear Aid: standard Tenacious Tape material compatibility
- Gear Aid: repair-tape preparation, overlap and full-strength timing
- Gear Aid: silicone-adhesive Silnylon Patches
- Zpacks: DCF repair tape and excluded surfaces
- Gear Aid: tent mesh repair patches
- NEMO: cleaning and lubricating a stiff zip
- NEMO: adjusting a zip slider that does not close properly
- Nikwax: Tent & Gear SolarProof application and coverage
- Tarptent: fabric coatings, sealant choices and full cure
- REI: fitting a pole repair sleeve
- Camping and Caravanning Club: tent-care and repair techniques
- Gear Aid: tent odour treatment and coating diagnosis
- Outwell: reproofing checks and treatment intervals
- Gear Aid: standard patch limitations on silicone
- Coleman UK: tent care and stove safety
- Gear Aid: seam sealing and PU recoating procedure
- Gear Aid: Seam Grip TF preparation and application