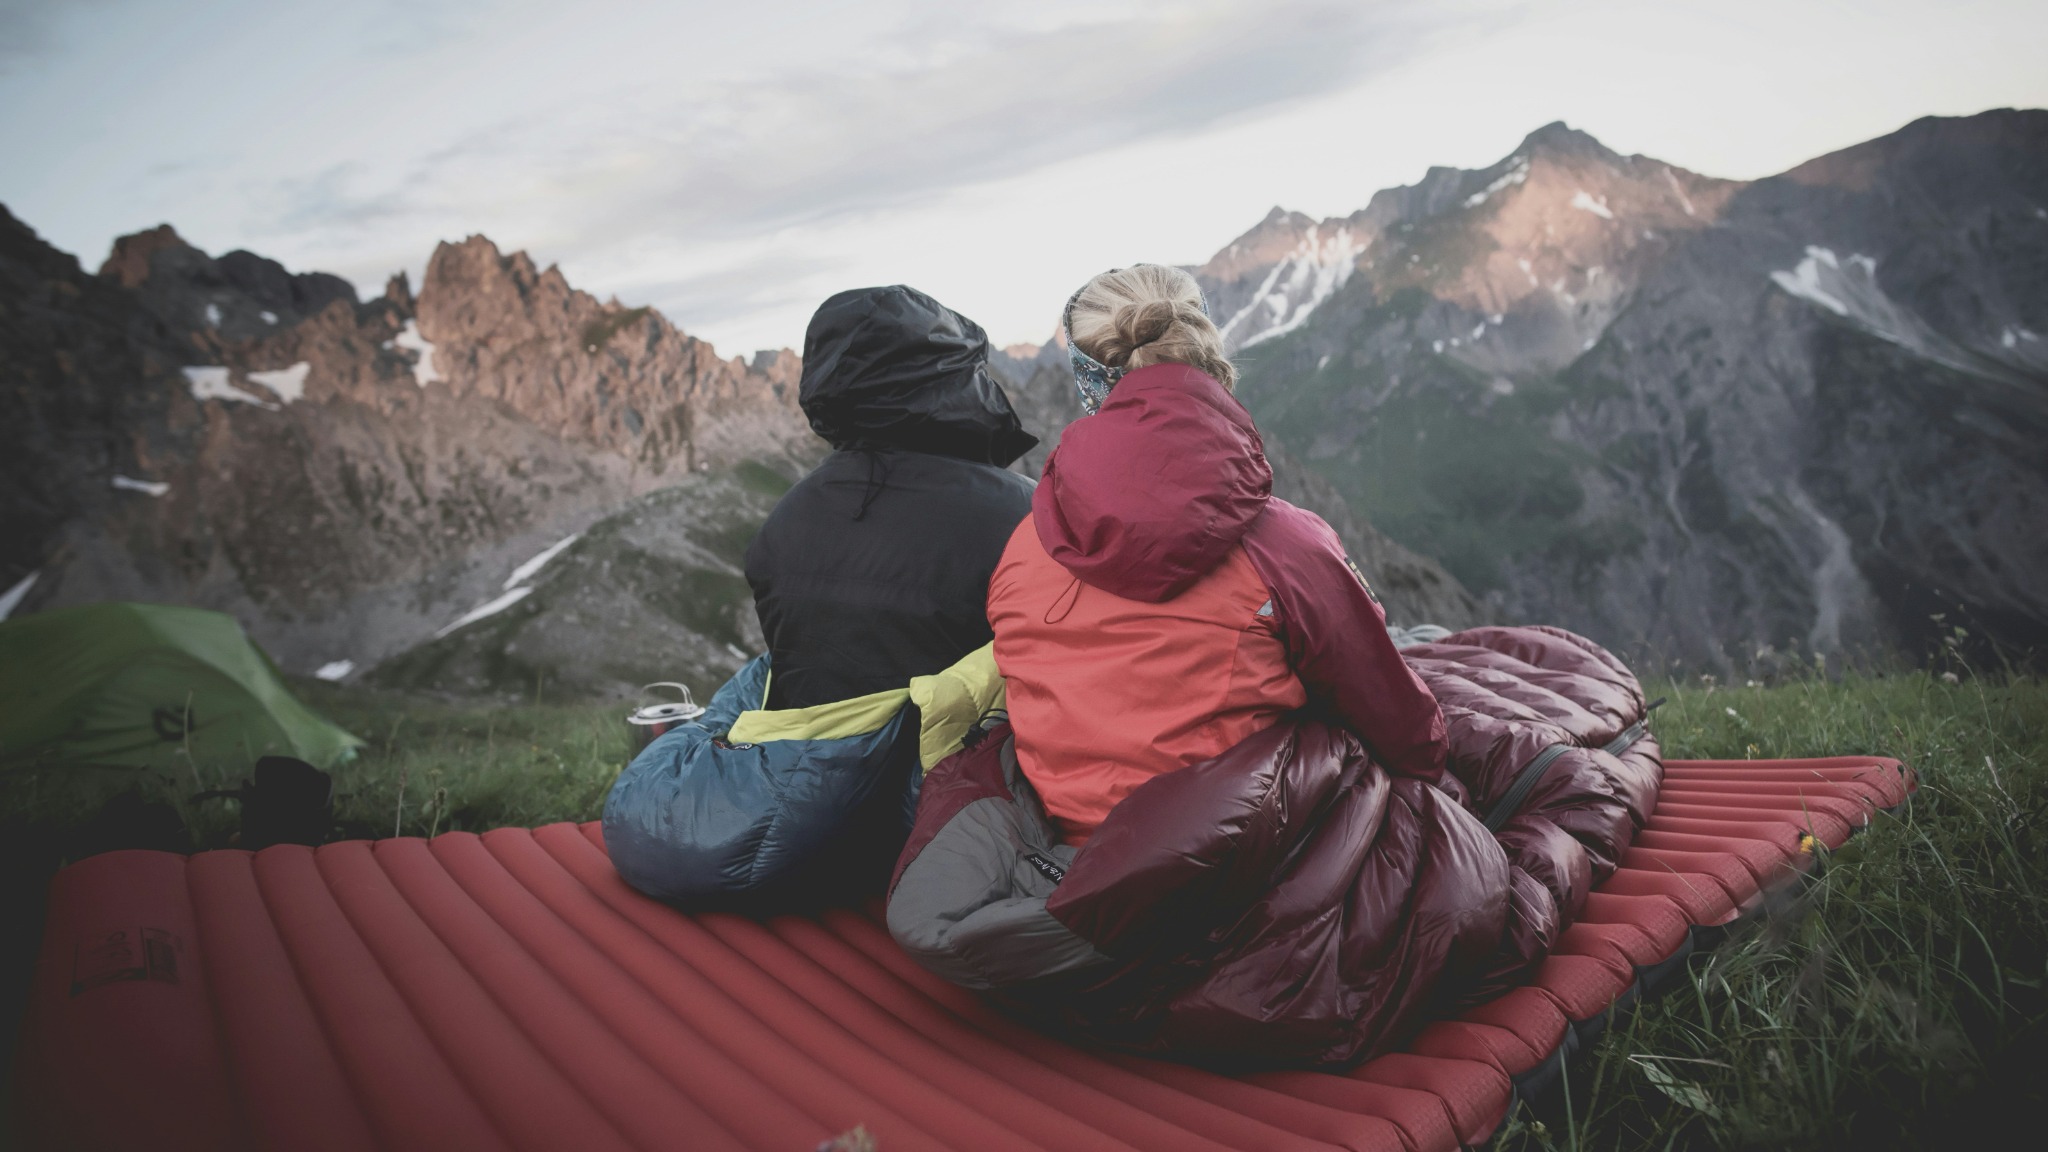
To wash a sleeping bag, identify whether it contains down or synthetic insulation, use a cleaner suited to that filling, and choose the washing and drying methods on its care label. A roomy front-loader and a gentle cycle suit many bags; others need hand washing. Rinse thoroughly, support the bag while it's wet and allow plenty of time for the filling to dry completely.
A sleeping bag spends a surprising amount of time pressed against sweaty clothes, damp tent walls and the occasional pair of socks that should have stayed outside. Eventually, airing it out stops doing the trick. The lining feels greasy, the hood smells stale or the filling doesn't puff up as willingly as it used to.
A proper wash can help, but the awkward part is usually what happens afterwards. A waterlogged sleeping bag is heavy, and down can emerge from the wash looking alarmingly flat. Getting it clean is only half the job; getting the insulation dry and evenly distributed is what makes it ready for another night outdoors.
This guide brings together manufacturer instructions from Rab, NEMO, Sea to Summit, Marmot, Snugpak, deuter, Feathered Friends and others. We'll use actual temperatures and cleaner measurements, explain where the advice differs, and walk through the parts that are easiest to get wrong.
Before you put the bag in water
Read the filling and care labels, repair any open tear, and arrange the drying first. Use a down-specific wash for down, or a suitable technical wash for synthetic insulation. Keep bleach and fabric softener out. If the bag requires tumble drying, make sure you have access to a large enough dryer with a permitted heat setting before starting.
Check the filling and the washing label
Find the composition label, often tucked into a seam or pocket. Goose or duck down, usually listed with a percentage of feathers, needs a down cleaner. Polyester insulation belongs in the synthetic routine. A quilted shell doesn't tell you which is inside.
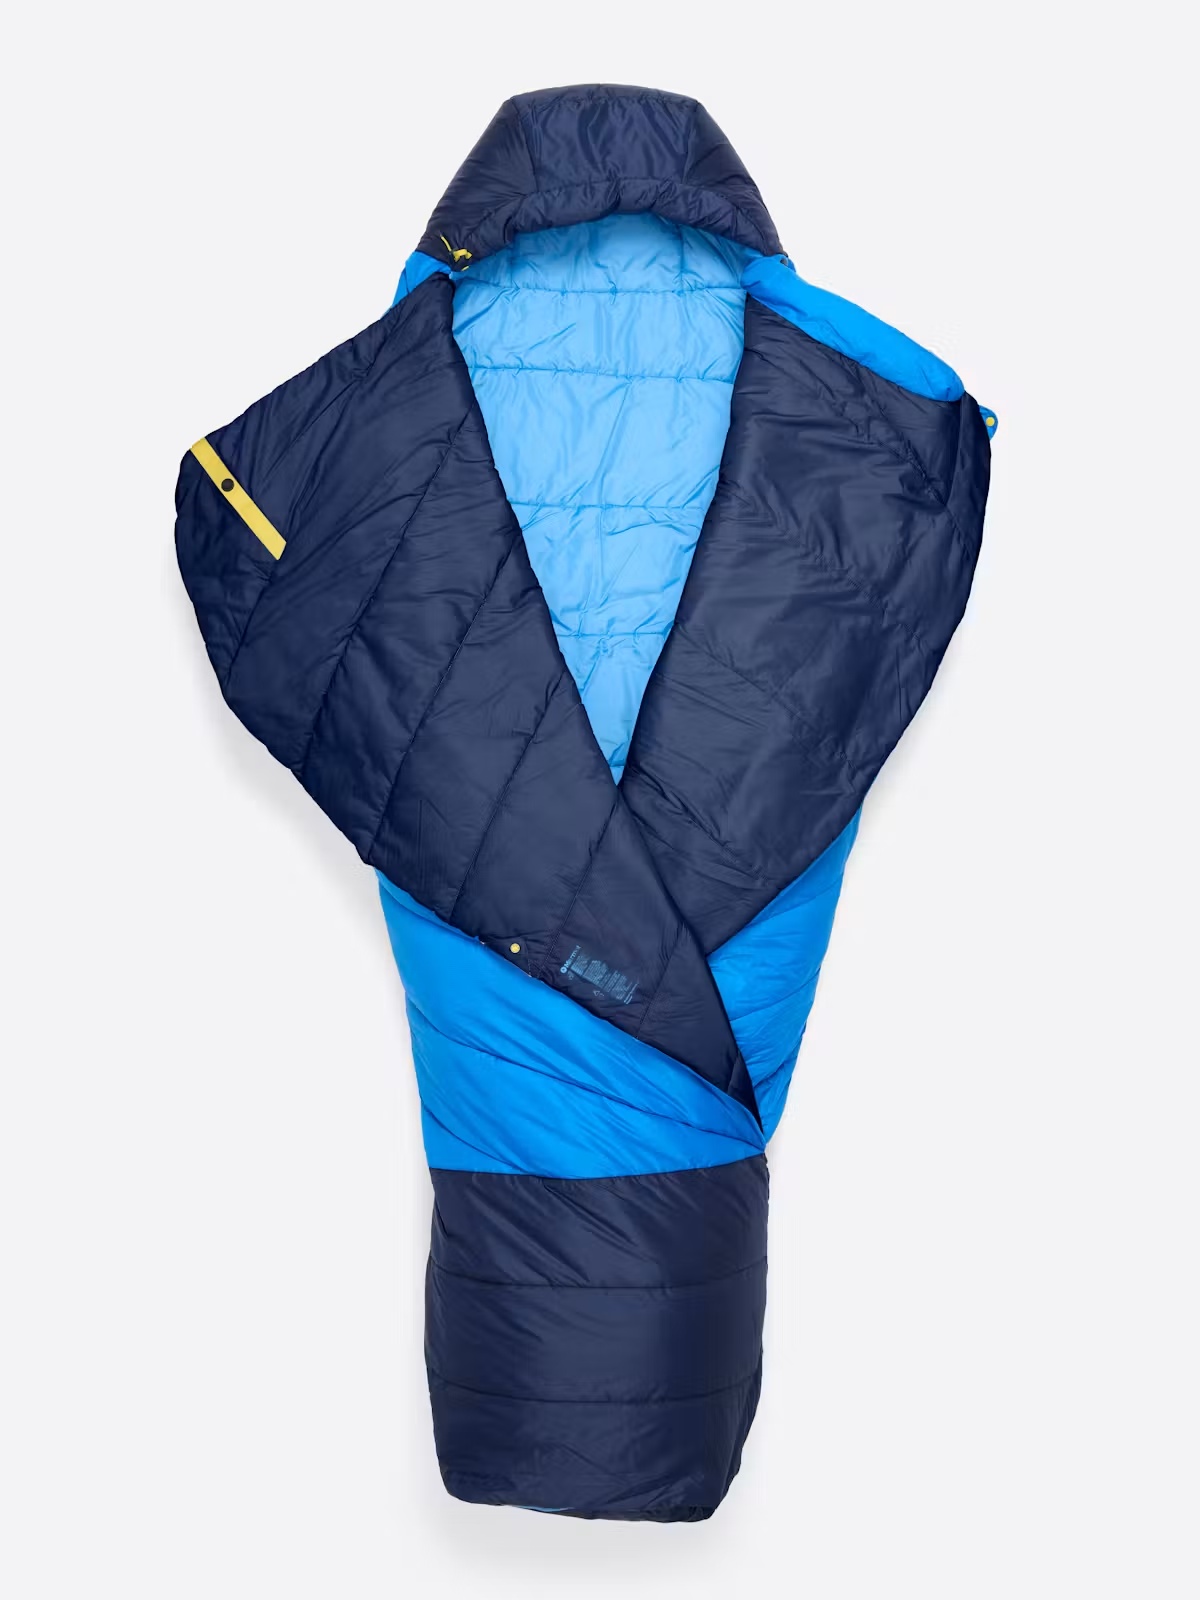
Our Marmot Wraptor 30 Synthetic review, for example, covers a bag filled with HL-ElixR Eco synthetic insulation. Its puffy appearance doesn't make it a down bag. The review records cold, gentle machine washing and low tumble drying as its care routine; those settings belong to that bag.
Look for the permitted wash temperature, hand-wash symbol and tumble-dry instructions. These differences are substantial. Rab describes gentle machine washing for its down bags, while deuter's down-bag guide recommends hand washing. Snugpak advises against tumble drying its sleeping bags. You need to know which route yours takes before planning a laundrette visit. [1] [2] [3]
Keep any instructions for special shell fabrics with the bag. A waterproof or wind-resistant outer can make it harder for water to reach the filling and then escape again. Feathered Friends recommends turning its bags inside out so the more breathable lining faces out, and specifically mentions presoaking expedition bags because they take longer to saturate. [4]
If the label has disappeared, find the full model name and approximate year, then obtain that bag's instructions. A photograph of its filling label, closures and shell is more useful to the maker than “it's a blue winter bag”. Establish the process before getting it wet.
Wash when it needs cleaning, and air it between trips
Start at the hood, collar and footbox. These areas collect body oils, perspiration and dirt long before the entire bag looks grubby. Look for a darkened lining, a smell that survives airing, or insulation that remains flattened after the bag has had time to expand.
Rab recommends washing its down sleeping bags at least once a year, more often with regular use. deuter gives a different benchmark: around 50 nights, or sooner if the bag gets very dirty. Western Mountaineering suggests a typical one-to-two-year interval, adjusted for use and conditions. Those figures describe different patterns of ownership, so use the bag's condition alongside its maker's advice. [1] [2] [5]
NEMO recommends spot-cleaning where possible and a full wash when grime or loss of loft calls for it. A few clean, dry weekends and a long humid trip aren't the same workload. There isn't much benefit in washing an already-fresh bag because you've unpacked the car again. [6]
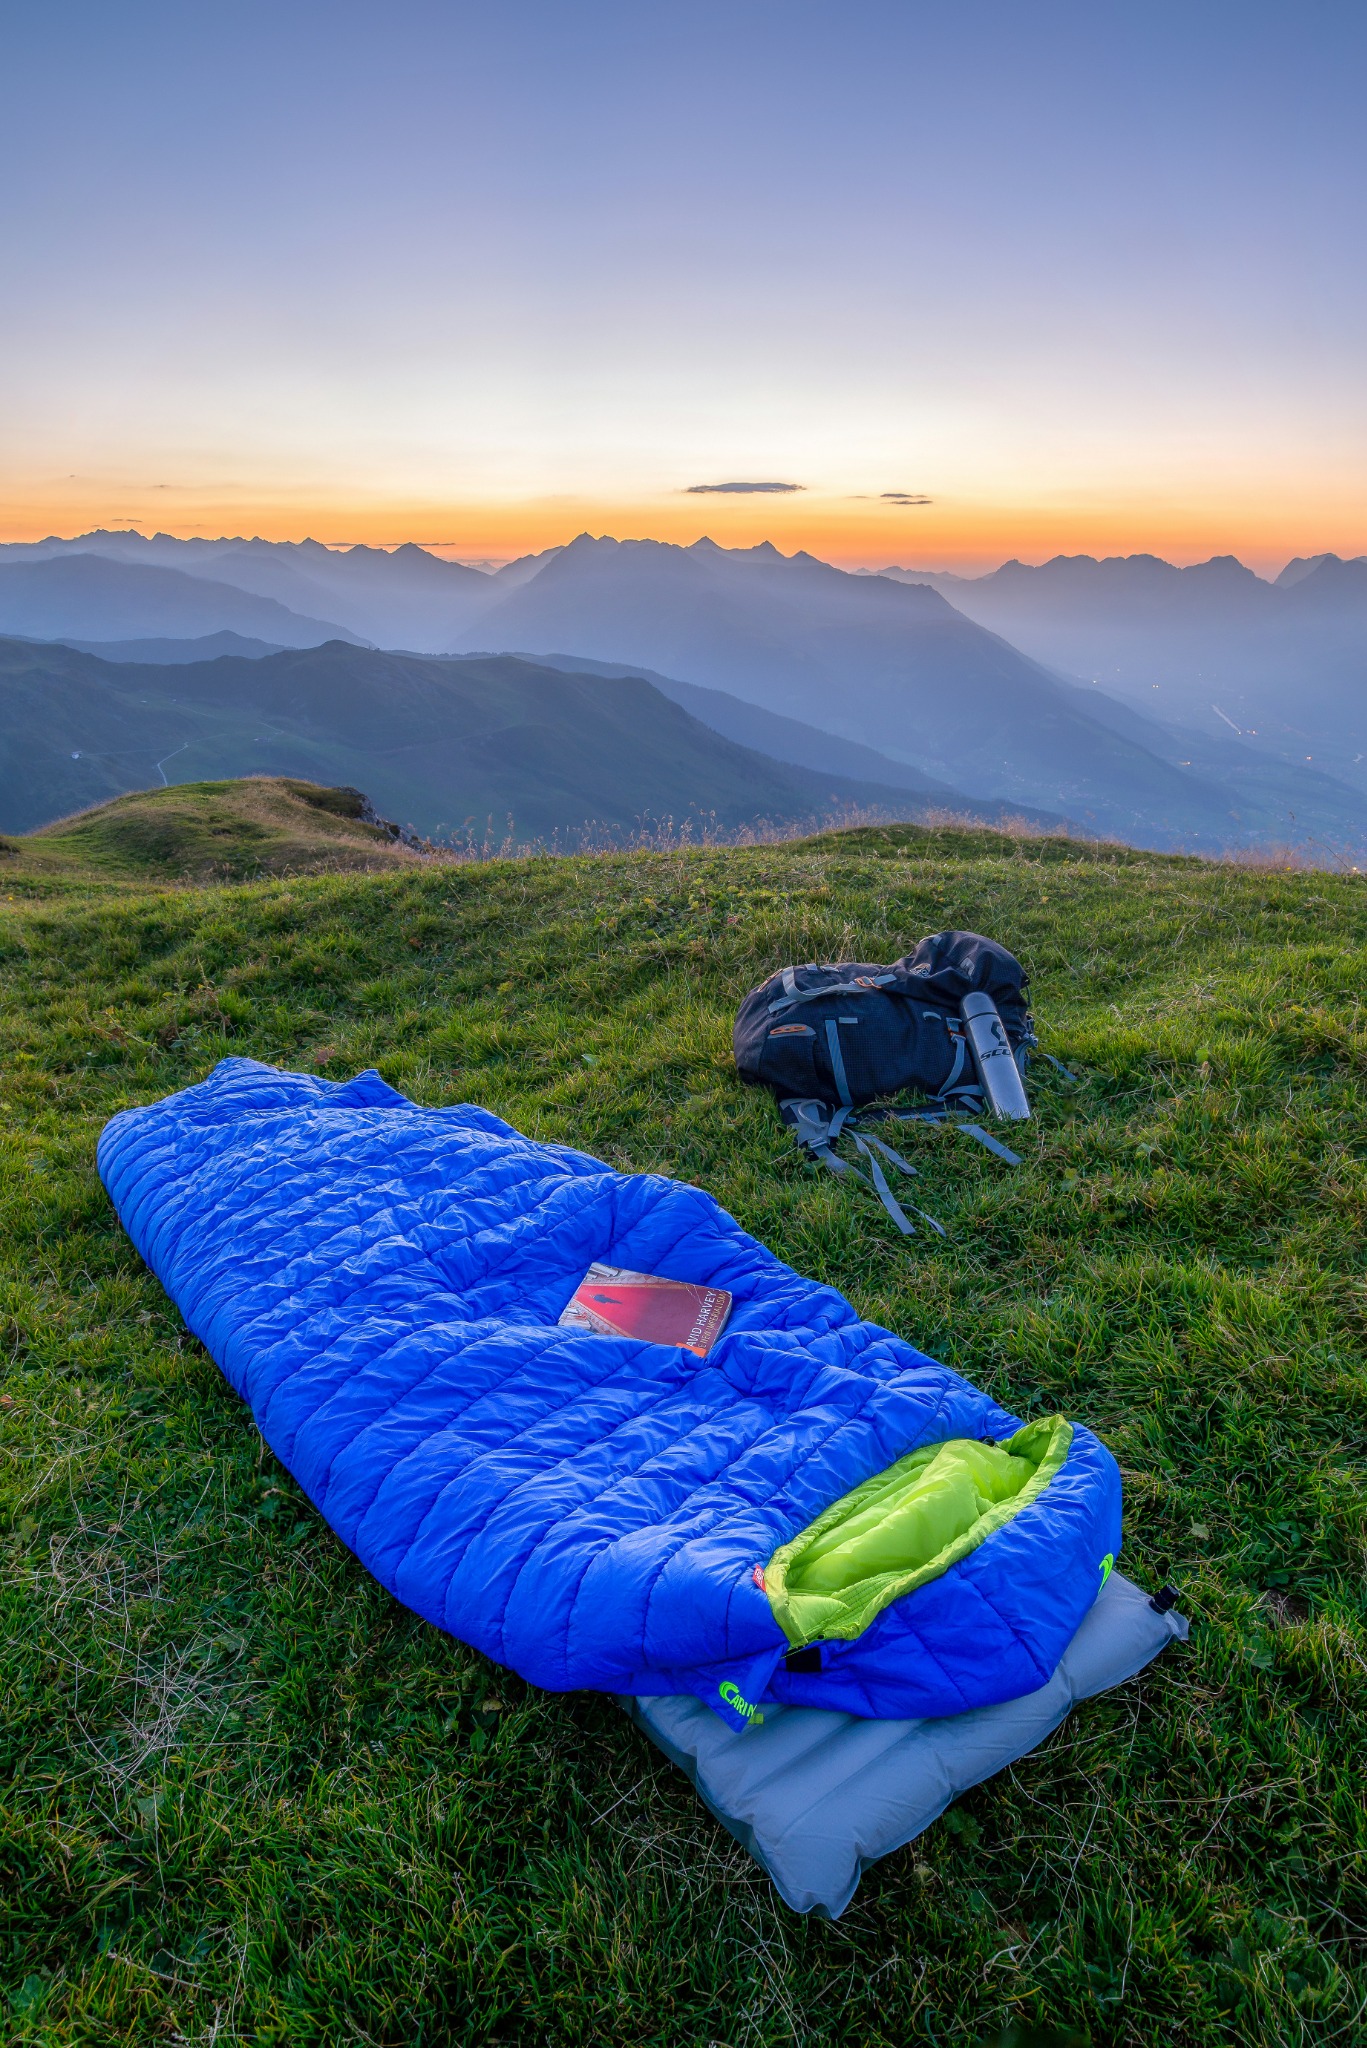
Air it promptly after use. Snugpak gives a useful example: unzip the bag and leave it in a shaded, ventilated place for six to eight hours after a trip. Fjällräven suggests airing for about 24 hours when you get home. Give the lining and footbox air as well as the easy-to-dry outer shell. [3] [7]
Don't confuse airing a slightly damp bag with drying one that's been washed. A full wash puts much more water into the insulation. The heavy, clumped bag coming out of the machine needs the complete drying process below.
Spot-clean a dirty collar before washing the whole bag
A grubby patch around the hood doesn't always call for soaking the entire sleeping bag. Open it out on a clean surface, inspect both sides of the mark and decide whether the dirt is limited to the fabric or has spread through the filling.
NEMO describes lifting the shell fabric away from the insulation, then cleaning the affected area with a cloth or toothbrush and a little mild, non-detergent soap mixed with water. Keeping the filling as dry as possible makes this a much smaller job. Use a soft brush gently rather than scrubbing a lightweight shell hard enough to fuzz it. [6]
For a bag you're about to wash fully, the cleaner itself can handle pretreatment. GEAR AID applies its down cleaner directly to heavily soiled areas. Use the product intended for the filling instead of trying several household stain removers in succession. [9]
Remove the cleaning solution with a clean damp cloth, repeating with fresh water so you aren't spreading the same dirty liquid around. Let the area dry fully before putting the bag away. Check the inside too: a dry-looking patch on the shell can conceal moisture in the lining or fill.
Our Wraptor review found that normal washing removed grime collected by its bright blue panels during extended use. That is a useful reminder to clean dirt rather than accept it as permanent, while still treating a small mark as a small job.
Prepare the bag and give it room in the machine
Empty the sleeping bag completely. Check its little pocket, shake out grit and remove the liner, pillow, socks and forgotten tissue. Take off detachable straps or other non-washable parts. Sea to Summit specifically tells owners of certain quilts and bags to remove underside straps because they can snag and damage their attachment points. [10]
Inspect the shell and seams before washing. For a small tear in compatible nylon or polyester, a suitable fabric-repair patch can keep insulation from escaping. GEAR AID's Tenacious Tape example uses clean, dry fabric and at least 12mm of overlap beyond the tear in every direction. Round the corners and press out wrinkles. If patching before a wash, it specifies at least 24 hours for the adhesive to bond first. [11]
That repair tape is for compatible fabrics, so check the patch's stated material list, especially on unusual coatings. Split baffles, loose internal stitching or a large opening need a repairer's attention before laundering. A full wash can put a great deal of weight on a small damaged area.
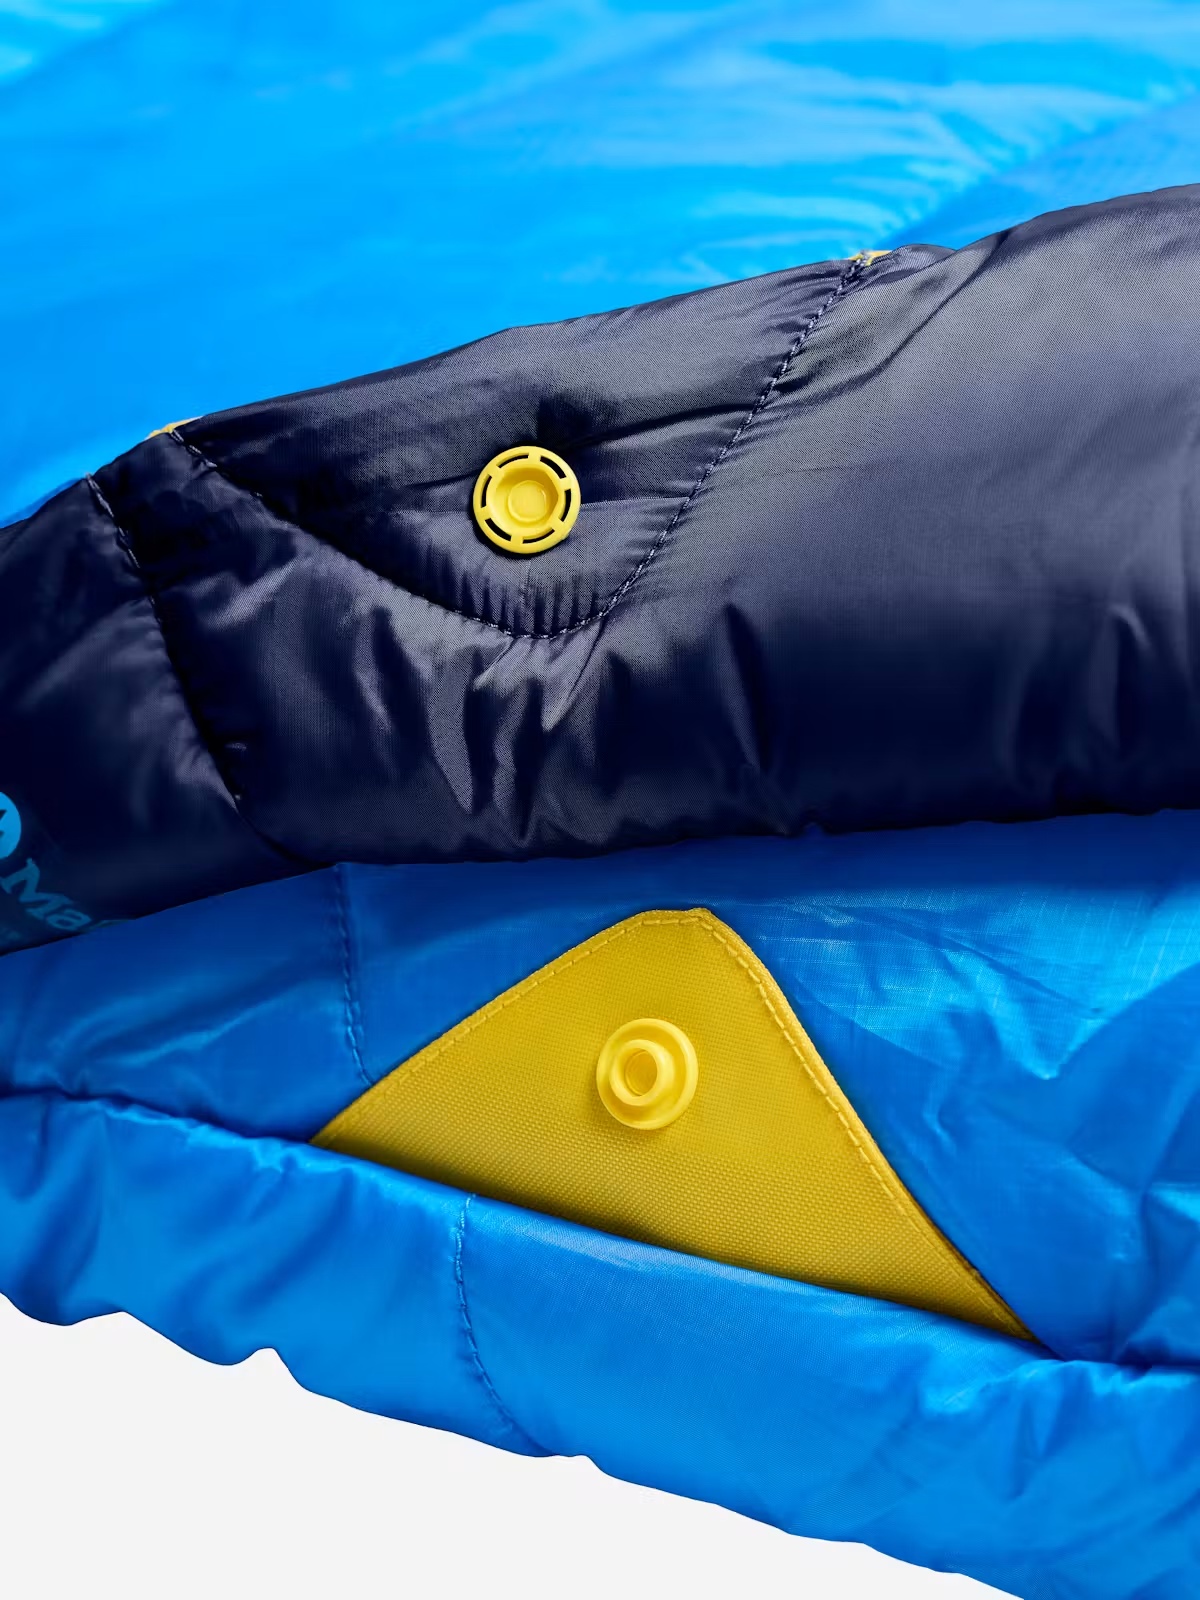
Zipper instructions vary. Sea to Summit says to close zips; NEMO's illustrated wash guide says to unzip fully. Follow the preparation for your particular bag rather than treating either position as universal. Secure hook-and-loop tabs and release drawcord tension where specified. The zipperless Wraptor has different closures again. [10] [12]
Rinse residual detergent and softener from the machine and clean the dispenser. Choose a roomy front-loader for the routine here. A bulky winter or double bag may need a large commercial machine. Don't stuff the drum until it closes and assume the bag will have room to rinse. [10]
Choose the right cleaner and measure the dose
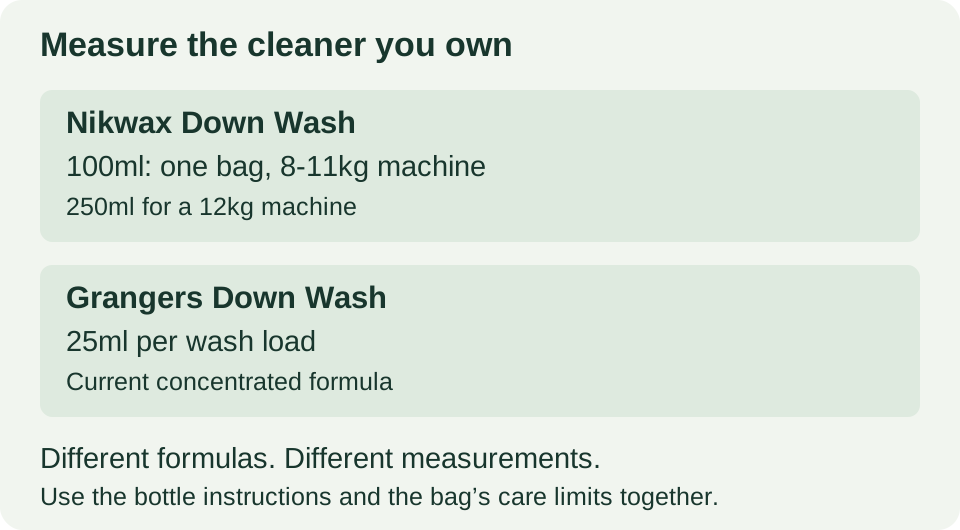
For down, buy a cleaner that explicitly covers down-filled sleeping bags, including hydrophobic down if that's what yours contains. For synthetic filling, use the technical cleaner recommended for the bag. Big Agnes names Nikwax Down Wash for down and Tech Wash for synthetic insulation. [13]
| Product and use | Current manufacturer measurement | Important detail |
|---|---|---|
| Nikwax Down Wash, one sleeping bag | 100ml in an 8-11kg machine; 250ml in a 12kg machine. [8] | The published bag dose changes with machine capacity. |
| Grangers Down Wash, current concentrated formula | Half a capful, 25ml, per wash load. [14] | Its current instructions specify a full 30°C cycle, or the item’s care-label settings. |
| Nikwax Tech Wash, suitable synthetic gear | 100ml in soft water; 150ml in medium or hard water. [15] | Read the bottle’s loading instructions as well as the bag’s label. |
Those are very different quantities. Don't remember “one cap” from another bottle and pour it into the drawer. Grangers has changed its concentration, while Nikwax distinguishes machine size or water hardness depending on the product. Measure the cleaner you're using.
Keep fabric softener, bleach and laundry fragrance products out of the load. A nice smell doesn't tell you the insulation is clean. Down needs to separate and trap air, and residues can interfere with that. Feathered Friends specifies down wash and warns against regular detergent, bleach and softener. [4]
Use one bag per load unless its instructions say otherwise, and give it the space it needs. Extra cleaner isn't a substitute for a large enough drum. It leaves more material to rinse from a thick footbox and a hood that are already slow to dry.
Machine-wash gently, then rinse thoroughly
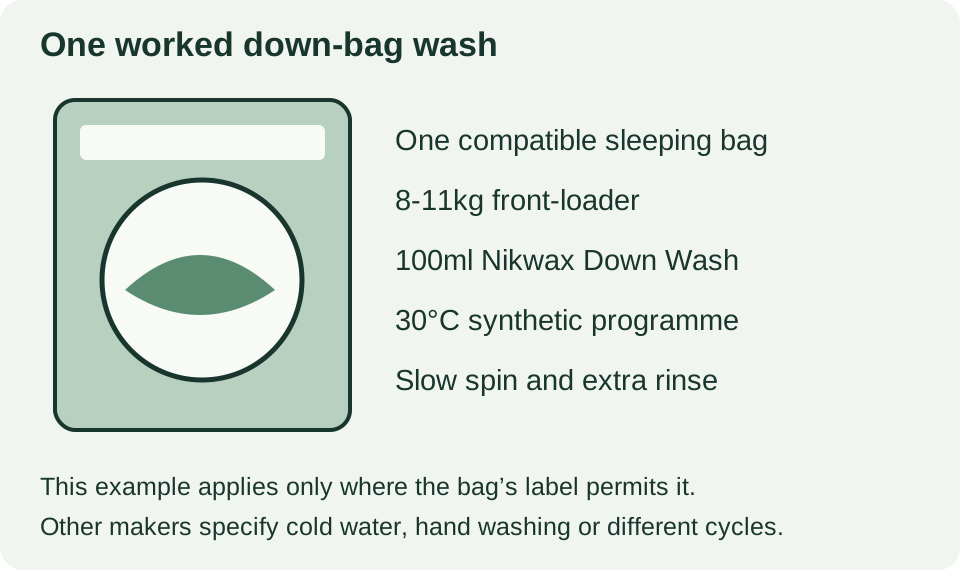
For a worked down-bag example, take a bag whose label permits a 30°C gentle machine wash and a roomy 8-11kg front-loader. Prepare the bag as its maker specifies, add 100ml Nikwax Down Wash and select the product's 30°C synthetic programme with a slow spin and extra rinse. Let the full programme finish. This is Nikwax's named routine, rather than a setting for every down bag. [8]
Other makers use different temperatures. NEMO's main care guide specifies cold water, a gentle cycle and two rinses. Fjällräven's general sleeping-bag guidance permits 40°C with a slow spin unless the label says otherwise. If your bag says cold, keep it cold; don't upgrade it to 40°C because another brand allows that. [6] [7]
Give the rinse enough time. Haglöfs recommends three to five additional rinse cycles for its down bags. The practical aim is to remove cleaner throughout the insulation, not just leave the shell looking clear. If a hand-rinse sample is still soapy, keep rinsing with clean water. [16]
Water extraction needs care too. Nikwax starts with slow spinning to protect water-heavy down baffles. Sea to Summit recommends a faster or longer spin in its own routine. Stick to the permitted combination for your bag and cleaner; the machine's maximum speed isn't a shortcut. [8] [10]
When the programme stops, scoop the bag out with support underneath its full weight. Bring a clean basket close to the door. Don't pull a heavy wet sleeping bag out by its hood, foot loop or one corner. REI's illustrated routine stresses supporting the whole bag to avoid straining seams. [17]
Hand-wash in a bath without hauling the wet bag around
Clean and rinse the bath first so the sleeping bag doesn't pick up bathroom-cleaner residue. Have towels, a basket and the drying space ready. Once the filling is wet, this becomes a heavy job to improvise halfway through.
Use enough lukewarm water to submerge the bag and the hand-wash dose on the specific cleaner. GEAR AID's Revivex Down Cleaner table gives a sleeping-bag example of four capfuls, 2 US fl oz, in 20 US gallons of water. That's approximately 60ml in 76 litres. Those measurements belong to that cleaner; don't use its cap count with a concentrated product from another brand. [9]
If the bag floats, ease the trapped air out. Western Mountaineering suggests submerging the bag while it's still in its stuff sack, then carefully taking it out of the sack under water. Once saturated, gently work the cleaning solution through the insulation while the bath supports the weight. [5]
Let the manufacturer's specified wash or soak do its work. deuter's hand-wash routine uses water around 30°C and allows soaking for up to an hour depending on dirt. GEAR AID instead describes gently washing and repeatedly rinsing. A long soak isn't an automatic requirement for every bag and cleaner. [2] [9]
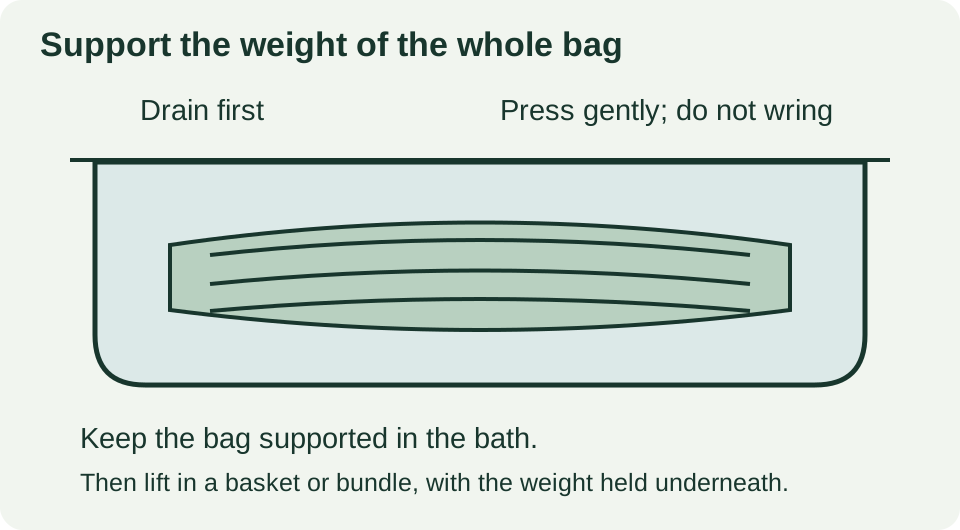
Drain the bath with the sleeping bag lying in it. Press or carefully roll it to expel water, without twisting it into a rope. Refill with clean water and repeat until the cleaner is gone. Western Mountaineering notes that thorough rinsing can take five or more changes of water. Keep the bag supported throughout; only move it once you've removed the bulk of the water. [5]
Dry a down sleeping bag patiently and break up the clumps
Put the bag into a dryer large enough for it to move freely when it regains its loft. The compact wet bundle is a poor guide to the space it will need later. Therm-a-Rest warns that an expanding bag can fill the chamber, stop tumbling and develop hot spots that damage the shell. [18]
Use the heat setting allowed for your bag. Feathered Friends specifies low heat; Big Agnes describes low-to-medium settings for some of its down gear. That difference is a reason to identify your bag's limit, rather than borrow a warmer setting from another maker. Check the dryer drum for sharp edges or debris before loading. [4] [13] [5]
Add clean dryer balls or tennis balls when the bag maker recommends them. They help move the filling, but they don't take over the whole job. You still need to stop the machine, reposition the bag and feel for wet clumps.
Big Agnes says to rearrange and fluff the bag every 20-30 minutes. Feathered Friends describes hour-long low-heat cycles with manual clump checks between them. For the more frequent checking routine, take the bag out with support, gently shake it and feel through the hood, footbox and body panels. [13] [4]
Cup a clumped section and ease the down apart through the fabric with your fingers. Spread it within its own chamber, without pulling hard across stitched baffles. Return it to the dryer and repeat. A dry nylon shell can hide damp filling, so judge the inside as well as the surface.
Allow several hours. Rab gives a typical down-bag tumble-drying range of two to four hours, but the finishing point is dry, open insulation throughout the bag. Don't stop because the first paid cycle has ended or because the outer fabric feels warm. [1]
Dry synthetic bags according to their own instructions
Synthetic insulation often dries faster than down, but the shell and stitching still need gentle handling. Don't assume a polyester-filled bag can tolerate the hottest programme because it has no feathers inside.
Our Marmot Wraptor review describes low tumble drying for that synthetic bag. Snugpak, by comparison, recommends line drying and no tumble dryer. A “synthetic” setting on your machine doesn't override that instruction. Arrange the correct drying space before starting the wash. [3]
For an air-dry routine, spread the bag lengthways or horizontally across a stable clothes airer so its weight is distributed. deuter warns against hanging a wet synthetic bag from just one side because the filling can become uneven. Turn the bag and open it out regularly so the underside and lining get air too. [2]
Choose a sheltered, ventilated place and keep it clear of direct heat. deuter says its air-drying process can take up to three days. A damp utility room may be much less helpful than it looks. Check the footbox and other thick areas rather than treating a dry outer panel as the finish. [2]
Air drying a down bag also needs a brand-specific plan. Therm-a-Rest allows and prefers it for its hydrophobic-down bags, describing 24-48 hours or longer with ventilation and repeated clump checks. Zpacks recommends air drying its down gear, while Feathered Friends says to tumble dry rather than air dry. A dryer-free method suitable for one maker's bag isn't automatically suitable for another's. [18] [19] [4]
For synthetic sheet insulation, gently shake and redistribute the bag as instructed. Don't try to pull the filling into little separate pieces as though it were loose down. If stitched insulation has moved or detached, that needs repair rather than more vigorous kneading.
Deal with a bag that is still flat, clumpy or musty
Start with drying. Down that looks very flat just after washing is usually wet and stuck together. Give it the permitted drying time, work through the remaining lumps and check every chamber. Don't pack it away in the hope that a night in the cupboard will finish the job.
If the bag is thoroughly dry but still clumpy, consider cleaner residue. Big Agnes recommends another wash without soap when residual cleaner is the likely cause, followed by complete drying. Adding another generous dose of cleaner can leave you with more of the same problem. [13]
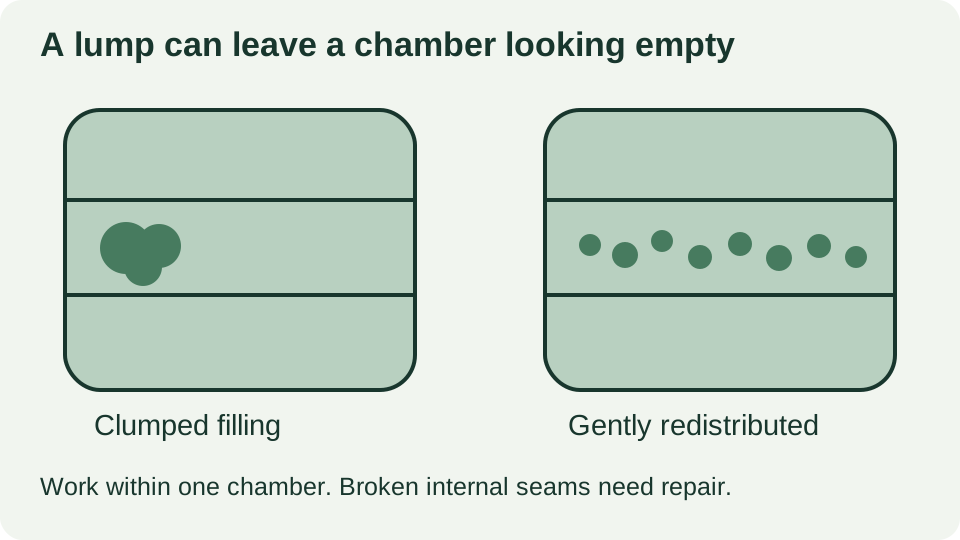
Look for uneven distribution too. Hold the bag up to a light where the fabric allows and compare neighbouring chambers. A thick lump at one end of a baffle can leave the other end looking empty. Work gently within that chamber rather than dragging filling across stitched divisions. If a seam has failed and down has migrated between chambers, a repairer needs to restore the structure.
A persistent damp smell calls for a proper check of the bag and storage conditions. Open it out fully, inspect the lining and make sure it is dry throughout. If mustiness survives correct washing and drying, or there are visible damaged or mouldy areas, send photographs to a sleeping-bag cleaning or repair service. Keep bleach and strong household disinfectants away from a delicate shell.
Cleaning can remove grime and help compressed filling expand again. Missing down, torn internal compartments and permanently damaged synthetic insulation need a different fix. Describe the fault accurately when arranging a repair, rather than booking a wash for a bag that is losing its filling.
Keep cleaning separate from adding water repellency
A sleeping bag cleaner and a water-repellent treatment do different jobs. Start by getting the bag clean. Once the shell is dry, sprinkle a little water on it and see whether it beads or soaks in. Don't add a proofer to the cleaner just because the bottles sit together on the shelf.
This is an area where the bag maker's recommendation changes the job. Therm-a-Rest recommends Nikwax Down Proof for renewing its hydrophobic down. Big Agnes advises against adding a waterproofing wash to its DownTek-filled gear, warning that it can cause clumping and down migration. A treatment labelled for down still needs to suit the particular bag. [18] [13]
For a compatible bag whose maker permits Nikwax Down Proof, the current UK instructions give 300ml for a 1.1-2kg, two-to-three-season sleeping bag, in an 8kg-or-larger machine. Apply it after cleaning, in a separate 30°C synthetic cycle with slow spin and an extra rinse if possible. There is no need to dry the bag between cleaning and that treatment. Other bag weights have different doses. [20]
Finish with the full drying process again. A water-repellent treatment doesn't remove the need for a dry bag, a protected camp setup or careful storage. If your bag calls for a shell-only treatment, use that specified route rather than treating the entire filling by default.
Finish drying, then store the bag loose
Let the bag cool, open it out and inspect it again. Feel the hood, collar and footbox, then check the body from both sides. You're looking for filling that is dry and evenly distributed, without dense damp pockets hidden inside an otherwise dry shell.
Give it a final airing before storage. GEAR AID recommends leaving washed down gear open overnight after drying. Haglöfs goes further for its down bags, suggesting one to two days of airing after tumble drying. This is a final stage for a bag you've already dried properly. [9] [16]
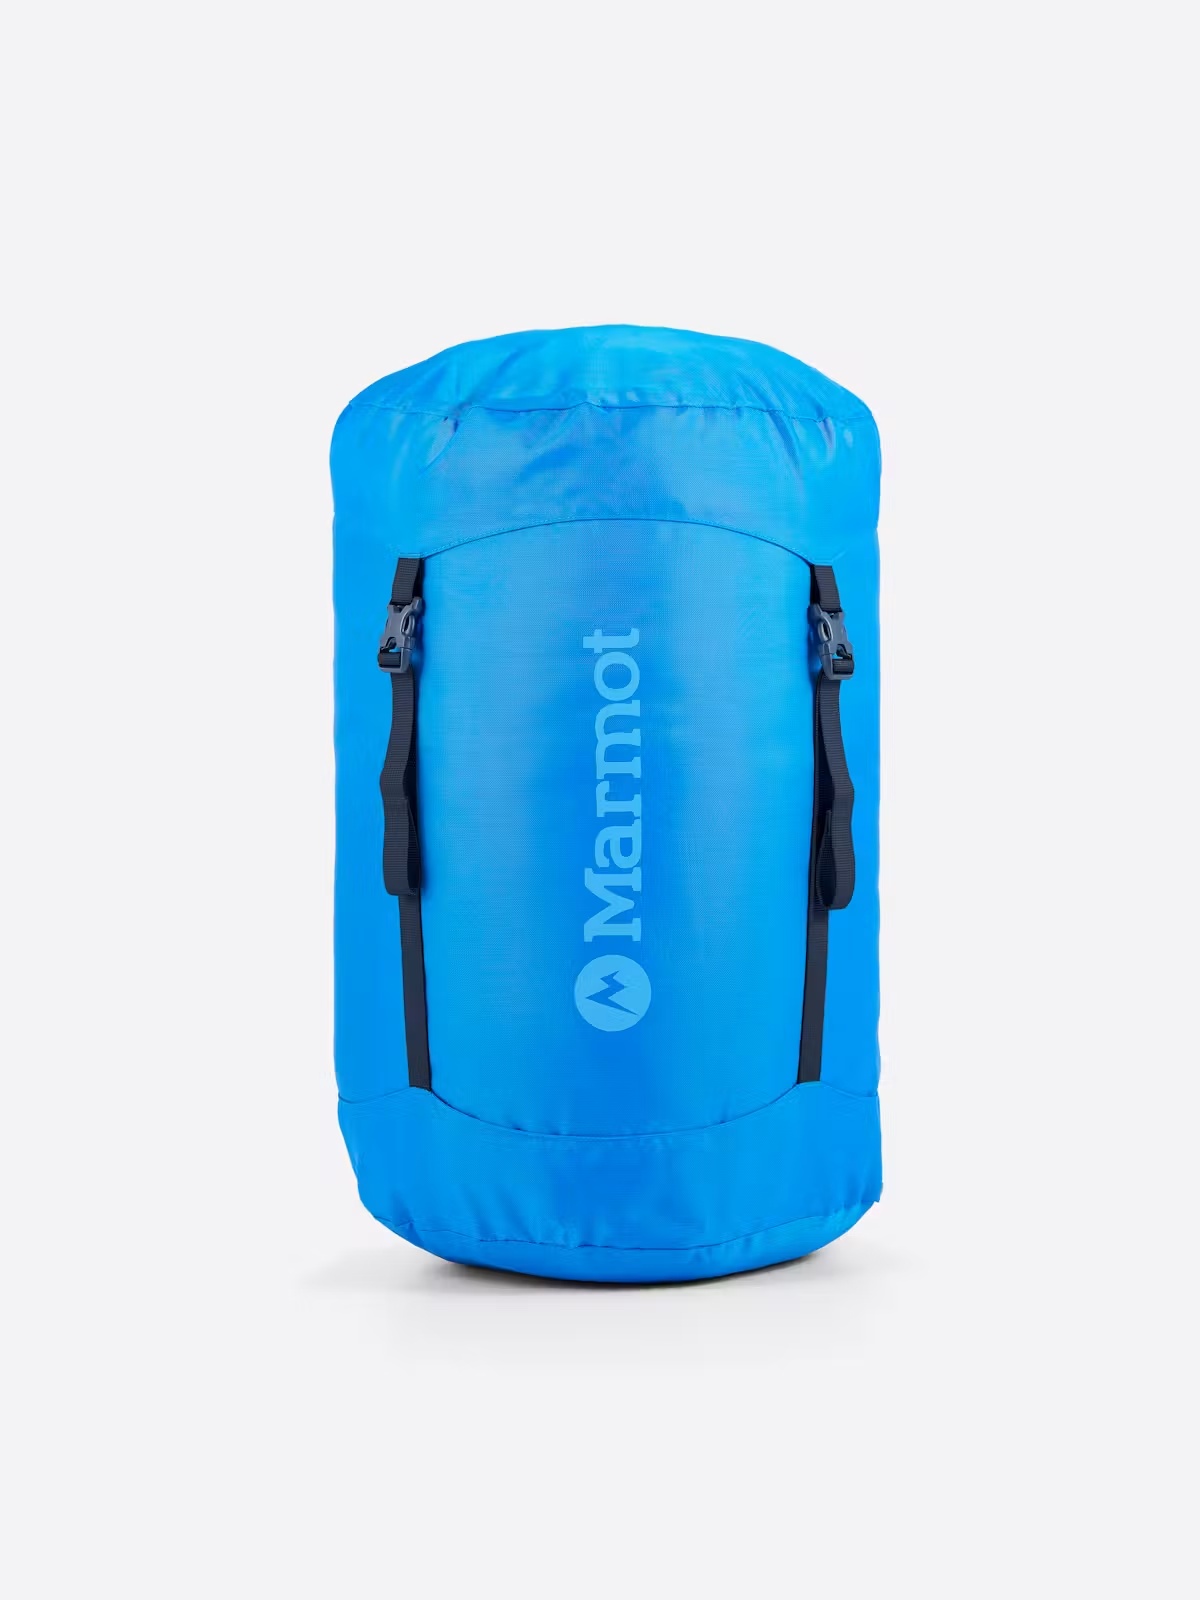
Use a large breathable storage sack or hang the bag in a suitable dry cupboard. Marmot recommends loose, breathable storage and reserves protective dry bags for travel. The small compression sack is useful for travelling; it traps the bag into a much smaller space than it needs at home. [21]
Manufacturer advice does differ here. NEMO's main care page allows compressed storage when a bag is completely dry, whereas Rab recommends keeping its down bags uncompressed. If you have the space, loose, breathable storage makes it easy to keep the bag aired and ready to loft. [6] [1]
For the next trip, pack a clean liner or clean sleeping layers and keep the sleeping bag off dirty ground. Unpack it early at camp and air it after a damp night. A little attention between trips saves you having to find an entire afternoon for washing, rinsing and drying a bag that could have stayed fresh with a cleaner lining and a proper airing.
More help with your camp bedding
Read our Marmot Wraptor 30 Synthetic review for its 90-night field test. Our guide to washing a down jacket and restoring its fluff covers the same filling in clothing. For the rest of your shelter setup, see how to take care of a tent and make it last longer.
Sources and further reading
Manufacturer guidance checked on 2 November 2026.
- Rab: washing frequency, down and synthetic routines, drying time and loose storage
- deuter: 50-night benchmark, hand washing, preparation and supported air drying
- Snugpak: airing intervals, washing and the no-tumble-dry instruction
- Feathered Friends: sleeping-bag preparation, suitable cleaner and low-heat drying checks
- Western Mountaineering: wash frequency, submerging a bag, rinsing and dryer inspection
- NEMO: condition-based washing, local cleaning, cold two-rinse cycle and storage
- Fjällräven: 40°C slow-spin washing and airing after a trip
- Nikwax: current Down Wash doses for machine capacities, slow spin and baffle precautions
- GEAR AID: Revivex Down Cleaner hand-wash quantities, rinsing and overnight airing
- Sea to Summit: straps, zipper preparation, machine suitability and water extraction
- GEAR AID: patch overlap, rounded corners and 24 hours before washing
- NEMO: alternative zipper preparation and fill-specific drying
- Big Agnes: fill-specific cleaners, 20-30-minute drying checks, residue and DownTek treatment limits
- Grangers: current concentrated Down Wash dose and care-label-compatible cycle
- Nikwax: Tech Wash suitability and soft-versus-hard-water dosage
- Haglöfs: additional rinse cycles, post-dryer airing and separate insulation routines
- REI: illustrated washing routine and supporting the entire wet bag
- Therm-a-Rest: hydrophobic-down and synthetic drying, dryer space, treatment and storage
- Zpacks: hand washing and air drying its down bags and quilts
- Nikwax: Down Proof compatibility, bag-weight doses and separate treatment cycle
- Marmot: cleaning, drying and loose storage instead of a travel dry bag