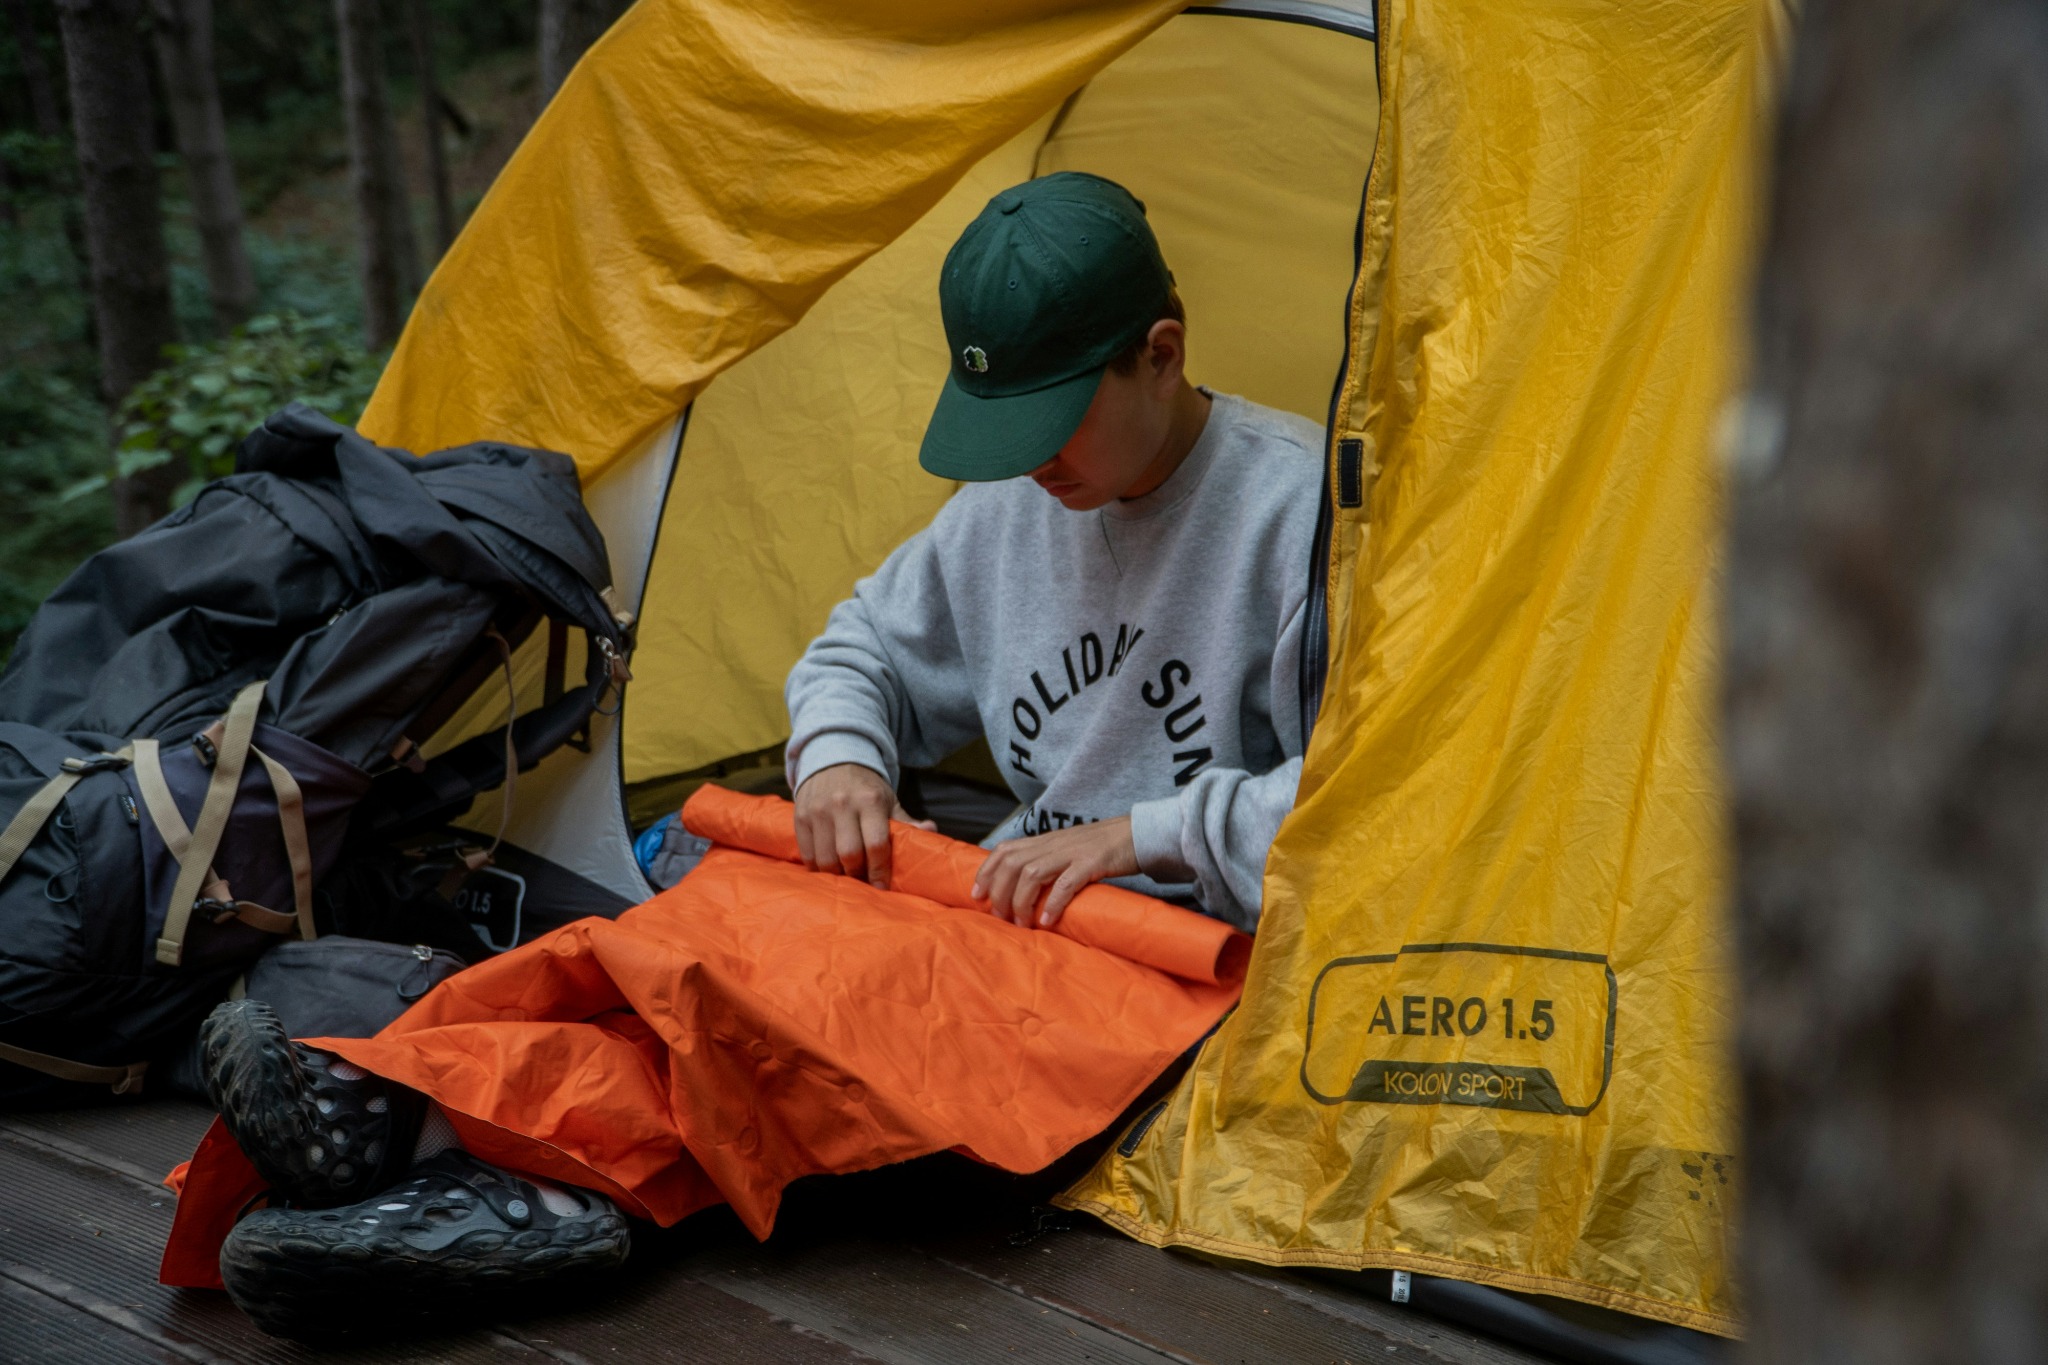
A good sleeping mat makes a patch of hard ground feel like somewhere you can spend the night. It also keeps you insulated from the cold beneath you. All of that becomes rather less comfortable when you wake at three in the morning with your hip on the tent floor and a mat that was perfectly firm at bedtime.
Fortunately, a tiny puncture is often repairable. The fiddly part is finding it, especially when the mat takes several hours to go soft. Then you need a patch that bonds to the surface, enough clean fabric around the hole and the patience to leave the adhesive alone while it cures.
To find and repair a puncture in a sleeping mat, first check the valves and rule out cooling air. Locate the leak with a careful water or soapy-water test, mark it, then clean and dry the area. Apply the repair system specified for that mat and surface, let it reach its required cure or bond time, and test it under load before your next trip.
We'll work through each stage, including the slow leaks that barely produce a bubble and the valve faults that no fabric patch will fix. The instructions draw on EXPED, NEMO, Therm-a-Rest, Sea to Summit, GEAR AID and Tear-Aid, with links to our Exped Ultra 6.5R review and NEMO Roamer review where their construction and handling help explain the job.
If your mat has gone flat at camp
Close and reseat both valves, look and listen for damage, and locate the leak before opening the patch packet. Keep the repair area clean and dry. Use the matching field kit's method and waiting time; an overnight adhesive repair started at bedtime won't be ready in five minutes. Put spare closed-cell foam beneath your sleeping position if you have it while you sort out the fault.
Check the pressure again after the mat has cooled
Start with the easy explanation. A mat inflated in a warm room or with warm breath can feel softer after it cools outdoors. Therm-a-Rest describes this loss of pressure and recommends topping it up. Add a little air once it has reached the temperature where you'll sleep, close the valve properly and see whether it continues losing firmness. [1]
A one-off adjustment after cooling is different from repeatedly having to reinflate it through the night. For a useful home check, keep the mat in one room, away from a radiator or sunny window. Give it time to settle, adjust its firmness and check it again later in the same conditions.
Don't use a hot car as a testing chamber. Therm-a-Rest warns that air expanding inside a fully inflated mat in a hot tent or car can burst it. Release some pressure before leaving it somewhere that will warm up. Heating a mat harder to make a leak obvious creates another problem. [1]

Get the repair kit and identify the mat
Find the model name and, for an older mat, its approximate year. Photograph the valve and both faces. A lightweight inflatable and a thick self-inflating mattress can need different repairs, even within the same brand.
Our Exped Ultra 6.5R is an air-filled mat with a 20D ripstop polyester shell. The NEMO Roamer uses a foam core and a stretch top. That softer top is one reason to identify the damaged face rather than ordering a patch by colour or by the word “camping”.
For the job at home, gather a basin or bath, mild soap, a clean sponge, a towel, a marker, suitable alcohol wipes and the compatible kit. Add scissors and a smooth spoon if the patch method needs them. Keep the adhesive instructions alongside everything, including the specified application temperature.
Open the little repair pocket before a trip. NEMO says its kit lives inside the stuff sack. Check that a previously opened glue tube still dispenses usable adhesive, the patches still have their backing and any UV lamp works. Finding a solid tube of glue after you've located the hole is a dispiriting way to finish the evening. [2]
Find a slow leak with a patient water test
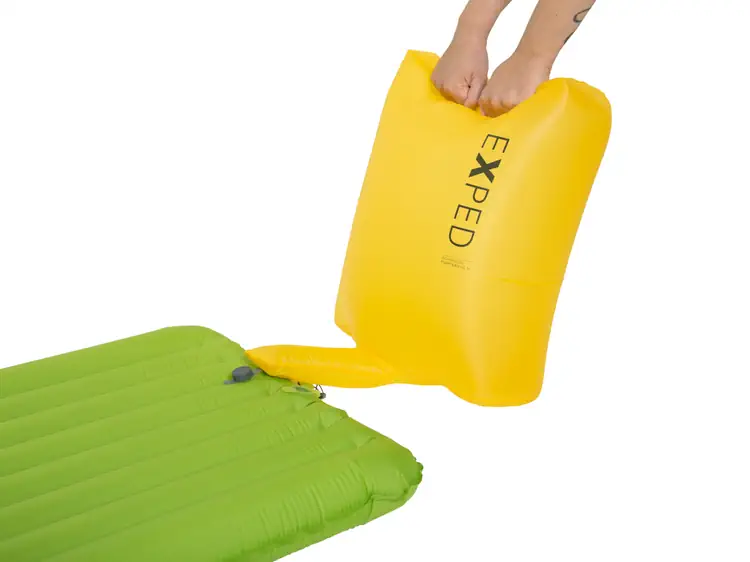
Inflate the mat firmly using its normal inflation method, then close every valve. Work somewhere quiet first. Move your ear and cheek slowly over the surface while gently pressing another part of the mat. A little cool air against your face can reveal an opening before you hear it. NEMO describes working across the whole top and then repeating the search underneath. [2]
If that finds nothing, use a clean bath or large storage tub. Keep the valves closed so water stays outside. Submerge one manageable area at a time and watch the surface closely. Move methodically from one end to the other, covering the edges, valve surround and underside as well as the central panels.
Look for a bubble that keeps growing in the same place or a repeated trail from one point. A few bubbles caught in textured fabric when it first enters the water can disappear without indicating a leak. Let them clear, then watch the spot again. Keep your hands far enough away that their movement isn't continually disturbing the water.
For a particularly slow leak, stop rushing from panel to panel. Therm-a-Rest says a pinhole that empties a pad overnight can take ten minutes or more to show bubbles. Gently folding part of the mat can increase the pressure in the section you're checking. Use controlled pressure rather than jumping on it or adding air with a compressor. [1]
Keep the marker within reach. As soon as you've found the source, take that spot out of the water, blot it and mark a small ring around it. Mark beside the opening so you can still see the puncture itself. Photograph it too if the colour makes pen marks hard to find.
Continue the search after finding one hole. GEAR AID specifically advises checking whether a puncture passed through and out the other side. If a sharp object made two openings, repairing the first one leaves you with the same sinking feeling later that night. [13]
Use a soap film when a bath is impractical
A large mattress can be awkward to wrestle into a bath. Lay it on a clean surface and work with a sponge or spray bottle of water containing a little mild soap instead. You want a thin film across the area you're checking, with enough liquid to bridge the fabric texture.
NEMO recommends applying soapy water, gently pressing the inflated pad and marking the bubbling point. Watch the folds beside raised chambers, where a small bubble can hide from a quick glance. [3]
Give a suspected spot another application and wait. Froth spread by the sponge isn't evidence by itself. You're looking for fresh bubbling that starts from the same point when the mat is under pressure. If your first pass only covers the upper face, turn the mat over and do the underside too.
Finish with clean water to remove the soap, then let the surface dry. Leave the valves shut while rinsing. The patch needs clean fabric to grip, so a slippery ring of soap around an otherwise well-marked hole gives you more preparation to do before gluing.

Choose a patch for the surface you are repairing
The patch doesn't have to be the same colour, or even the same textile, as the mat. Its adhesive does need to bond to the surface underneath it, and the completed repair needs to hold air under pressure. A piece of nylon on its own won't seal a hole because the mat happens to be nylon too.
Start with the kit supplied for the exact model. When buying a replacement, look for that model in the kit's compatibility information. If you're using a third-party system, identify the outer surface and any silicone treatment as well as the base fabric. An internal airtight laminate and the outer face you're bonding onto are different parts of the construction.
| Mat or surface | A concrete repair option | The detail to check |
|---|---|---|
| NEMO mat using its recommended adhesive repair | Tenacious Tape plus the suitable Seam Grip adhesive. [3] | Identify the exact adhesive and allow its specified cure time. |
| EXPED mat | The current EXPED Field Repair Kit uses UV-curing glue and transparent TPU patches. [8] | Use the kit instructions and lamp; older textile-glue kits have a different process. |
| Nylon or polyester surface without silicone treatment | GEAR AID lists these fabrics for Seam Grip WP and Tenacious Tape Hex Patches. [5] [19] | Confirm the mat maker permits the system on that face, particularly a stretch top. |
| Silicone-treated fabric | A specified silicone-compatible repair system. Seam Grip WP and ordinary Tenacious Tape are unsuitable. [5] [19] | Use the mat-specific method; Sea to Summit SI examples are below. |
| Vinyl/PVC surface | Tear-Aid Type B is for vinyl and vinyl-coated materials. [7] | Type A is a different product. Type B is not the choice for an ordinary non-vinyl fabric mat. |
Sea to Summit specifies silicone adhesive plus a 3M patch for several SI models and the underside of Comfort Plus SI and Comfort Deluxe SI. Their stretch top needs a separate adhesive or mesh-reinforced method according to hole size. Identify the damaged face before starting. [4]
If you cannot identify an older mat's surface, send the maker those model and valve photographs before applying glue. Ask which kit suits the top or underside you're repairing. That resolves a specific compatibility question and avoids covering the bond area in something the repairer then has to remove.
Clean and dry the bond area before opening the adhesive
Bring the mat indoors after the leak test and give it enough time to dry. Blot obvious water first, then leave the area open to the air. Check creases and the edges of textured fabric. Water sitting in those little recesses can still reach the adhesive even when the centre feels dry.
Follow the inflation state specified for the repair. NEMO's conventional patch routine starts with a deflated mat on a flat surface. Don't keep the hole blowing air into wet glue while you try to spread it. If a different kit calls for some air to remain inside, retain that amount rather than flattening the two skins together. [2]
Use an alcohol wipe or a small amount of isopropyl alcohol on a clean cloth where the mat's instructions permit it, then let it evaporate. Therm-a-Rest identifies poor preparation as a frequent cause of failed patches. It also warns that excessive alcohol can weaken the fabric: a wipe is appropriate, soaking the mat in solvent is not. [10]
Prepare an area larger than the patch's footprint. Keep your fingers off the cleaned surface and adhesive backing. Lay the patch on with its backing still attached to check the coverage, position and whether a seam or channel will stop it lying flat. Move your tools into reach before exposing anything sticky.
Keep glue and cleaning solvent away from the stove or fire, and work in ventilation rather than inside a zipped tent. EXPED's current kit explicitly warns that its adhesive is flammable. A warmer application space is useful when the kit requires it; a flame beside an open tube is not. [8]
Apply the patch without creases or lifting edges
For a supplied peel-and-stick patch, leave the backing on until the surface is ready. Position the puncture well inside the patch, peel carefully and lay it down without stretching the mat. Work from the centre outward with firm pressure to chase out trapped air. Keep the fabric underneath flat so a wrinkle doesn't become an escape channel.
For an adhesive-and-patch repair, use the sequence for the actual kit. GEAR AID's current Camp & Trail kit tells you to apply a thin, even layer of Seam Grip WP, wait 30 minutes for it to become tacky, then press the Tenacious Tape patch over it from the inside outward. It then requires 8-12 hours lying flat to cure. [6]
Cut the patch large enough before applying glue. In its sleeping-pad guide, NEMO specifies rounded corners and one inch, about 25mm, beyond the hole on every side. A 2mm pinhole would therefore need a patch roughly 52mm across to give that margin. A little postage-stamp patch directly over the dot doesn't meet that method. [3]
That margin belongs to the named procedure. GEAR AID's Aquaseal FD sleeping-pad method uses at least half an inch of adhesive coverage around the damage, then a patch extending another half inch beyond the adhesive onto dry fabric. The dry outer border gives that patch somewhere to grip while the centre cures. Don't mix those measurements into a different system halfway through. [13]
Bring a small cut's edges together without overlapping them or pulling the surrounding fabric tight. If the kit needs weight, place a smooth, flat load over the repair as instructed. Keep exposed glue from bonding the weight to the mat. Therm-a-Rest explains that its fabric patches can curl as adhesive is applied, which is why its weighted pressing stage is important. [10]
Leave a patch with a good bond alone. Picking up a corner to check whether it's stuck starts peeling the repair you just made. If an edge hasn't adhered or a crease runs across it, deal with that fault using the kit's correction method before loading the mat.
Allow the right curing time for that repair system
This is the stage where instructions found online can send you wrong. Different adhesives cure through different processes, and pressure-sensitive patches build adhesion differently again. A quick field-use time, a full-strength time and a time before washing are separate instructions.
| Named repair | Manufacturer timing | How to use that information |
|---|---|---|
| EXPED current UV Field Repair Kit | The product page advertises 10-second drying under UV. [8] | Use its supplied lamp and instruction sheet for application and exposure. This is not an air-drying time for other glues. |
| Tear-Aid Type A / Type B | Full adhesion after one hour / 24 hours respectively; each has an initial bond. [7] | Choose the right type first. Immediate grip does not mean full adhesion. |
| Sea to Summit Air Sprung Cell supplied patch | Five minutes weighted before retesting. [4] | This belongs to its specified clean, dry, peel-and-stick repair. |
| Sea to Summit specified SI silicone repair | Two hours before retesting. [4] | Use the method for the model and face, including mesh where required. |
| GEAR AID Seam Grip WP | 8-12 hours; its application range is 60-100°F, about 16-38°C, above 40% relative humidity. [5] | Arrange a suitable working space and allow the full cure before use. |
| NEMO published adhesive routines | Its Easy Fix page says at least two hours; its broader pad-care guide says 24 hours. [2] [3] | For a separate tube of adhesive, use that product’s full cure instruction. Unaccelerated Seam Grip WP needs 8-12 hours. |
That difference in NEMO's pages deserves a practical decision. If you're holding ordinary Seam Grip WP, don't reduce its cure to two hours because a pad-repair article mentions that number. GEAR AID specifies the chemistry in your tube. Its own instructions say low humidity can lengthen curing, and describe a two-hour route only with the named Cure Accelerator mixed in the stated proportion. [17]
At home, arrange the repair so it can sit undisturbed overnight in suitable conditions. Write down when you applied it and when the instructions allow testing. That is easier than guessing how long it has been there each time you walk past. For a trip repair, take a kit whose permitted field-use time fits the time you have.

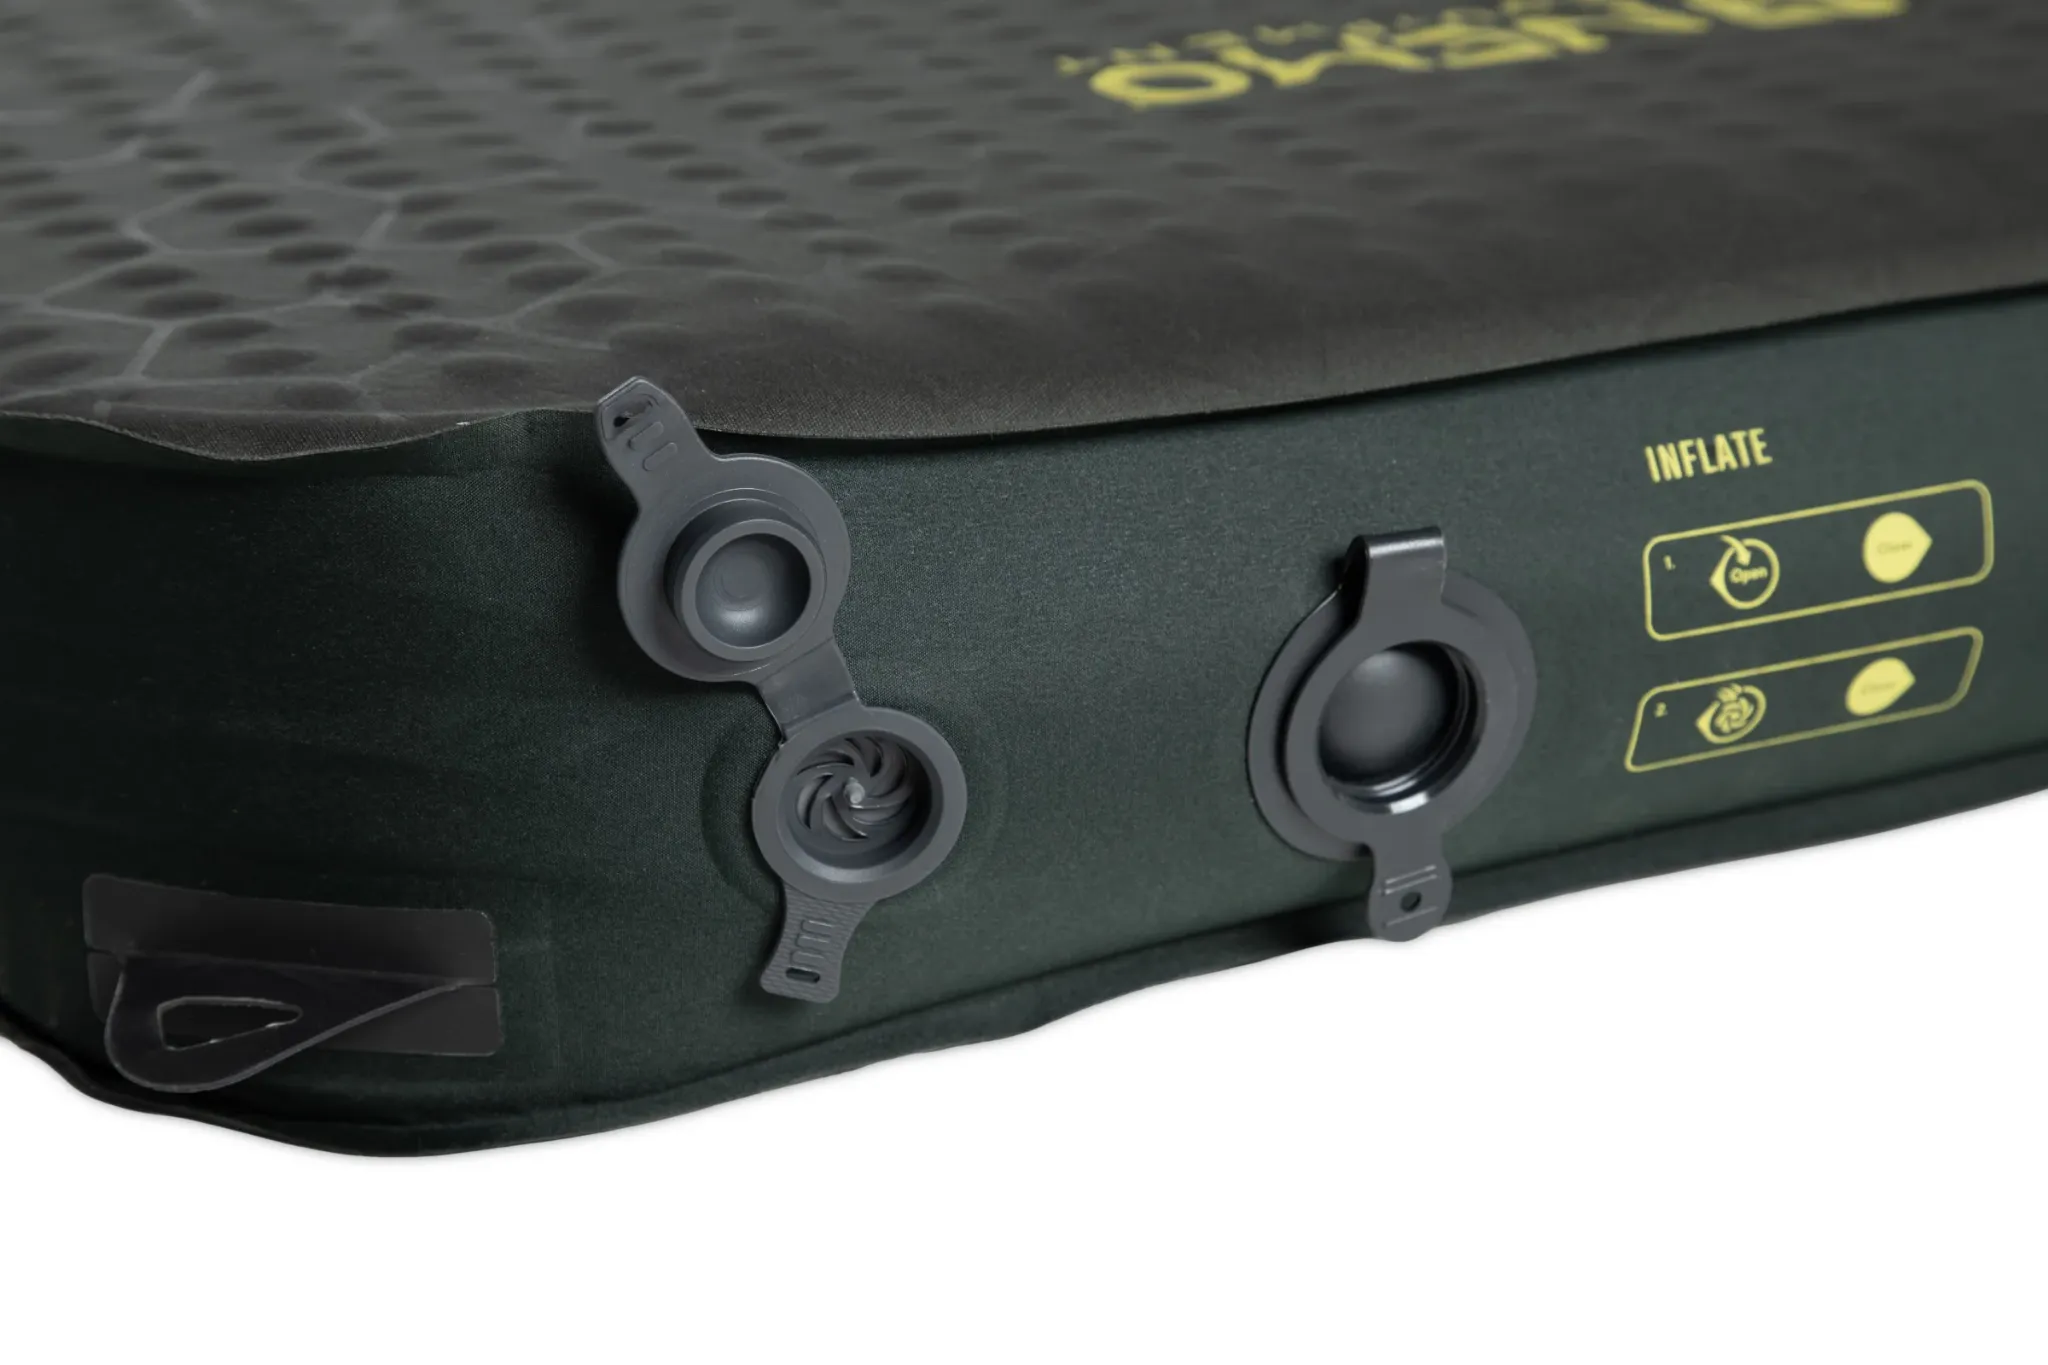
Check the valve opening and the bond around it separately
Close the valve, inflate the mat and look closely at where bubbles begin. Air coming through a cap or seal points to a different repair from air escaping where the valve housing joins the fabric. Record a short video before taking anything apart.
First check that every cap is seated squarely. On a twin-valve mat, check the dump valve too. Inspect the accessible sealing surfaces for grit, hair or a folded edge, clean them gently with a soft cloth and close them again. Keep tools and loose fibres away from the sealing face.
Our NEMO Roamer review records one handling detail worth knowing: pulling the intake cap abruptly can bring the inner insert with it and release air. Holding the inner ring with a thumb prevented that during use. If yours releases air while you're opening it, inspect how the insert is seated before treating the fabric as punctured.
Sea to Summit says to submerge its valve for at least 30 seconds, watching the hinge. Its valve-care procedure uses cleaning, a thin film of petroleum jelly on contact surfaces, a 24-hour wait and a final wipe. Keep that treatment specific to those valves. [4]
A replacement flap also needs to be the right size. Sea to Summit's Air Sleeping Pad Repair Kit contains silicone one-way flaps, but the manufacturer says these do not fit its self-inflating mats. Request the SI part instead. A flap that looks nearly right can still fail to seal. [12]
Therm-a-Rest offers Classic and WingLock replacement kits for home repairs, while its TwinLock valve work goes to the repair shop. Identify the valve before buying parts or pulling a housing out. A leak at the housing's fabric bond, a cracked component or an insert that won't seat is a reason to send photographs to the maker, with the exact model. [11]
Keep glue out of the working valve. It can stop a flap moving or seal the valve shut. EXPED specifically advises against rubber cement, duct tape, caulking and plumber's tape for punctures, tears or valves. A wrap of tape around the outside doesn't resolve which sealing surface is leaking. [9]
Test the repaired mat under load overnight
Wait until the repair system permits inflation, then bring the mat up to its normal firmness. Check the repaired point again with the permitted leak test. Watch the perimeter as well as the original opening: a narrow unbonded path can let air travel beneath a patch and escape at its edge.
NEMO recommends an overnight test with a weight such as a packed bag on the inflated pad. Use a stable-temperature room and a smooth bag base, with nothing sharp poking through. Compare firmness before and after loading. [3]
Try lying on it too. Pay attention to the shoulder and hip positions you use at night. A mat can look reasonably full on the floor yet lose enough support to become uncomfortable when you settle your weight into it.
If it still softens, repeat the search across the whole mat. Check the repair and valve, then look for the second opening rather than immediately piling another patch over the first. Keep a note of which areas produce bubbles and which repair system you used. That information helps if you send it for professional work.
Send seam failures and spreading damage for assessment
A small hole in sound fabric is a good candidate for a home patch. A separating perimeter seam, a valve base pulling away or a large new bulge between internal chambers needs a different assessment. Photograph the shape while inflated and the source of any bubbles.
Therm-a-Rest explains that lasting seam repairs can need specialist laminating equipment. Contact its repair service about a failed seam rather than covering the full edge in household sealant. Include proof of purchase if requesting a warranty assessment. [15]
When contacting a repairer, give the model, approximate age, where the leak appears and how long it takes to go soft. Describe any earlier adhesive or tape. Ask whether the job involves a local puncture repair, valve work or a structural failure, and whether it is economical for that mat.
For an EXPED, its repair information directs substantial repairs to the warranty and repair team. Use that route if the damage is growing, the valve is detached or a careful search still hasn't found the loss. Leave the area accessible rather than burying it beneath layers of incompatible glue. [9]
Pack a usable field kit and protect the next pitch
Put the remaining patches and instructions back together after the repair. Replace the used wipe and replenish the adhesive. A photo of the instructions on your phone is useful when the paper sheet is damp or unreadable. Keep the original packet too, so you can identify the product and its limits later.
Before laying out the mat, clear loose grit from the tent floor and check the pitch for sharp objects. Therm-a-Rest recommends protection beneath an inflatable, including a closed-cell foam pad where appropriate, and highlights pets' claws as a common source of punctures. Keep the mat away from dogs and cats during that pre-trip overnight test as well. [16]
Keep it out of the sparks around a fire and away from hot cooking equipment. Do your repair work elsewhere, too. One ember can leave you with a new leak just after you've dealt with the old one.
After a wet trip or leak test, dry the mat before packing it away. EXPED recommends cool, dry storage, unrolled with valves open. Its cleaning instructions call for warm water and mild soap with closed valves, a thorough rinse and air drying; no washing machine or tumble dryer. [14]
Our Exped Ultra 6.5R versus NEMO Roamer guide compares the lighter air mat with the bulkier foam mattress for different trips. If you're sorting out the whole sleeping setup, our sleeping-bag washing guide covers the other part that needs a patient dry before storage.
Once you've found the hole, prepared the surface and given the right adhesive its time, a little patch can put a useful mat back into service. Finish with the overnight test while you're still at home. It's a much nicer place to discover you've missed a second pinhole.

Sources and further reading
Manufacturer guidance checked on 2 November 2026.
- Therm-a-Rest: cooling air, slow pinholes, water testing and heat expansion
- NEMO: listening for leaks, supplied kits and its 24-hour adhesive repair routine
- NEMO: soap tests, patch margins, its two-hour instruction and overnight load testing
- Sea to Summit: model-specific air and self-inflating repairs, timings and valve care
- GEAR AID: Seam Grip WP compatibility, silicone exclusion and application conditions
- GEAR AID: Camp & Trail kit sequence, tack stage and full cure
- Tear-Aid: Type A and vinyl-only Type B, initial adhesion and full bond times
- EXPED: current UV Field Repair Kit, TPU patches, UV lamp and adhesive precautions
- EXPED: approved repair options, unsuitable household materials and repair service
- Therm-a-Rest: surface preparation, alcohol use, glue and weighted patches
- Therm-a-Rest: Classic, WingLock and TwinLock repair routes
- Sea to Summit: air-mat patches and replacement flap compatibility
- GEAR AID: through-punctures and the Aquaseal FD adhesive-and-patch field method
- EXPED: storage, washing and closed-valve cleaning
- Therm-a-Rest: structural seam failures and specialist equipment
- Therm-a-Rest: pitch protection, foam underlays and pet damage
- GEAR AID: humidity, overnight curing and the named Cure Accelerator method
- Tear-Aid: full application instructions and bond development
- GEAR AID: Hex Patch fabric compatibility and silicone exclusions