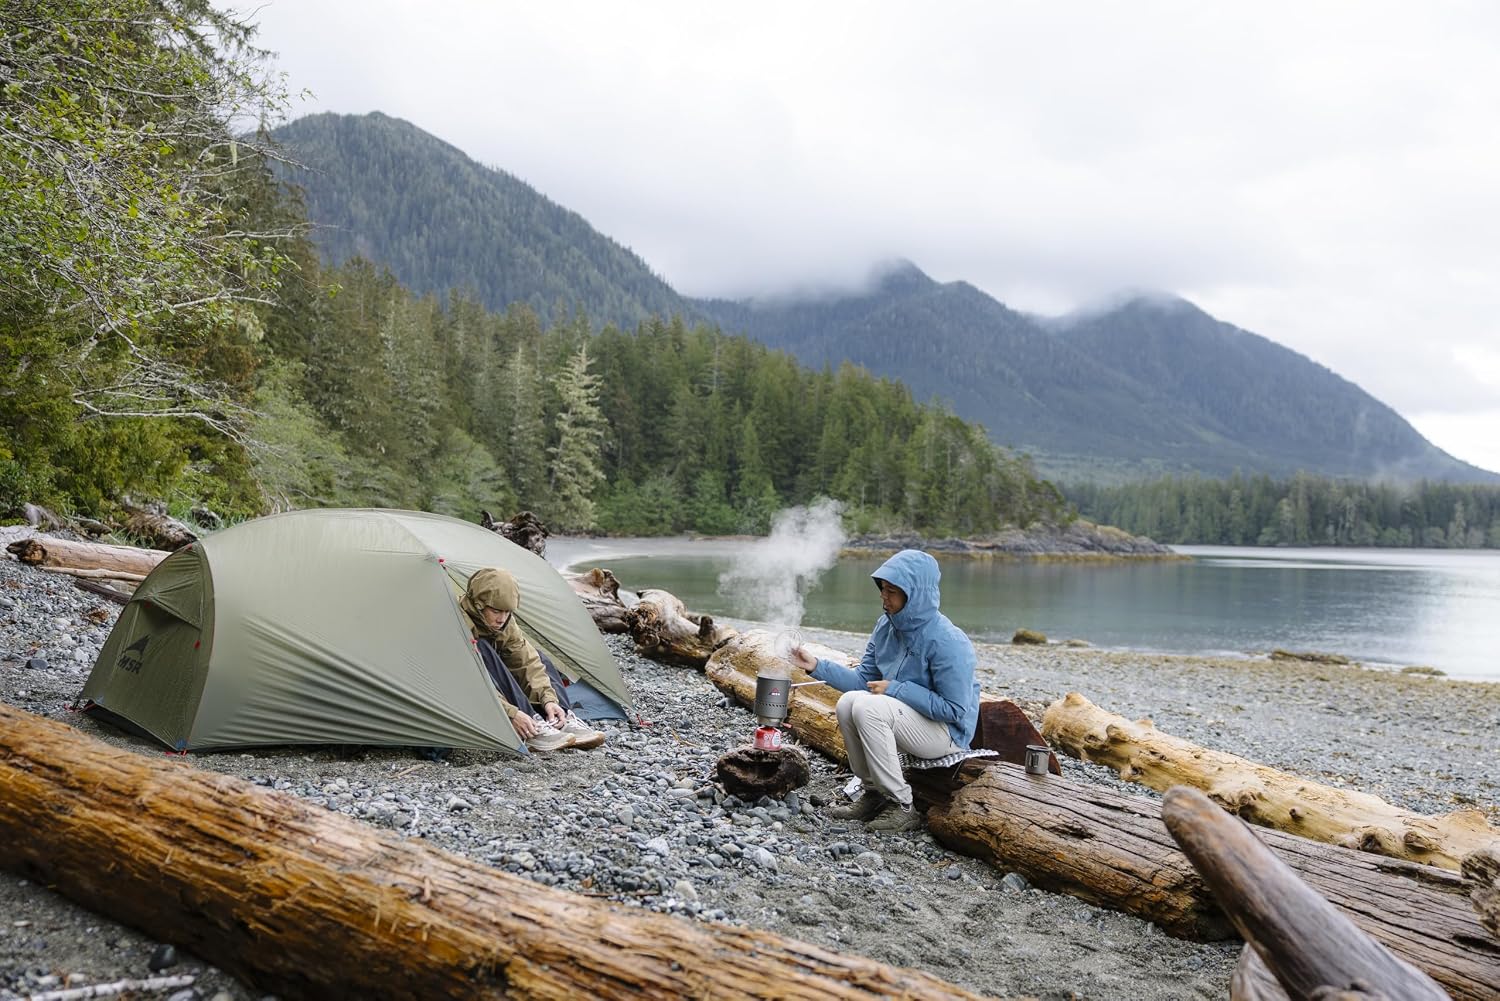
Putting a tent up on a lovely sunny afternoon is one thing. Doing it with rain running down the back of your neck and the fly trying to escape across the campsite to start a new life in the woods is a rather different job.
Start with a sheltered pitch
When the weather is coming in sideways the temptation is to throw your tent down on the first viable patch. But inclement weather is ironically when you should spend more time exploring your options before you pitch.
You want both protection from the wind and somewhere for rainwater to drain away. Avoid hollows: even though they're out of the wind, they're also where water is going to collect. Try to look for and avoid runoff channels; they'll be visible if it's already raining hard. Riverside pitches provide great views and atmosphere on sunny, calm days, but in a storm they could flood. Look above you as well: dead trees and damaged overhanging branches can come down in gusty weather.[1] [2]
Get everything ready before opening the fabric
If it's your first time using a tent, a pro tip is to rehearse pitching it at home. A short practice pitch sets you up for success when you're blundering your way through in a gale with freezing cold hands later. Find the head and foot ends, match the fly corners and work out which clips are awkward to reach once the fly is on. Sometimes the guylines aren't attached in the factory packaging, and they usually arrive tied up. Unpicking and untangling them in a blow isn't fun. It gives you the chance to check everything is there and you're not missing any lines or pegs. Even if it's not your first time pitching this tent, a dry run at home can save a lot of stress down the line.
On the day, a few small habits can also make things go smoother.
With two people, agree who is holding the windward end and who is dealing with the poles; otherwise you can both end up doing the same job while the fly gets away. Assemble all the poles before unpacking the tent in wind.[3] Seat every joint fully as you go. Put the pegs somewhere you can reach them without letting go of the fabric.
Turn the tent into the wind
For many backpacking tents, the narrow foot end is designed to point into the wind. Keep the entrance you plan to use on the sheltered side where the design allows it.[3]
Once you've chosen the direction, secure the windward corners while the tent is still low. Don't raise the whole tent then peg it out, or you put up a lot of windage before properly securing it.
Get the sleeping quarters covered
When the inner and fly pitch together
Often called a linked pitch, this design takes a lot of the drama out of setting up in rain. Keep the inner attached beneath the fly, then just anchor the tent and raise it using its normal pole sequence. The sleeping quarters stay covered because they're already inside the fly.
When the inner goes up first
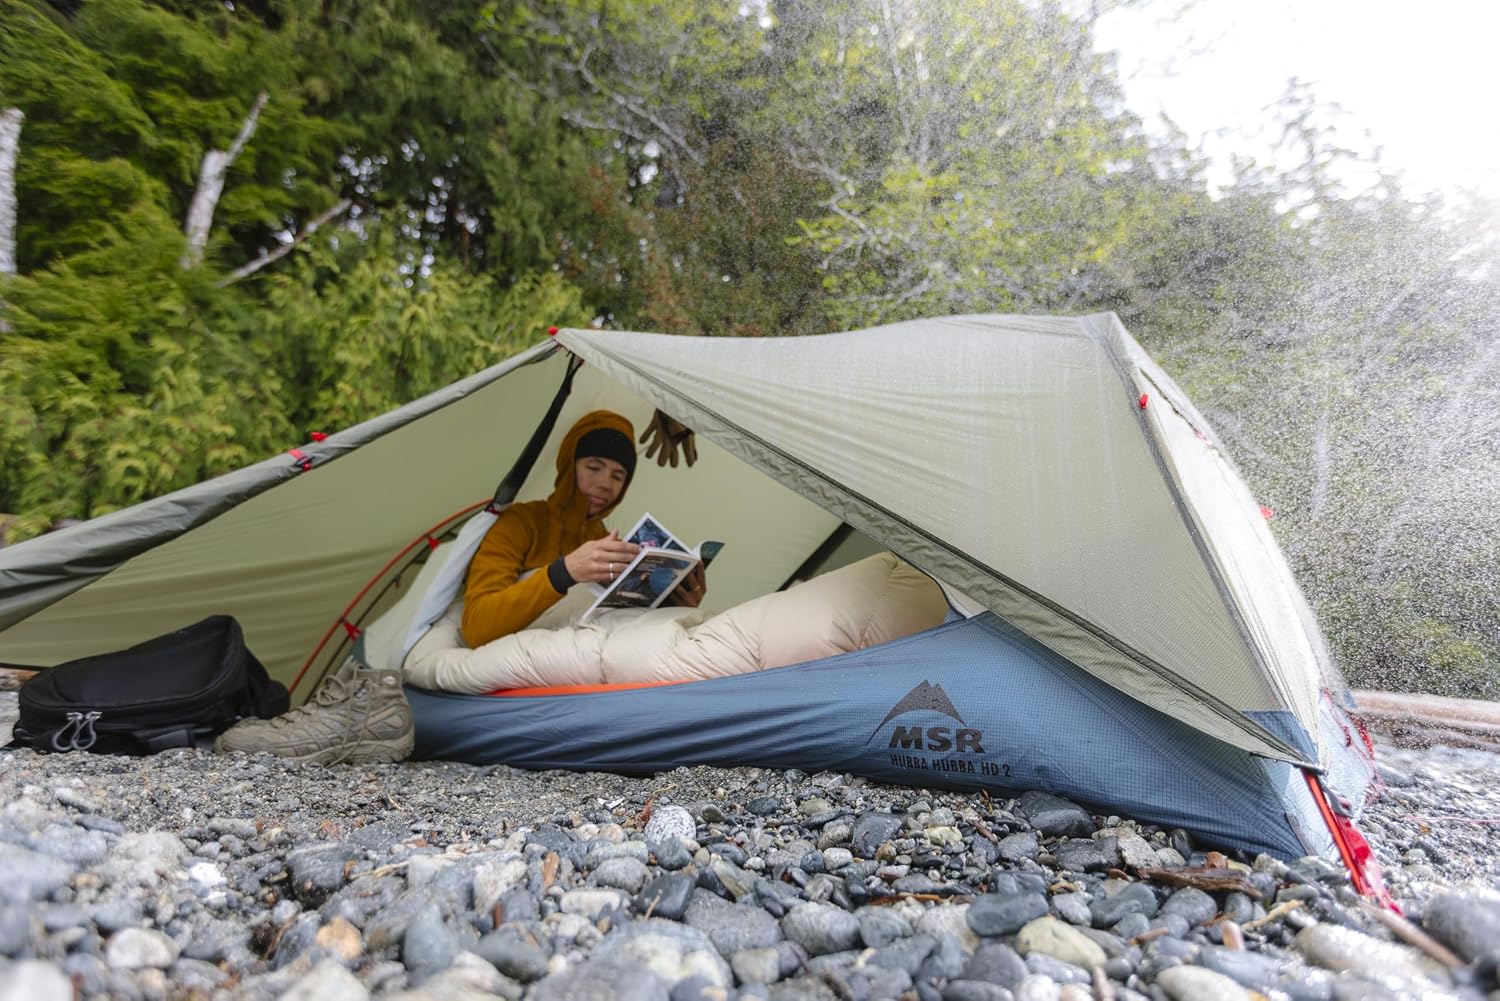
This is the more fiddly arrangement in a downpour. Our Hubba Hubba HD 2 has this setup, and when we threw it up in bad weather we just draped the fly over the body while connecting the poles to keep the worst of the rain off. But it does feel like you need three arms, especially if you're working alone.
- Hold the windward end of the inner and peg those corners, letting the remaining fabric flap downwind.
- Fit the poles from the anchored end, secure the other corners and attach the inner. With a partner, one person can hold the fly above the working area while the other assembles beneath it.
- Keep hold of the fly's windward edge as it goes over the frame, then fasten its attachment points promptly.[3] [1]
If you're not travelling too light it can be handy to have a designated towel to mop up any water ingress before moving bedding and clothing into the tent. We pack a little microfibre towel in with the tent itself for this reason.
Keep the groundsheet out of the rain
A loose tarp sticking out beyond the tent can catch runoff and funnel it under the floor. MSR makes its footprints smaller than the bedroom for exactly this reason, to keep them away from the fly's dripline.[5]
Use pegs that hold in the ground you've got
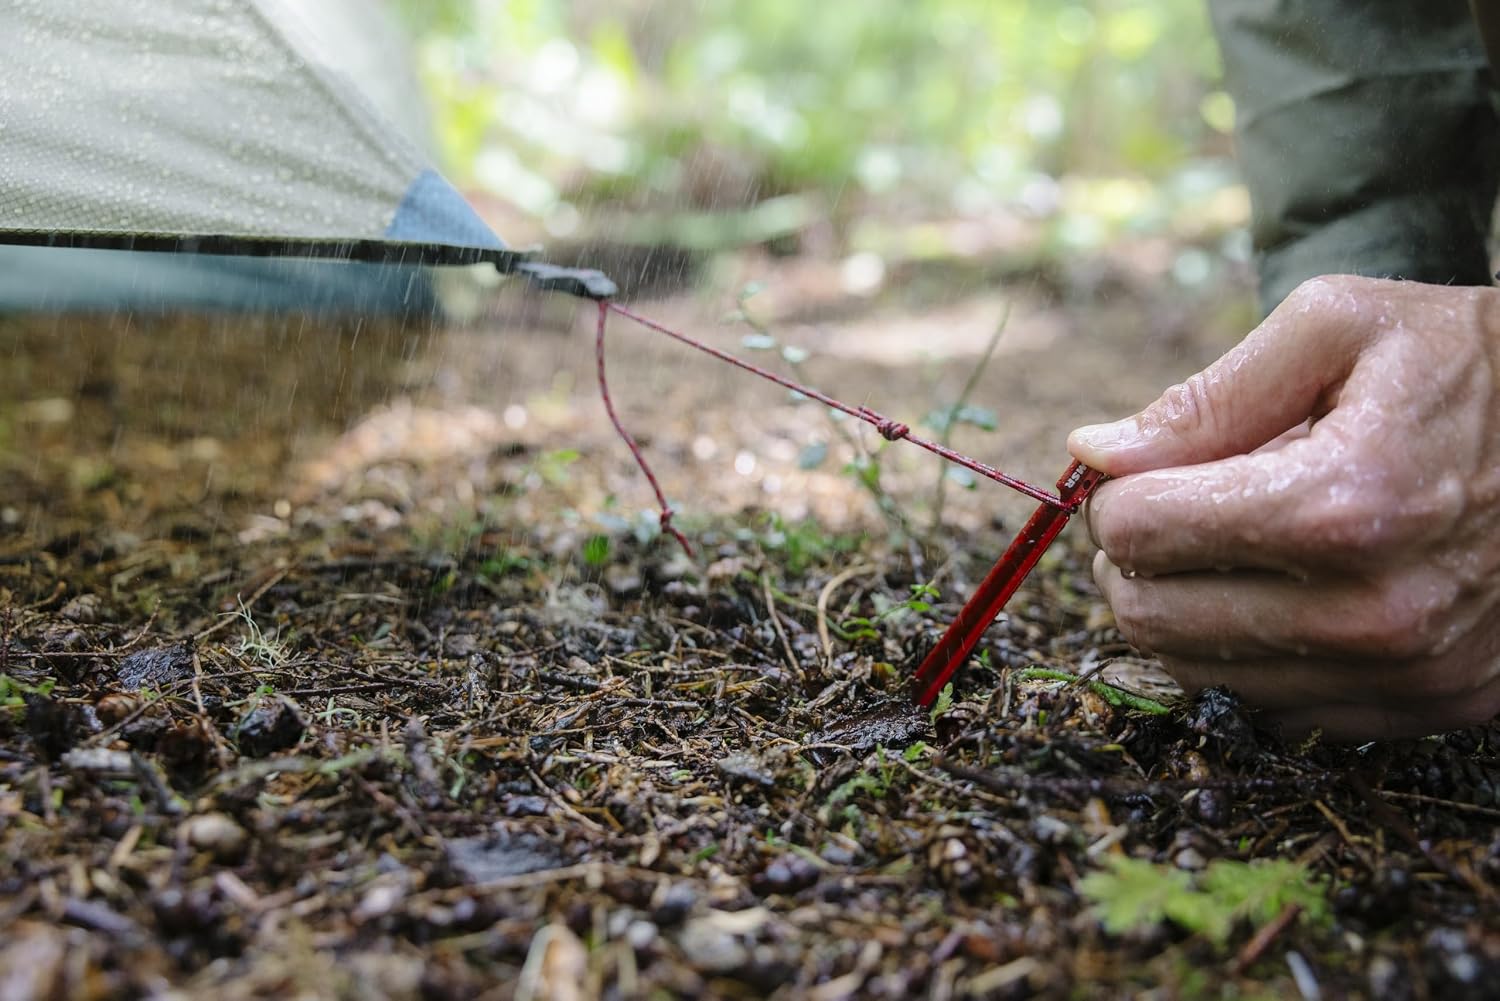
The small pegs supplied with a lightweight tent often don't have the best holding. During our Hubba Hubba test, the Mini-Groundhogs held in ordinary forest ground, but the soft moss beside the river really needed full-size Groundhogs. We like to carry at least a few stronger anchors for the points taking the most load.
Advice on peg angle differs between manufacturers. Big Agnes describes a 45-degree placement, with the top leaning away from the tent; REI recommends vertical placement for the best holding in most soils.[1] [2] Either way, drive it securely and test it by pulling along the attached line. If it moves, reposition it.
For loose sand and snow we recommend you bury an anchor. We don't find the wide pegs designed for this to work well at all in practice.
Support the poles, then tension the fly
The fly should sit well clear of the inner, with its seams aligned over the frame. If they're touching, condensation on the underside of the fly can transfer onto the inner. Recheck after the rain starts: nylon stretches when wet, so a taut dry pitch can develop sagging panels later.[6] Make sure you take up the slack evenly rather than just hauling one corner tight.
Our Copper Spur vs Hubba Hubba comparison goes further into how some tents can behave in inclement weather.
Leave the vents doing their job
Zipping everything shut feels appealing when it's cold and wet but you have to ventilate; your breath and damp clothing keep adding moisture inside even if you're successfully keeping the weather out. Poor airflow is a recipe for condensation. Also try to keep wet equipment out of the sleeping space; use the vestibule if you have one. Keep wet gear away from bedding in particular, and use a cloth to remove droplets accumulating inside the fly. Again, we like to pack a microfibre towel in with the tent for this.[7]
In our recent test of the Copper Spur, heavy rain knocked the condensation off the underside of the fly and into the bedroom. It felt like it was raining indoors even though the fly was keeping it out. Our tent care guide covers condensation, leaks and waterproofing in more detail.
Know when to move
Watch the anchors and frame as the gusts arrive. If you observe pegs creeping out or runoff entering the floor, be open-minded about moving to a more sheltered, better-drained spot. It won't seem appealing at the time but it really can be worth the temporary discomfort of repitching to set yourself up for a better night.
Pack away using the same process in reverse
Get the sleeping bag and spare clothes sealed away first. Where the design allows it, detach and pack the inner beneath the standing fly, separating the dry inner from the wet outer if you can.[4] On our Hubba Hubba test, we kept the wet fly in an external mesh pocket, away from the dry inner, and we were really grateful later to have a dry inner at the next pitch.
Finally, keep the tent anchored while you remove the poles and lower it. Leave the windward anchors until you're ready to put the tent straight into its bag. We see so many people start by pulling the pegs, but if it's really blowing a hoolie you want to keep it anchored until the last second.[1]
Manufacturer guidance
Pitching and care guidance checked on 3 November 2026. Product observations come from the linked Gear Reviews field reviews.
- Big Agnes: site selection, securing the fly, pegs and takedown
- REI: pitching, orientation, anchors and structural guylines
- MSR: pitching a tent in wind
- Hilleberg Staika: pitching and packing instructions
- MSR: footprint fit and runoff
- MSR: changes in nylon fly tension
- NEMO: condensation and ventilation