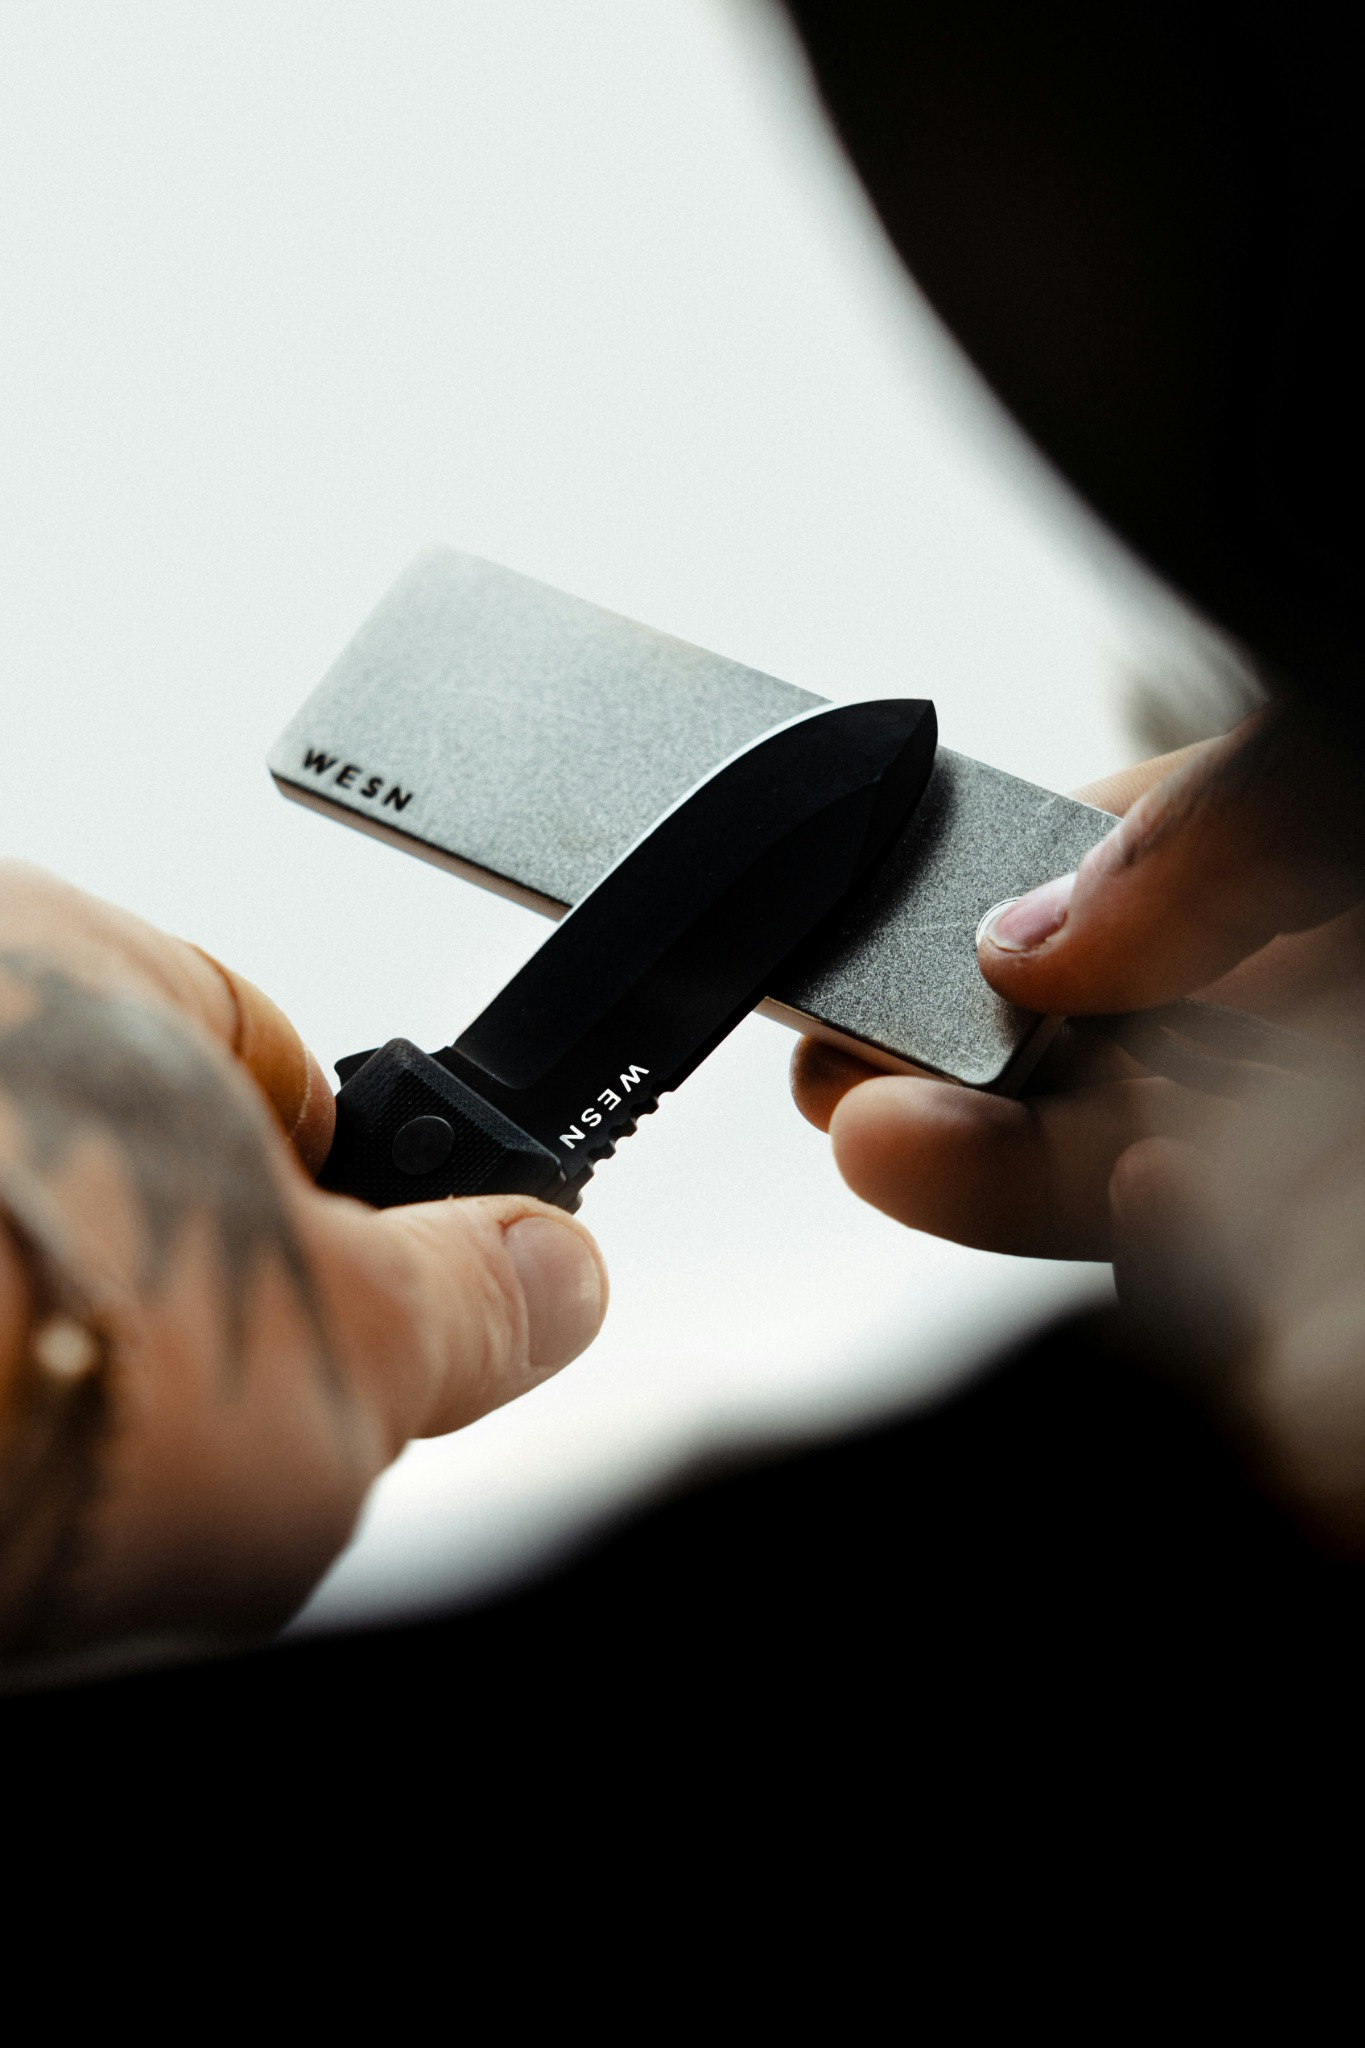
To sharpen a pocket knife by hand, match its existing edge angle, work both sides on a suitable sharpening stone until you've reached the cutting edge, then use lighter strokes and a finer abrasive to remove the burr. Keep the angle steady, check your progress often and stop the tip before it runs off the stone.
A decent pocket knife should be a pleasure to use. Opening a parcel shouldn't involve stabbing at the tape, and cutting a length of cord shouldn't turn into a prolonged wrestling match. When the edge starts slipping and you find yourself pushing harder, it's time to give it some attention.
Hand sharpening looks rather mysterious when someone does it quickly. Slow it down and there's much less to worry about. You're removing a little steel from two narrow surfaces until they meet cleanly. The useful skill is learning to see where the stone is cutting, then knowing when to stop.
We'll work through a plain-edged folding knife on a bench stone first, with specific advice from Benchmade, Kershaw, Buck, Leatherman, Work Sharp and other manufacturers. We'll also cover serrations, manual guided systems and the small mistakes that can leave a polished blade stubbornly blunt.
The short version
- Clean and inspect the knife, then secure the stone on a steady worktop.
- Prepare the abrasive as its maker specifies. Some stones need soaking; others don't.
- Use a marker on the edge bevel to find the existing angle.
- Work in short, balanced batches, checking for a small burr along the opposite side.
- Refine both sides, reduce pressure and finish with light alternating strokes.
- Clean the blade and test the heel, middle and tip on paper.
Start with a clean knife and a steady stone
Clear a bit of worktop and give yourself good light. Put the stone in its non-slip holder, with a damp cloth underneath if needed. Check that the whole arrangement stays put when you make a gentle practice movement. Chasing a sliding stone with an open knife is a poor start to the afternoon.
Have water or the correct honing fluid, a cloth, a permanent marker, a cotton swab and a sheet of ordinary paper within reach. A small magnifier helps you see the narrow edge bevel. Keep the working area clear of other people and pets, and arrange your strokes so neither hand sits in the blade's path.
Remove tape adhesive, dried food and grit before sharpening. Chris Reeve recommends cleaning debris and residue from the blade with a soft cloth before its maintenance routine. Grime can disguise damage, and you don't want it dragged across the stone. [1]
Open the blade fully and check that its lock engages properly, where fitted. A loose blade or unreliable lock needs attention before sharpening. Keep your fingers clear of the closing path on a non-locking folder and avoid pressing on the spine in a way that folds it. Don't hold the release button or lock bar while working.
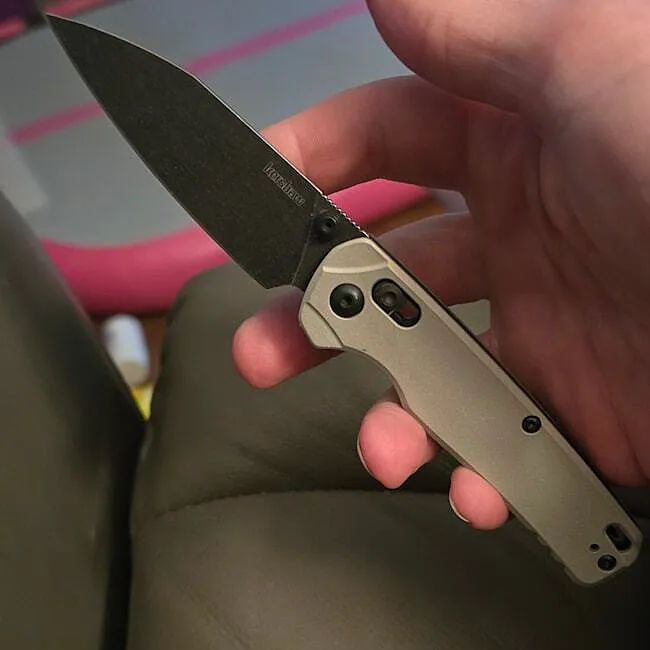
Look along the edge under the light, keeping it away from your face. Buck recommends checking for nicks and flat spots that reflect light. A little dullness is a normal home-sharpening job. A cracked blade, loose mechanism or substantial missing chunk is a repair decision before it's a stone-selection decision. [2]
Choose a stone that suits the job
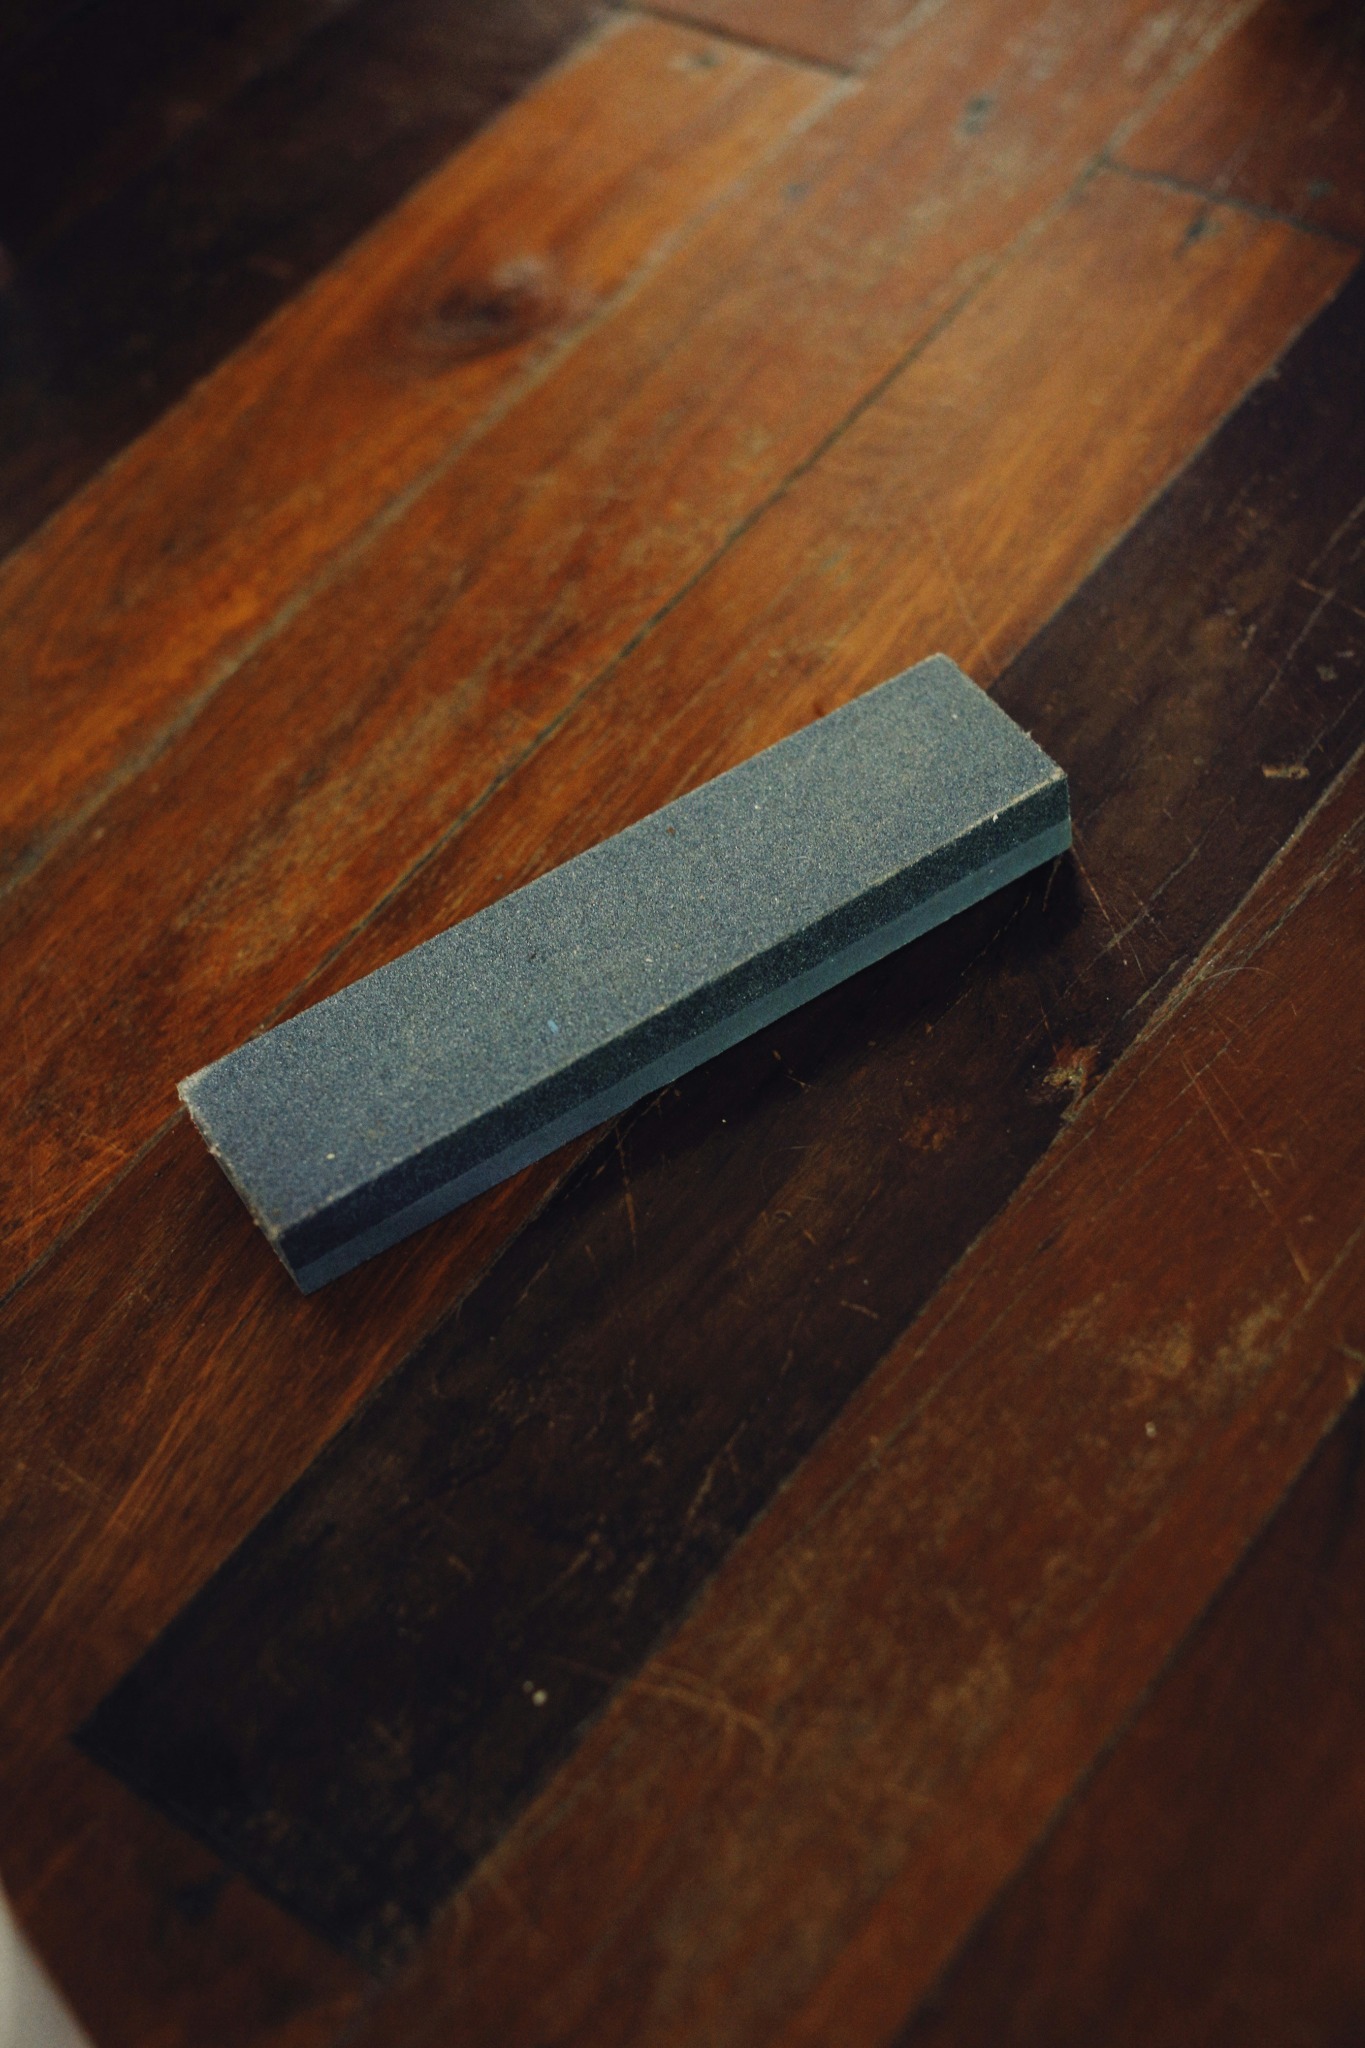
For a plain edge that's dull but intact, start with a medium sharpening abrasive. Save a very coarse stone for an edge that needs reshaping or damage removal. Starting coarse every time wears away steel you could have kept, while starting with an ultra-fine polishing stone on a properly blunt knife can leave you working for ages.
| A practical starting setup | What the maker specifies | How to use that information |
|---|---|---|
| DMT fine / extra-fine DuoSharp | Fine: 25 micron / 600 mesh. Extra-fine: 9 micron / 1200 mesh. [3] | Use the fine face for sharpening, then the extra-fine face for refinement. |
| Work Sharp Whetstone | 1000-grit and 6000-grit aluminium-oxide waterstone. [4] | The 1000 side restores the edge; the 6000 side refines and deburrs it. |
| Kershaw Ultra-Tek | A 600-grit diamond surface. [5] | Kershaw describes it as suitable for a knife in generally good condition that has become dull. |
Those numbers aren't a universal league table. Norton explains that Japanese waterstone grits aren't directly comparable with benchstone and diamond grit ratings. Follow the progression within the stone maker's range instead of assuming a “1000” from one system must sit between two numbers from another. [6]
The steel stamped on the blade is useful context, too. Our Mini Bugout review covers an S30V model that responded to ordinary stones and ceramic maintenance. Our Bel Air review describes a MagnaCut blade with long edge retention. Neither observation gives you a fixed sharpening time: the present edge condition and abrasive still decide how much work is needed.
Diamond is a useful option for wear-resistant steels, but you don't have to replace a suitable waterstone because your knife has a premium steel name. Work Sharp lists steels including S35VN and M390 as compatible with its whetstone. Use light, controlled pressure and judge progress at the edge. [4]
Prepare your particular stone, not a generic “whetstone”
The word “whet” means sharpen. It doesn't tell you that the stone needs a long soak, or even that water is its intended lubricant. Identify the actual product before putting it in a bowl overnight.
Work Sharp says to soak its 1000/6000 whetstone for at least 10 minutes, or until bubbles stop coming out. Keep the surface wet during sharpening, topping it up as it dries. Shapton's FAQ, by comparison, says its stones don't need routine soaking and recommends five to six minutes before first use. It warns against soaking for more than 30 minutes because the stone can soften. Read the instructions for your exact Shapton range as well. [4] [7]
For a DMT diamond sharpener, its parent company's guidance allows dry use or water. Oil isn't needed and can impede sharpening if it builds up. For many Norton oil-impregnated benchstones, Norton recommends sharpening oil to keep metal fragments from loading the surface; it advises against cooking oil and motor oil. That's a good example of why one lubricant doesn't belong on every abrasive. [8] [9]
Check that a waterstone is flat. A hollow worn into the centre makes it harder to keep the bevel meeting the abrasive consistently. Norton notes that its softer waterstones need regular flattening. Use a flattening stone or lapping plate intended for that job, following its instructions, rather than assuming any diamond sharpener can double as a stone-flattening plate. DMT makes purpose-built Dia-Flat plates for this work. [6] [10]
Set the prepared stone lengthways in front of you. Give the handle enough clearance from the worktop and stone holder to reach the heel of the cutting edge. If the handle hits the holder first, change the setup before grinding a hollow into the one bit of blade you can reach.
Find the right sharpening angle for your knife
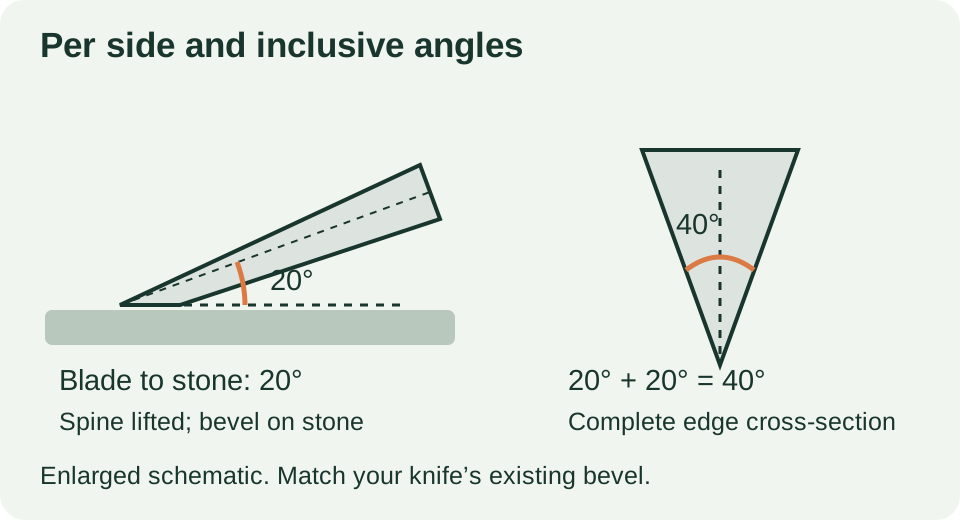
When someone says “20 degrees”, find out whether they mean one side or the complete edge. Twenty degrees per side produces a 40-degree inclusive edge on a symmetrical double bevel. Setting each side to 40 degrees would produce a very different edge.
| Manufacturer guidance | Angle | What it means at the stone |
|---|---|---|
| Benchmade knife-care guide [11] | Most knives: 30-35° inclusive, roughly 15-18° per side. | A lower angle than the general Kershaw guidance below. |
| Kershaw FAQ [5] [12] | Generally 20-22° per side; consistent angles within 18-22° are recommended. | Match the particular knife rather than imposing a Benchmade number. |
| Leatherman maintenance guidance [13] | Plain edges: 32° inclusive, or 16° per side. | Its one-sided serrations have separate instructions. |
| Chris Reeve folding-knife maintenance [1] | Factory edge described as 18-20°; Sharpmaker 40° setting recommended. | The Sharpmaker setting means 20° on each side. |
Use those figures as a starting reference, then look at the blade in your hand. Previous sharpening and factory variation can leave it a little different. Maintaining an edge that already cuts well usually takes less steel and less effort than changing it to a favourite internet number.
On a flat bench stone, the angle is between the blade's centre plane and the stone, with the spine lifted and the cutting edge touching. It isn't the angle at which you point the knife diagonally across the worktop. An angle wedge can help you find the starting position; check that the bevel, rather than just the wedge, meets the stone correctly.
A lower sharpening angle can improve cutting but leaves less support behind the edge. Don't thin a working knife dramatically on your first session. Benchmade recommends matching the factory edge and stresses consistency. Once you can maintain that edge reliably, you'll be in a better position to decide whether changing it would suit your use. [11]
Use a marker to see where the stone is cutting
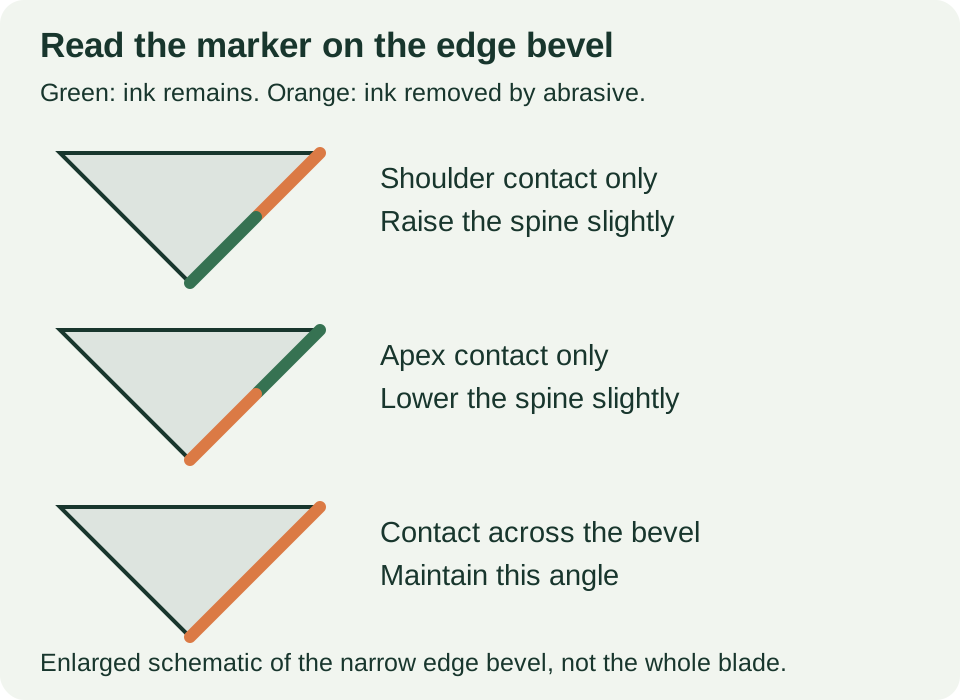
Colour the narrow edge bevel on one side, right down to the cutting edge. Let the ink dry, place that bevel against a fine abrasive and make one or two very light strokes. Stop and look. You're using the ink as a contact map before removing appreciable steel.
Wicked Edge uses this method to find an existing bevel angle. If the ink comes off only at the shoulder, the angle is too low. On a bench stone, lift the spine slightly. If it comes off only at the very edge while ink remains behind it, the angle is too high; lower the spine a little. When the abrasive reaches across the bevel, you've found a useful match. [14]
Recolour and repeat after each adjustment. Check near the heel, through the middle and around the belly, then do the other side. A good match in the middle doesn't prove you're reaching the last centimetre of edge.
The shoulder is the boundary where the narrow edge bevel meets the thicker blade. The apex is the very line that does the cutting. Getting those two names straight helps enormously: polishing the shoulder while leaving the apex untouched can make the bevel look brighter without making the knife sharper.
Keep any cleaning solvent compatible with the knife's coating and handle. You only need ink on the working bevel. There's no benefit in colouring the whole blade or flooding the pivot with marker remover afterwards.
Make controlled strokes from heel to tip
For the bench-stone routine here, use an edge-leading stroke: move the cutting edge into the abrasive, as though taking a very thin slice from its surface. Lift to reset. Stropping on leather uses the opposite direction, which we'll cover later.
Hold the handle securely without squeezing it white-knuckled. Start with the heel of the cutting edge on the stone at the angle you've just found. Sweep the blade along and across the surface so the contact travels from heel towards tip. Move slowly enough to keep track of where the edge is touching. Opinel describes this base-to-tip movement in its stone-sharpening instructions. [15]
Keep your wrist steady and your fingers behind the cutting edge. Any supporting fingertips belong on the safe face of the blade, well clear of the edge and the route it will take. You don't need to press the knife into the stone with your body weight. If the grip feels awkward, put the knife down and rearrange the work rather than trying to finish the stroke.
Begin with a small batch, perhaps five passes, then check the contact pattern and work the other side. Work Sharp's general tutorial uses five-stroke batches; Wicked Edge uses ten when checking for a burr. Those are manageable checking intervals, not promises that every blade becomes sharp after the same number. [16] [17]
Use the full working surface over successive strokes, keeping the blade supported. Avoid repeatedly grinding one short area because it's easiest to reach. You want a continuous cutting edge, with attention to the heel and tip as well as the comfortable bit in the middle.
Raise a small burr and check the whole edge
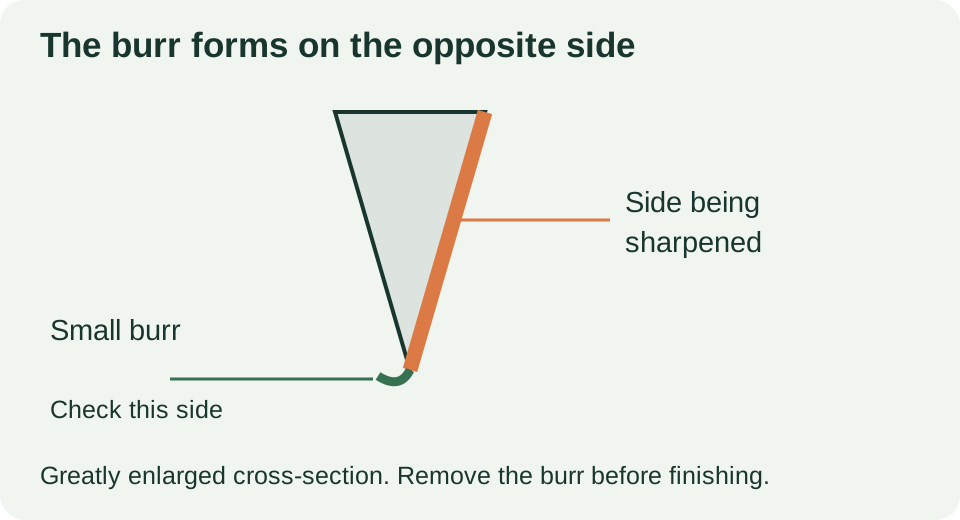
A burr is a tiny lip of steel pushed over the cutting edge. It forms on the opposite side from the one being sharpened. Finding it tells you that the abrasive has reached the apex at that point, which is why it is such a useful checkpoint. [17]
Put the knife in a stable position before checking. Wicked Edge suggests a cotton swab as one way to detect the burr: gently move it across the opposite bevel towards the edge and look for fibres catching. Check several places along the blade. Keep your fingers clear and never slide a fingertip lengthways along the edge. A burr can cut, too. [17]
Continue in short batches on each side until you've confirmed a small burr along the complete edge in both directions. Keep the work broadly balanced rather than spending half an hour on one side before trying the other. Wicked Edge specifically warns that prolonged work on just one side can produce uneven bevels. [17]
If there's a burr in the middle but none near the heel, inspect the heel's marker pattern. The handle may be stopping contact, or you may be lifting before that part reaches the stone. If the tip isn't responding, slow down and check its contact separately. More pressure across the entire blade doesn't diagnose either problem.
Don't chase a huge wire edge you can see from across the room. Once the abrasive has reached the edge throughout, you've achieved this stage. Continuing to grind builds more weakened metal to remove later. Clean the blade carefully and move on to refinement.
Follow the belly without rounding the tip
The straight part of the edge is usually easiest. Trouble often starts where the blade curves towards its point. If you keep the handle in exactly the same position, the curved section can lift away from the stone while you carry on sharpening the middle.
As the contact approaches the belly, raise the handle just enough to bring that curved section onto the abrasive while maintaining the local bevel angle. Use the marker to check what happened. Lifting the handle to follow the curve is different from rolling the spine higher and grinding a steeper bevel.
Stop with the tip still supported by the stone, release pressure, then lift to reset. Buck warns that letting the point skip off the end can round it and leave long scratches across the blade. That last flourish you see in a fast sharpening video is worth slowing right down. [2]
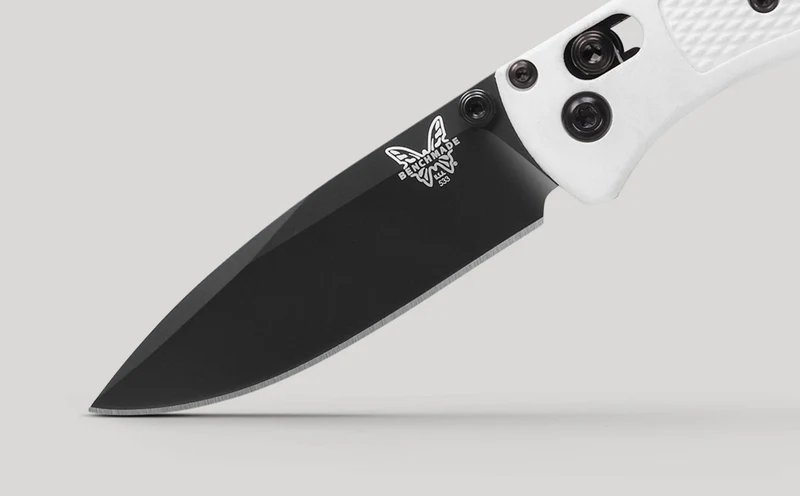
Look at the shape before choosing the movement. Our Mini Bugout has a curved drop-point edge. The Bel Air is described as a reverse tanto, but its spine shape doesn't tell you to treat the cutting edge as two sharply separate straight sections. Follow the actual edge you can see.
For a true angular tanto edge, sharpen the distinct straight sections separately and preserve their junction. For an inward-curving recurve, use an abrasive that fits the curve, such as a suitable rounded rod; a broad flat stone can bridge the hollow instead of reaching it. Work Sharp specifically identifies its round ceramic as useful for recurves. [18]
Refine the bevel and remove the wire edge
Once both sides reach the apex, switch to the next suitable finer abrasive. Keep the same bevel angle, reduce pressure and work both sides. Look for the new, finer scratch pattern replacing the coarse scratches along the working bevel. Clean the blade between grits so loose coarse particles don't follow it onto the finer surface.
Finish with light alternating strokes, one side and then the other. Make full, controlled passes. Buck's finishing instructions use these single side-to-side strokes until no burr remains; its advice also allows a useful working edge without taking every knife through the finest polishing stage. [2]
The pressure reduction is important. Keep grinding hard and you can keep producing another burr while trying to remove the last one. Work Sharp likewise calls for lighter pressure as the abrasive gets finer. Take a few light passes, clean the blade and inspect it, rather than doing another fifty strokes automatically. [16]
A bright bevel isn't proof of a finished edge. Check both sides for a remaining lip, and test the cut after cleaning. A wire edge can feel impressive briefly, then fold over in use. If it cuts cleanly in one orientation but catches when you turn the knife around, go back to your light finishing strokes and check for a remaining burr.
You can stop at a clean, effective working edge. A mirror finish takes extra work and isn't needed to open parcels or cut cord. Learn to get a consistent cut along the whole blade before treating polish as the goal.
Strop lightly, with the edge trailing
A leather strop is an optional finishing step after the stones. Use a firm, flat-backed strop to begin with. Clean the blade first, keeping steel filings and loose grit away from the leather. Wicked Edge warns that strops readily pick up contamination, so keep different abrasive compounds separate. [19]
Move the spine first and let the cutting edge trail behind. Lift the knife before turning it over, then repeat on the other side. Pushing the edge into the leather cuts the strop. Rolling the blade over on its edge at the end of the stroke can undo the careful work you've just done.
Use very little pressure. Work Sharp recommends just the knife's weight to avoid rolling the edge. Pressing into soft leather lets it wrap around the apex, which can round the edge instead of improving it. A handful of controlled strokes is a better starting point than scrubbing away for five minutes. [20]
Match the compound to the strop system. Work Sharp's current kit supplies 7-micron and 1.5-micron diamond emulsions, with the coarser one used first. It calls for a light coating and a few minutes to dry. Micron numbers run in the opposite direction to familiar grit numbers: a larger particle number is coarser. [20] [19]
For its leather strops, Wicked Edge recommends lowering the angle by one to two degrees from the sharpening setting to reduce rounding. Treat that as advice for that soft-strop setup, rather than a reason to change the stone angle you just established. If the cut gets worse after stropping, reduce pressure and check the angle before adding more compound. [19]
Give serrated and one-sided edges their own routine
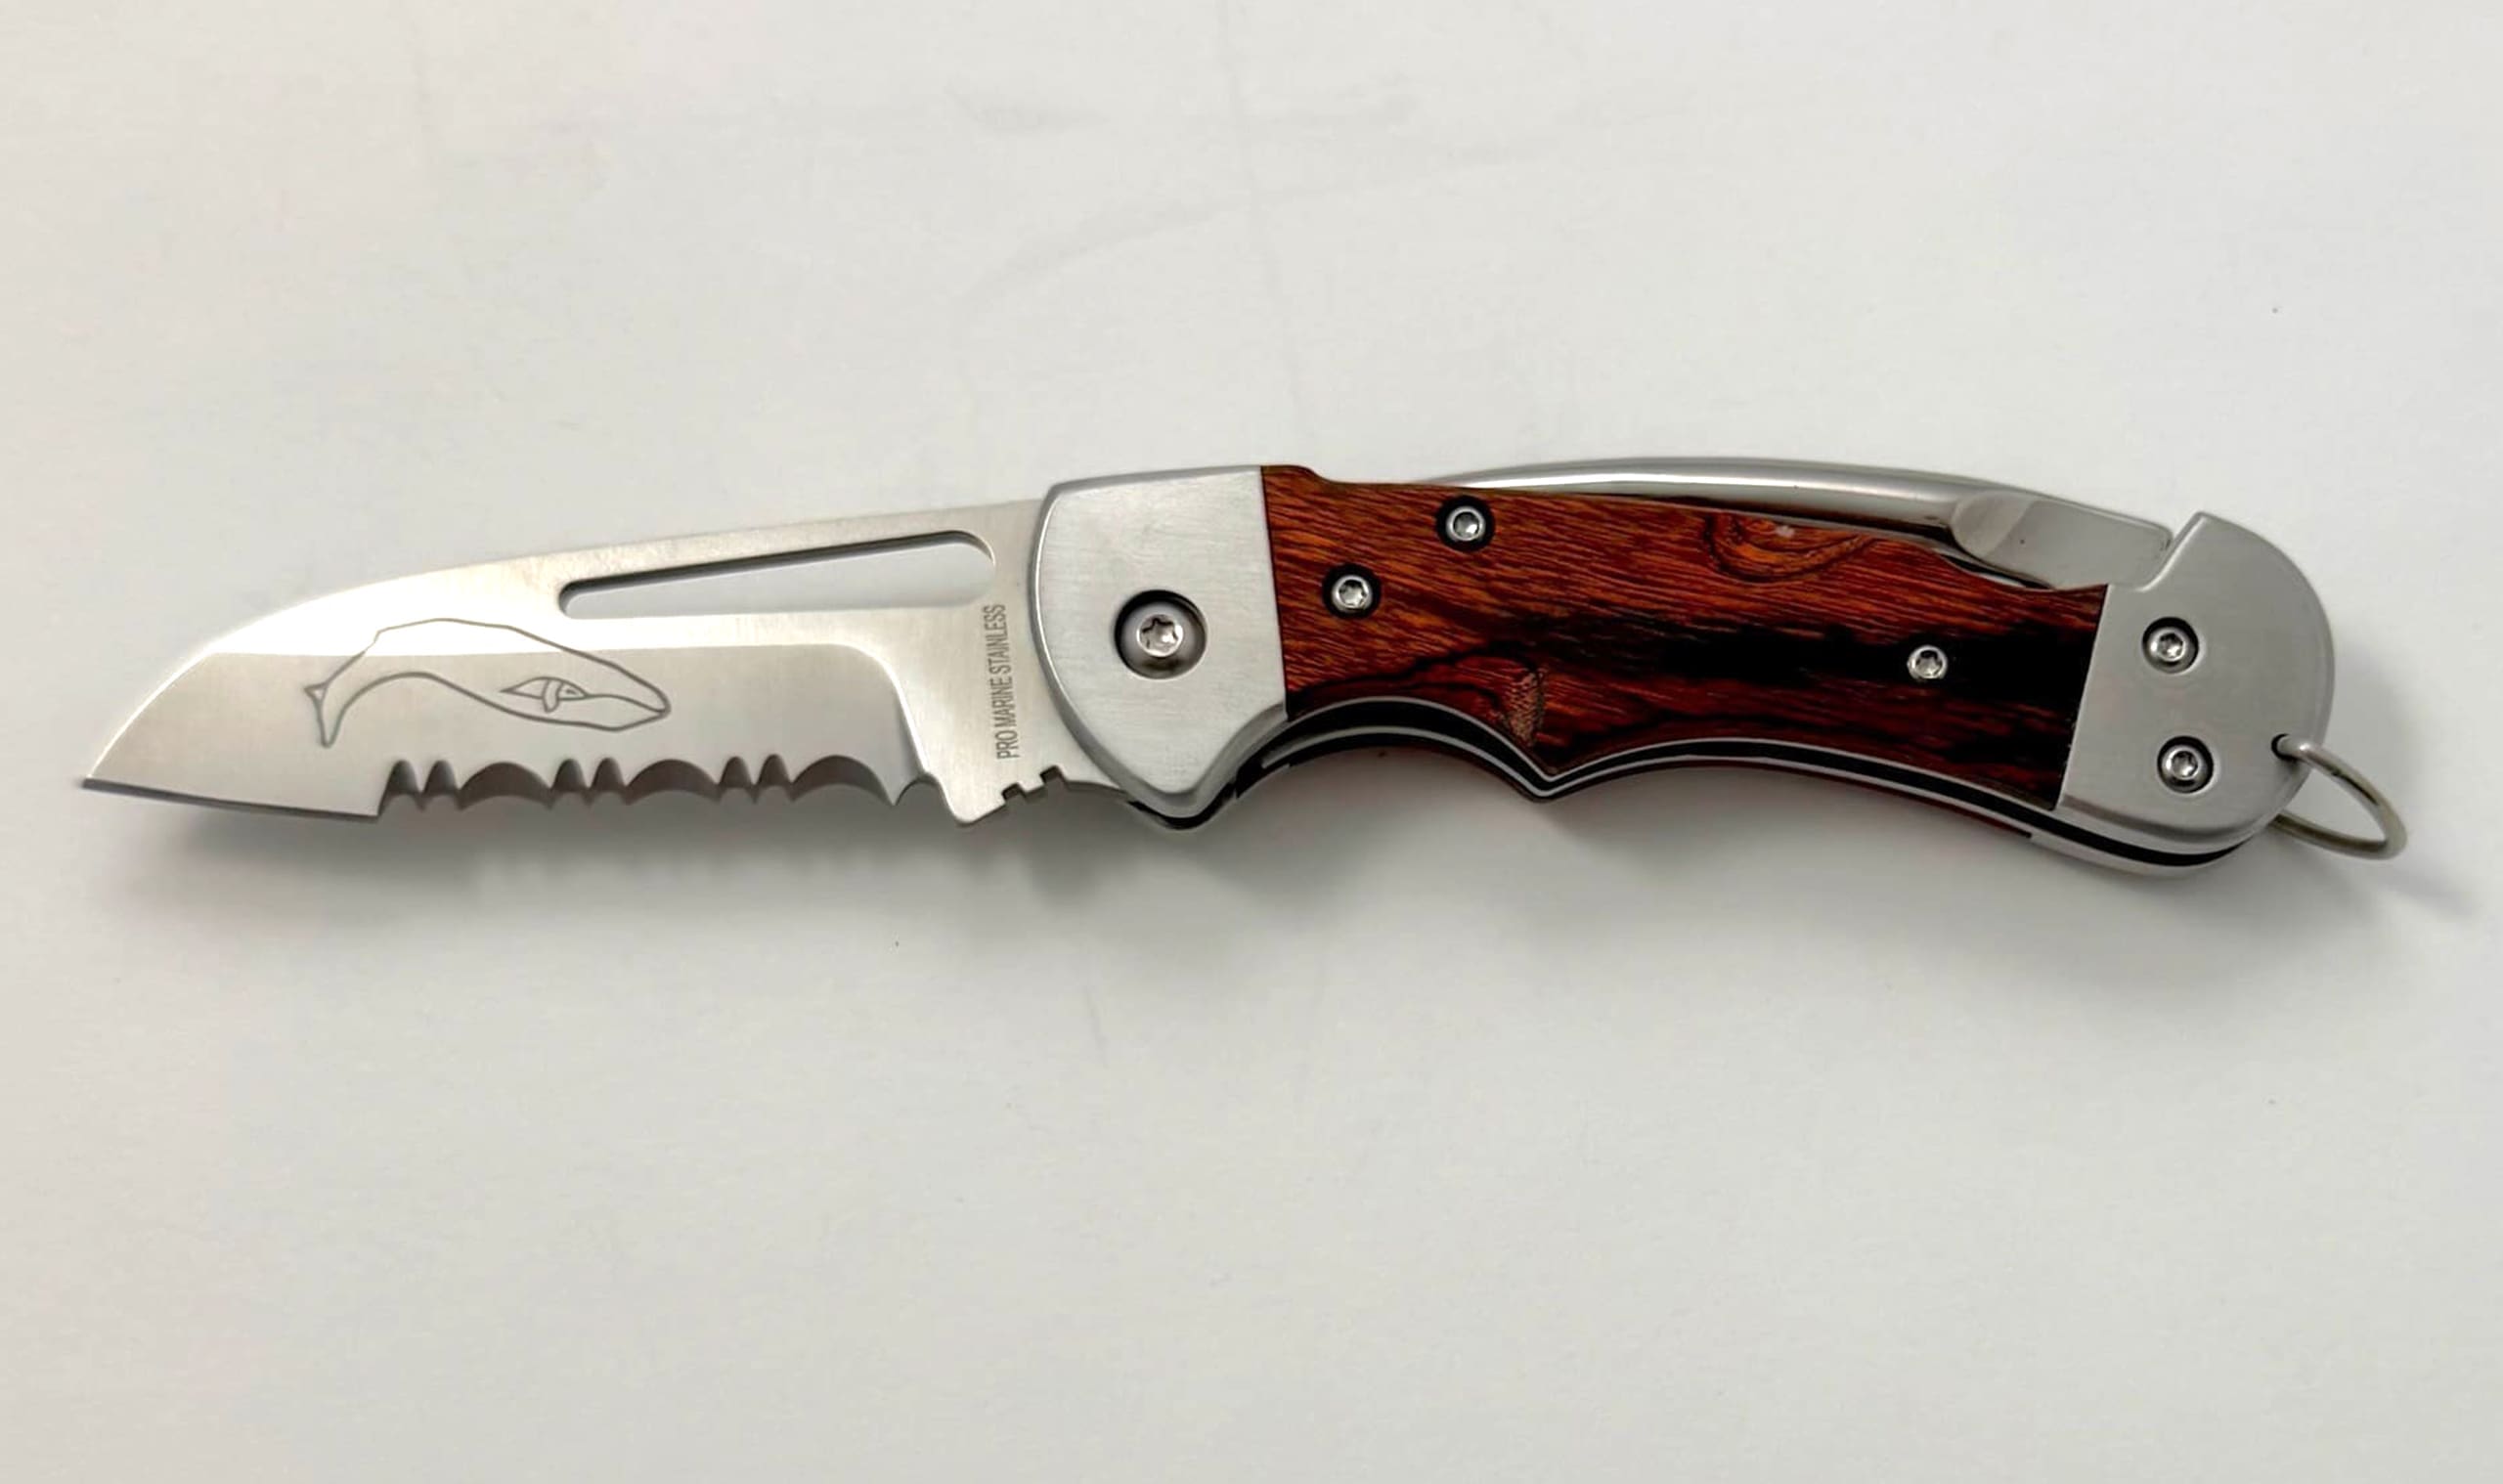
Keep a partly serrated blade's plain section separate from its teeth. Our Myerchin WF300P review shows why that distinction is useful: the blade combines a plain cutting section with pronounced rope-cutting serrations. Running the lot across a flat stone changes the teeth.
For maintainable serrations, use a suitably sized tapered or rounded abrasive that reaches the recesses. Match the original ground surface with the marker, and use short, light movements that follow it. A rod that's too wide rides across the teeth rather than sharpening inside the hollow. Work Sharp's pocket-sharpener instructions identify its round ceramic as suitable for larger serrations, so check the fit before starting. [18]
Leatherman gives a particularly clear distinction: its standard plain edge is 16° per side, while its serrated sections are 20° on one side. It says to sharpen serrations only on the edged side; grinding the flat back wears the serrations away. Don't put a new symmetrical V-bevel on that back face. [13]
There are also products the maker doesn't recommend home sharpening. Opinel's care page advises against sharpening its serrated and micro-serrated blades. That's a different recommendation from using a serration-capable system on a suitable blade, and it should influence what you do with that particular knife. [15]
A chisel-ground plain blade also has one-sided geometry. Preserve its intended bevel and use its maker's specified back-side finishing method. A convex edge needs a routine that preserves the curve. Neither should be converted into the symmetrical double bevel described above by accident.
Use a manual guided sharpener if it helps you stay consistent
You can sharpen by hand without learning freehand stone work first. A manual rod system or clamp-and-stone sharpener still lets you control the job, while helping you maintain the angle.
The Spyderco Tri-Angle Sharpmaker sets its ceramic rods at 30° or 40° inclusive. You keep the blade's plane vertical and draw the cutting edge along the rods. Fit the supplied safety rods, secure the base and use the stroke sequence in its instructions. The brown ceramics are medium and the white ceramics fine. [21]
Chris Reeve recommends the white rods at the 40° setting for maintaining its folding knives, with light alternating pressure and a movement that follows the belly. It warns against a purely vertical motion that repeatedly wears the tip into a thicker shape. That advice belongs with the rod system and its knives; it doesn't mean every pocket knife should acquire a 20°-per-side edge. [1]
A clamp system needs its own setup check. Position the blade securely, confirm that the stone clears the clamp and thumb studs, then use the marker along the whole edge. Wicked Edge recommends recording the clamping position, depth and angle settings so the next touch-up repeats the same geometry. [22]
Built-in guides can also differ from your knife. Work Sharp's compact Pocket Knife Sharpener has 25° guides, while its Whetstone comes with 15° and 17° guides. Check the numbers before following them blindly: a convenient guide doesn't identify the edge already on your blade. [18] [4]
Test the whole edge, clean up and keep it sharp
Clean the blade, then hold a sheet of ordinary printer paper by its upper corner, keeping the cutting path below and away from your fingers. Try a slow slicing cut, covering the heel, middle and tip in separate checks. The paper should cut without a recurring snag at one point. Work Sharp recommends paper as a practical finishing test. [16]
If it catches at the same place, inspect that section under good light. A bright flat can mean you haven't reached the apex; remaining marker at the edge would support that diagnosis. A fine lip on one side calls for more careful deburring. A tip that won't cut needs its contact checked, rather than more sharpening of the middle.
If everything seems to improve and then get worse, stop and review the last step. You may be changing the angle, pressing harder as you tire or rounding the edge on the strop. Recolour the bevel and make a light diagnostic stroke. That usually gives you more useful information than continuing with the same movement.
Remove residue from the blade and around the handle before closing it. Keep cleaning fluids compatible with the knife, dry it thoroughly and apply the appropriate light protective oil where needed. Opinel particularly stresses immediate drying and dry storage for its carbon-steel blades. Avoid soaking a wooden handle while cleaning up after a waterstone session. [15]
Clean the abrasive too. DMT's care guidance recommends washing its diamond surface and, when needed, using a mild kitchen abrasive cleanser and a nylon brush to remove loading. Dry it before storing. For a waterstone, follow its own rinsing and drying instructions and give it time to dry before shutting it in a box. [23]
Touch up the edge when its cutting performance starts to slip, rather than waiting until you're forcing it through everything. Wicked Edge recommends beginning a repeat touch-up with the abrasive you finished with last time, dropping coarser only when the result or damage calls for it. You don't need to raise a fresh substantial burr at every maintenance session. [22]
Keep a short note of the stone, matched angle and finish that worked. Next time, you'll have a useful starting point and less temptation to reinvent the edge. A clean bevel, light finishing strokes and a quick check of the whole blade will take you much further than a frantic attempt to make it shiny.
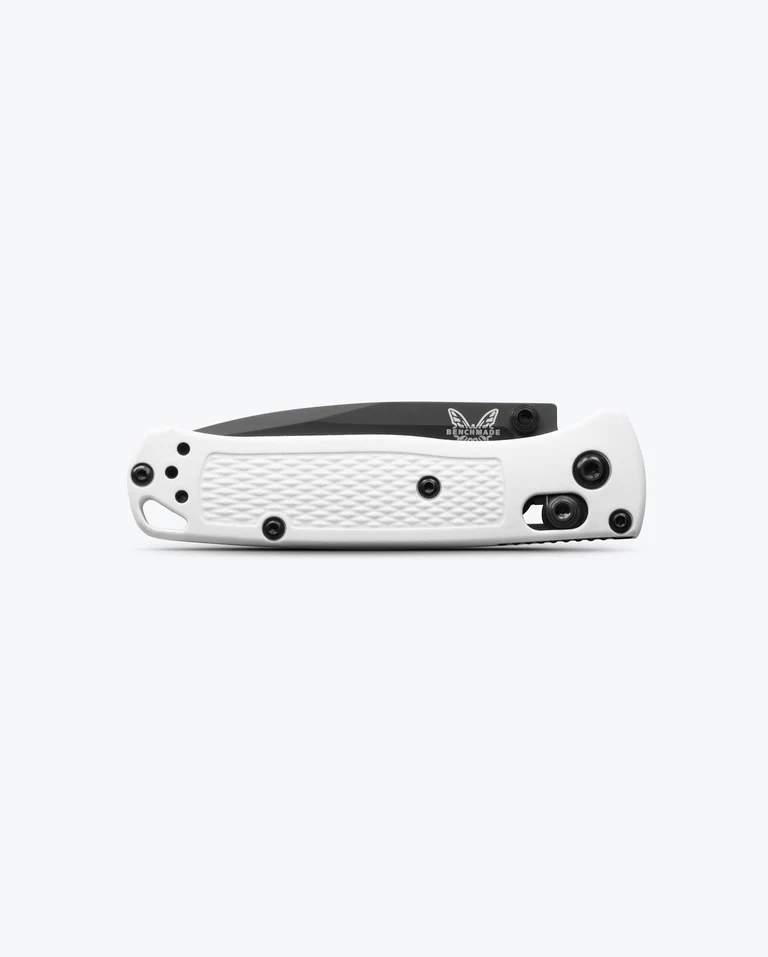
More about the knives and their care
Read our full reviews of the Benchmade Mini Bugout, Kershaw Bel Air, Myerchin WF300P Captain Pro and Leatherman ARC. For cleaning pivots, lubrication and the rest of a multitool, see how to take care of your Leatherman and make it last longer.
Sources and further reading
Manufacturer guidance checked on 2 November 2026.
- Chris Reeve: folding-knife cleaning, factory angles and Sharpmaker maintenance
- Buck: edge inspection, keeping the tip supported and finishing strokes
- DMT: fine and extra-fine diamond sizes and their intended uses
- Work Sharp: 1000/6000 whetstone, angles, compatible steels and soaking
- Kershaw: general sharpening angles and Ultra-Tek abrasive
- Norton: abrasive types, different grit scales and waterstone flattening
- Shapton: first-use preparation, routine wetting and soaking limits
- DMT / Acme United: dry use, water and oil precautions
- Norton: lubricants for oil-impregnated benchstones
- DMT / Acme United: purpose-built Dia-Flat lapping plates
- Benchmade: inclusive angles, matching the factory bevel and consistency
- Kershaw Canada: sharpening angles expressed per side
- Leatherman: 16° plain-edge bevels and one-sided serration care
- Wicked Edge: marker contact at the shoulder and apex
- Opinel: stone strokes, serrated-blade restrictions and carbon-blade drying
- Work Sharp: short batches, lighter finishing pressure and cut tests
- Wicked Edge: forming and detecting a burr without uneven overgrinding
- Work Sharp: Pocket Knife Sharpener guides, recurves and larger serrations
- Wicked Edge: edge-trailing stropping, angle reduction and clean abrasives
- Work Sharp: light stropping pressure and diamond-emulsion application
- Spyderco: Sharpmaker angles, ceramic stages and safety rods
- Wicked Edge: repeatable clamp setup, grit progression and touch-ups
- DMT / Acme United: cleaning diamond surfaces and removing metal loading