
A good GORE-TEX jacket isn't cheap, and you want it to keep you dry for years of wet walks, windswept camps and rainy commutes. Wash it with a suitable cleaner, rinse it thoroughly and use gentle heat where the care label allows. If water still soaks into the outer fabric, it's time to renew the water-repellent finish.
That's the usual route to restoring what we tend to call its waterproofing. The finish on the outside and the waterproof membrane underneath do different jobs, though. A bottle of reproofer can help a jacket shed rain again; a hole or a failing seam needs a repair. Getting that distinction right saves a lot of wasted washing and spraying.
We'll walk through both, with specific instructions from GORE-TEX, Arc'teryx, Rab, Mammut, Nikwax, Grangers and GEAR AID. Most of this guide deals with jackets and waterproof trousers. Boots and gloves need a different approach, which we'll cover too.
The useful starting point
For an ordinary fabric-faced shell, start with cleaning and drying before buying more proofer. Check the label for washing temperature and permitted heat. GORE-TEX SHAKEDRY is an exception: no tumble drying, ironing or DWR treatment. Its exposed membrane has its own care routine below.
Work out whether the fabric is wetting out or leaking
Look at what the rain does on the surface. Little drops that sit on top and roll away tell you the water-repellent finish is doing its job. Dark patches that spread through the outer fabric show it absorbing water. That's called wetting out.
GORE-TEX explains that the membrane supplies the waterproof barrier, while the durable water repellent, or DWR, keeps the face fabric from becoming saturated. When that fabric soaks up rain, the jacket can feel colder and clammier even while the membrane is keeping rain out. Restoring beading improves that comfort. [2]
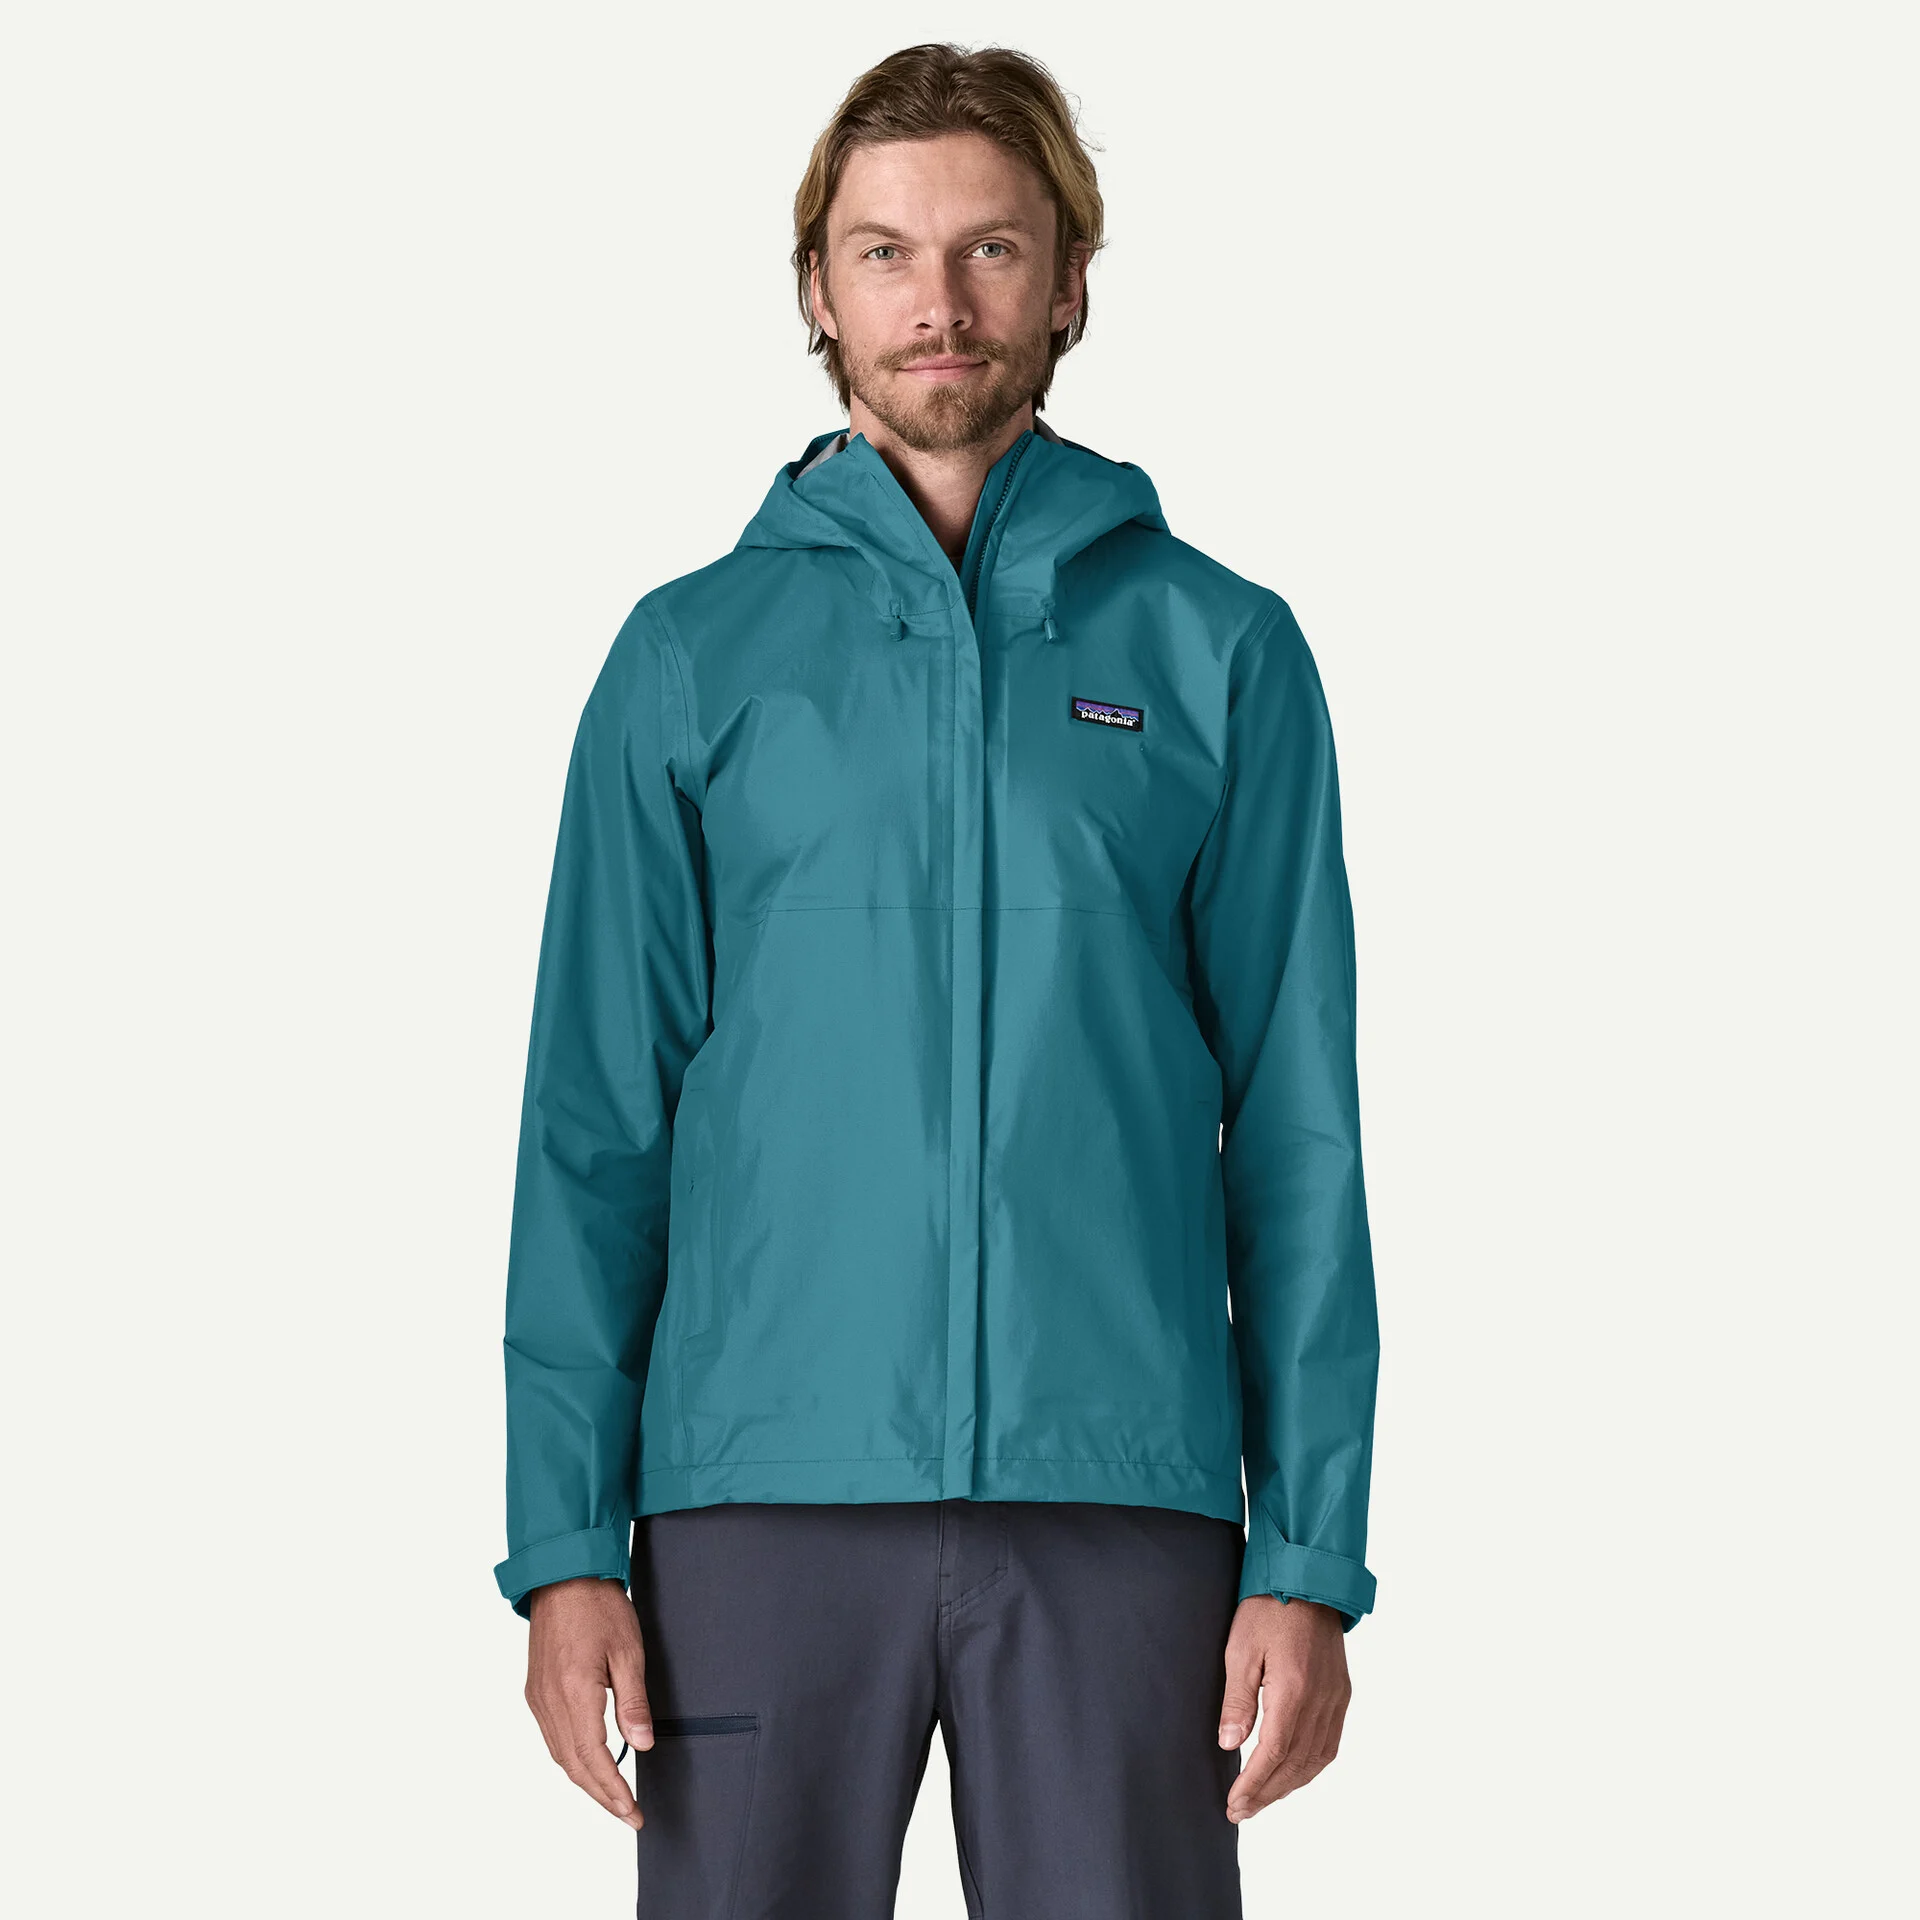
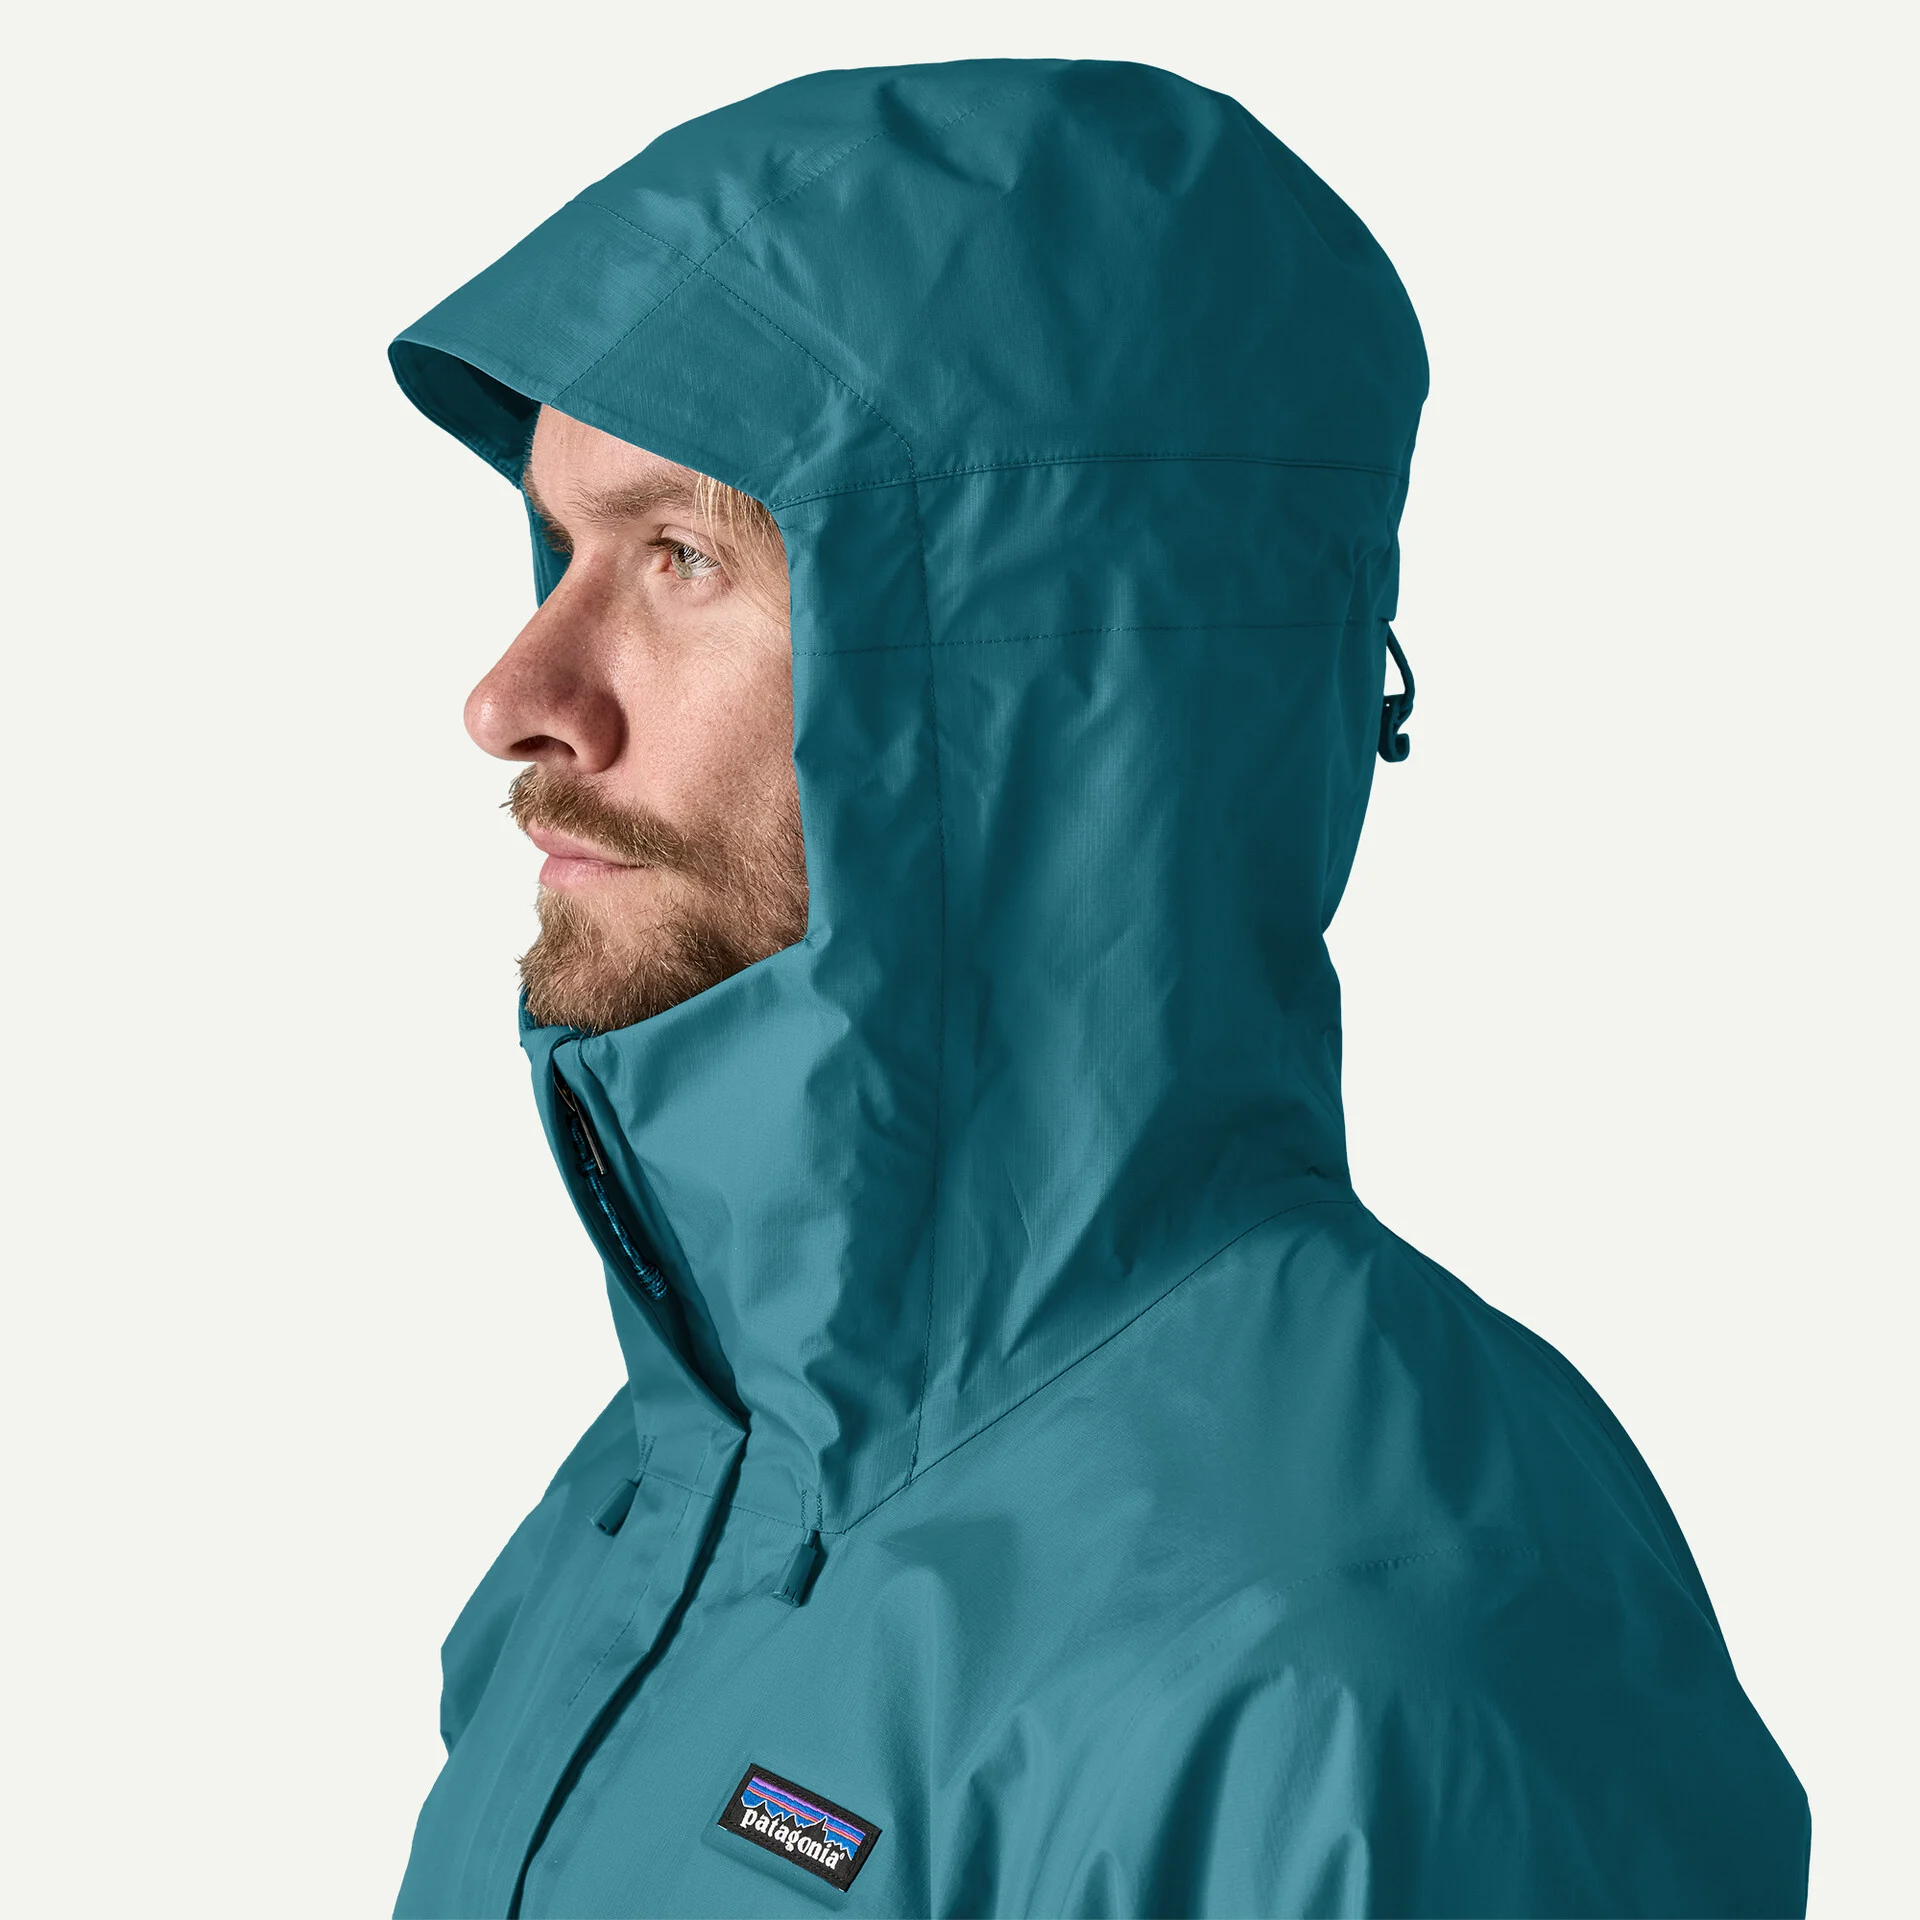
We've seen the distinction in our Patagonia Torrentshell 3L review. Toward the end of a 90-day Quebec trip, its outer fabric started wetting out slightly, but the layer underneath stayed dry. The Torrentshell uses Patagonia's H2No waterproof construction. That observation gives a useful example of wetting out, alongside the GORE-TEX-specific care instructions in this guide.
Now look inside your own jacket. Note where your base layer gets wet and what you were doing. A broadly damp back after a hard climb is a different clue from a small wet spot that keeps appearing directly beneath a damaged seam. Check for rain entering at the neck, open vents or loose cuffs too. Water can travel along clothing, so the lowest wet patch doesn't necessarily mark the entry point.
Once the garment is clean and dry, sprinkle water across the shoulders, hood and sleeves. Use that to assess surface beading. It won't tell you whether the membrane can withstand prolonged rain or pressure beneath a pack strap. If a local leak persists after care, photograph its position and the corresponding inside seam before arranging repair.

Check the label, especially on SHAKEDRY and insulated jackets
Find the white care label inside the jacket or trousers and take a photo while it's legible. You need the maximum washing temperature, tumble-drying symbol and ironing instructions. Keep that picture with the model name. It's much easier than trying to identify an old jacket from a faded neck logo later.
GORE-TEX's general outerwear instructions specify 40°C washing, but Rab describes a gentle wash, usually at 30°C, for its GORE-TEX jackets. Use the temperature permitted for your garment and the cleaner you're using. A generic 40°C recommendation doesn't override a jacket labelled for 30°C. [1] [5]
SHAKEDRY needs its own routine
GORE-TEX SHAKEDRY has no textile face fabric: the membrane is exposed on the outside. GORE specifies a delicate 40°C machine wash and rules out tumble drying, ironing, dry cleaning, bleach and DWR treatment. Let it air dry. The heat-and-reproof routine for a conventional shell doesn't belong on this material. [1]
Insulation changes the washing job
A down-filled ski jacket needs care for its filling as well as its waterproof shell. Arc'teryx recommends a down wash for its two-layer down-insulated GORE-TEX jackets to preserve loft. Don't take the short shell-drying routine later in this guide as a complete drying programme for down. The filling needs to be dry throughout before storage. Our guide to washing a down jacket and making it fluffy again explains the full drying routine and how to separate clumps. [3]
Check the waterproof technology too. WINDSTOPPER products by GORE-TEX LABS are described as non-waterproof in Gore's outerwear care guidance. Washing one won't turn it into a waterproof rain shell. The product name and construction are more useful than relying on a familiar logo alone. [1]
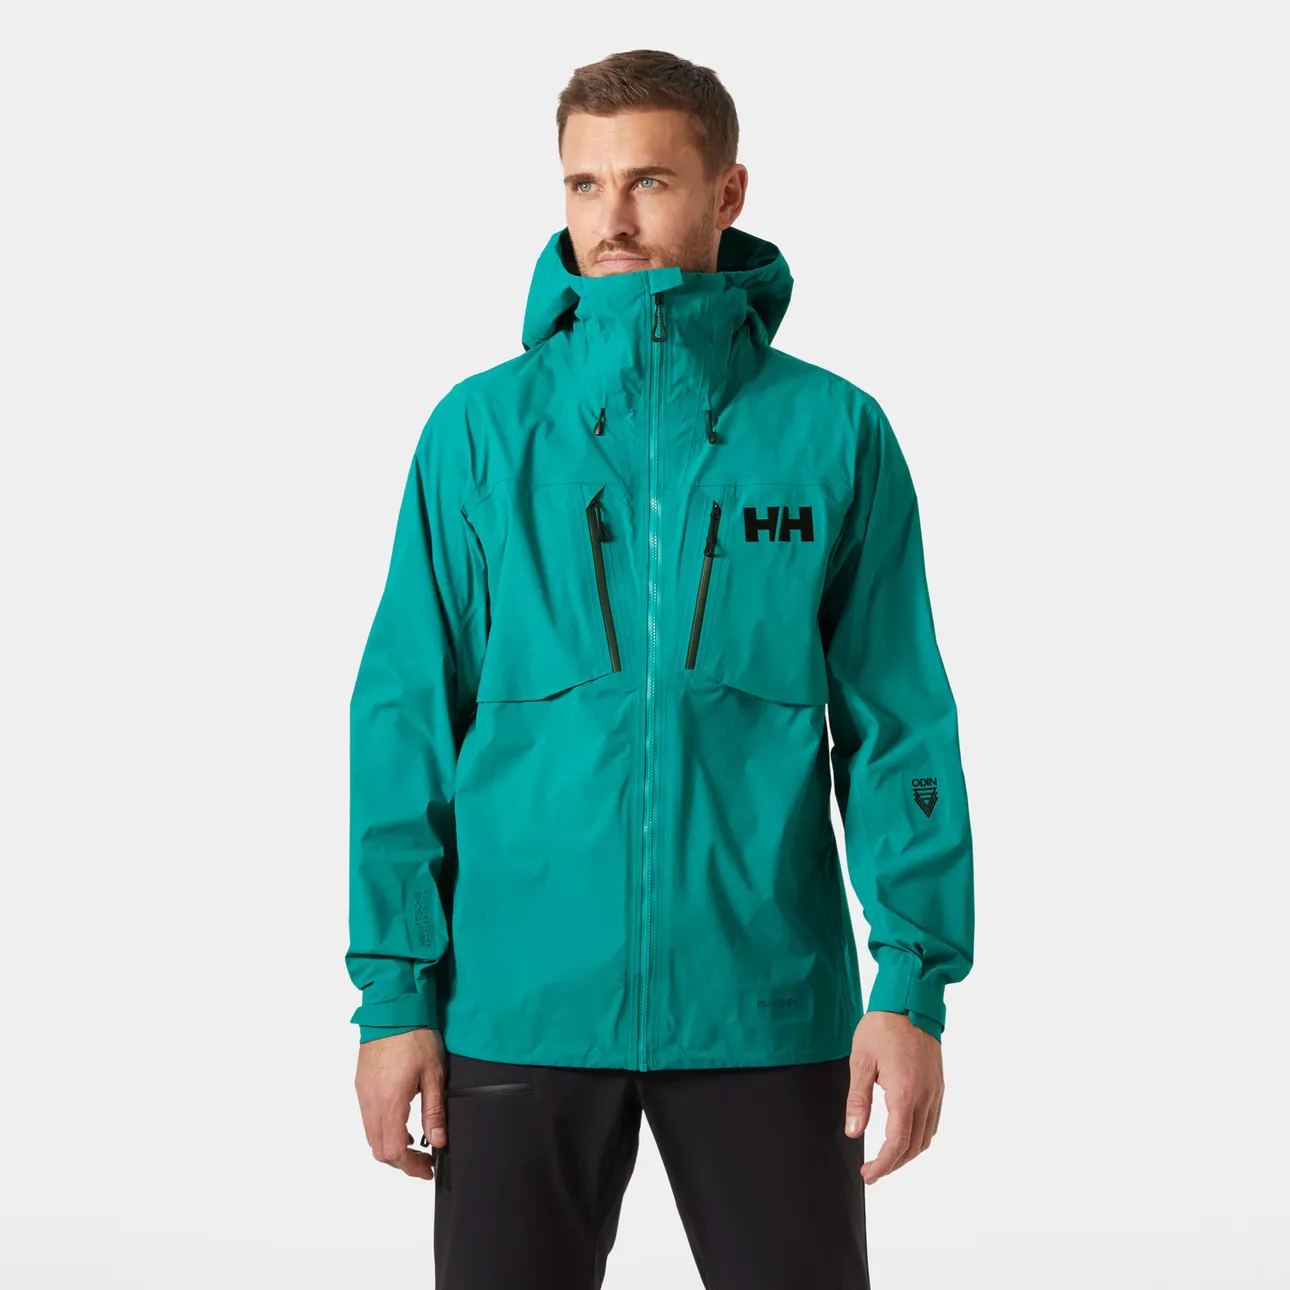
Wash according to use, rather than waiting for a yearly clean
A jacket can look reasonably tidy while the collar is collecting skin oils and the back is taking in sweat. Waiting until it smells unpleasant leaves those contaminants in place between trips. Put shell care on the same unpacking list as drying the tent and airing your boots.
| Manufacturer | Its published washing advice | How to use that advice |
|---|---|---|
| Arc'teryx | For its current guidance, especially newer ePE GORE-TEX: every 3-5 days of heavy use, or 5-10 days of light use. [3] | Count days worn, rather than days since purchase. A sweaty hill day and a short walk to the shops are different use. |
| Rab | After every trip, when visibly dirty, or when DWR loses effectiveness. [5] | Build a wash into unpacking after a trip. Check surface beading as well as visible mud. |
| Mammut | After strenuous trips or visible soiling; occasional-use jackets can be cleaned as needed. [4] | A shell worn sporadically can need less frequent cleaning than one used hard throughout a holiday. |
Those are useful reference points, rather than a reason to put every jacket on the same calendar. Keep a note on your phone if you lose track of how much you've worn it. Include any reproofing date and the product used, so next time you know whether you're reviving a recent treatment or replacing one that's had a lot of wear.
Washing and reproofing are separate jobs. A jacket that beads well after cleaning and appropriate drying can go back into use without another dose of treatment. You'll use less product and avoid spending an evening spraying a garment that was only dirty.

Prepare the machine, pockets and grubby cuffs
Start with the detergent drawer. Pull it out if your machine allows, rinse away the old detergent and softener, and clean the recess too. Rab recommends running one or two rinse cycles before putting waterproofs in. That clears residue from earlier laundry before your carefully chosen technical cleaner goes in. [5]
Empty every pocket, including the little chest pocket where a tissue or snack wrapper tends to hide. Shake off loose debris. Open out the garment so you can see the cuffs, hem and collar, and deal with the dirty patches before the full wash.
For stubborn dirt, Nikwax specifies undiluted Tech Wash as a pre-treatment. Put some on the soiled area before washing, rather than adding a household stain-removing spray to the job. Don't attack the fabric with a stiff brush. A gentle clean lets you remove dirt without turning a discoloured cuff into an abraded one. [6]
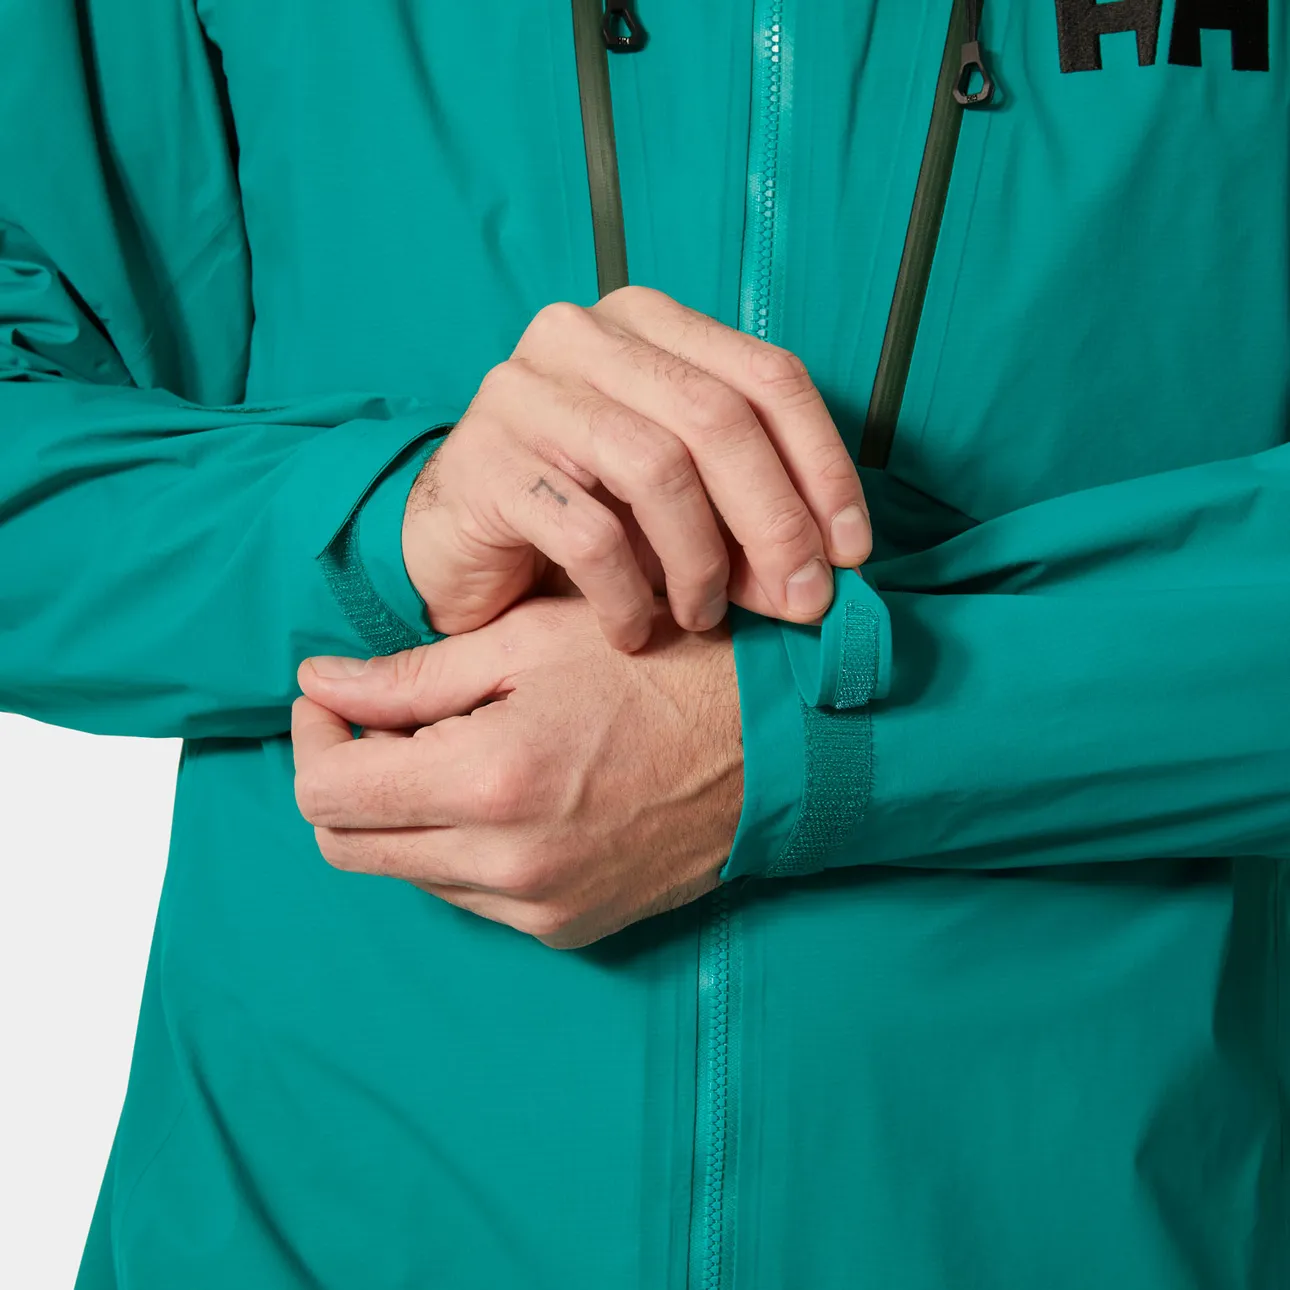
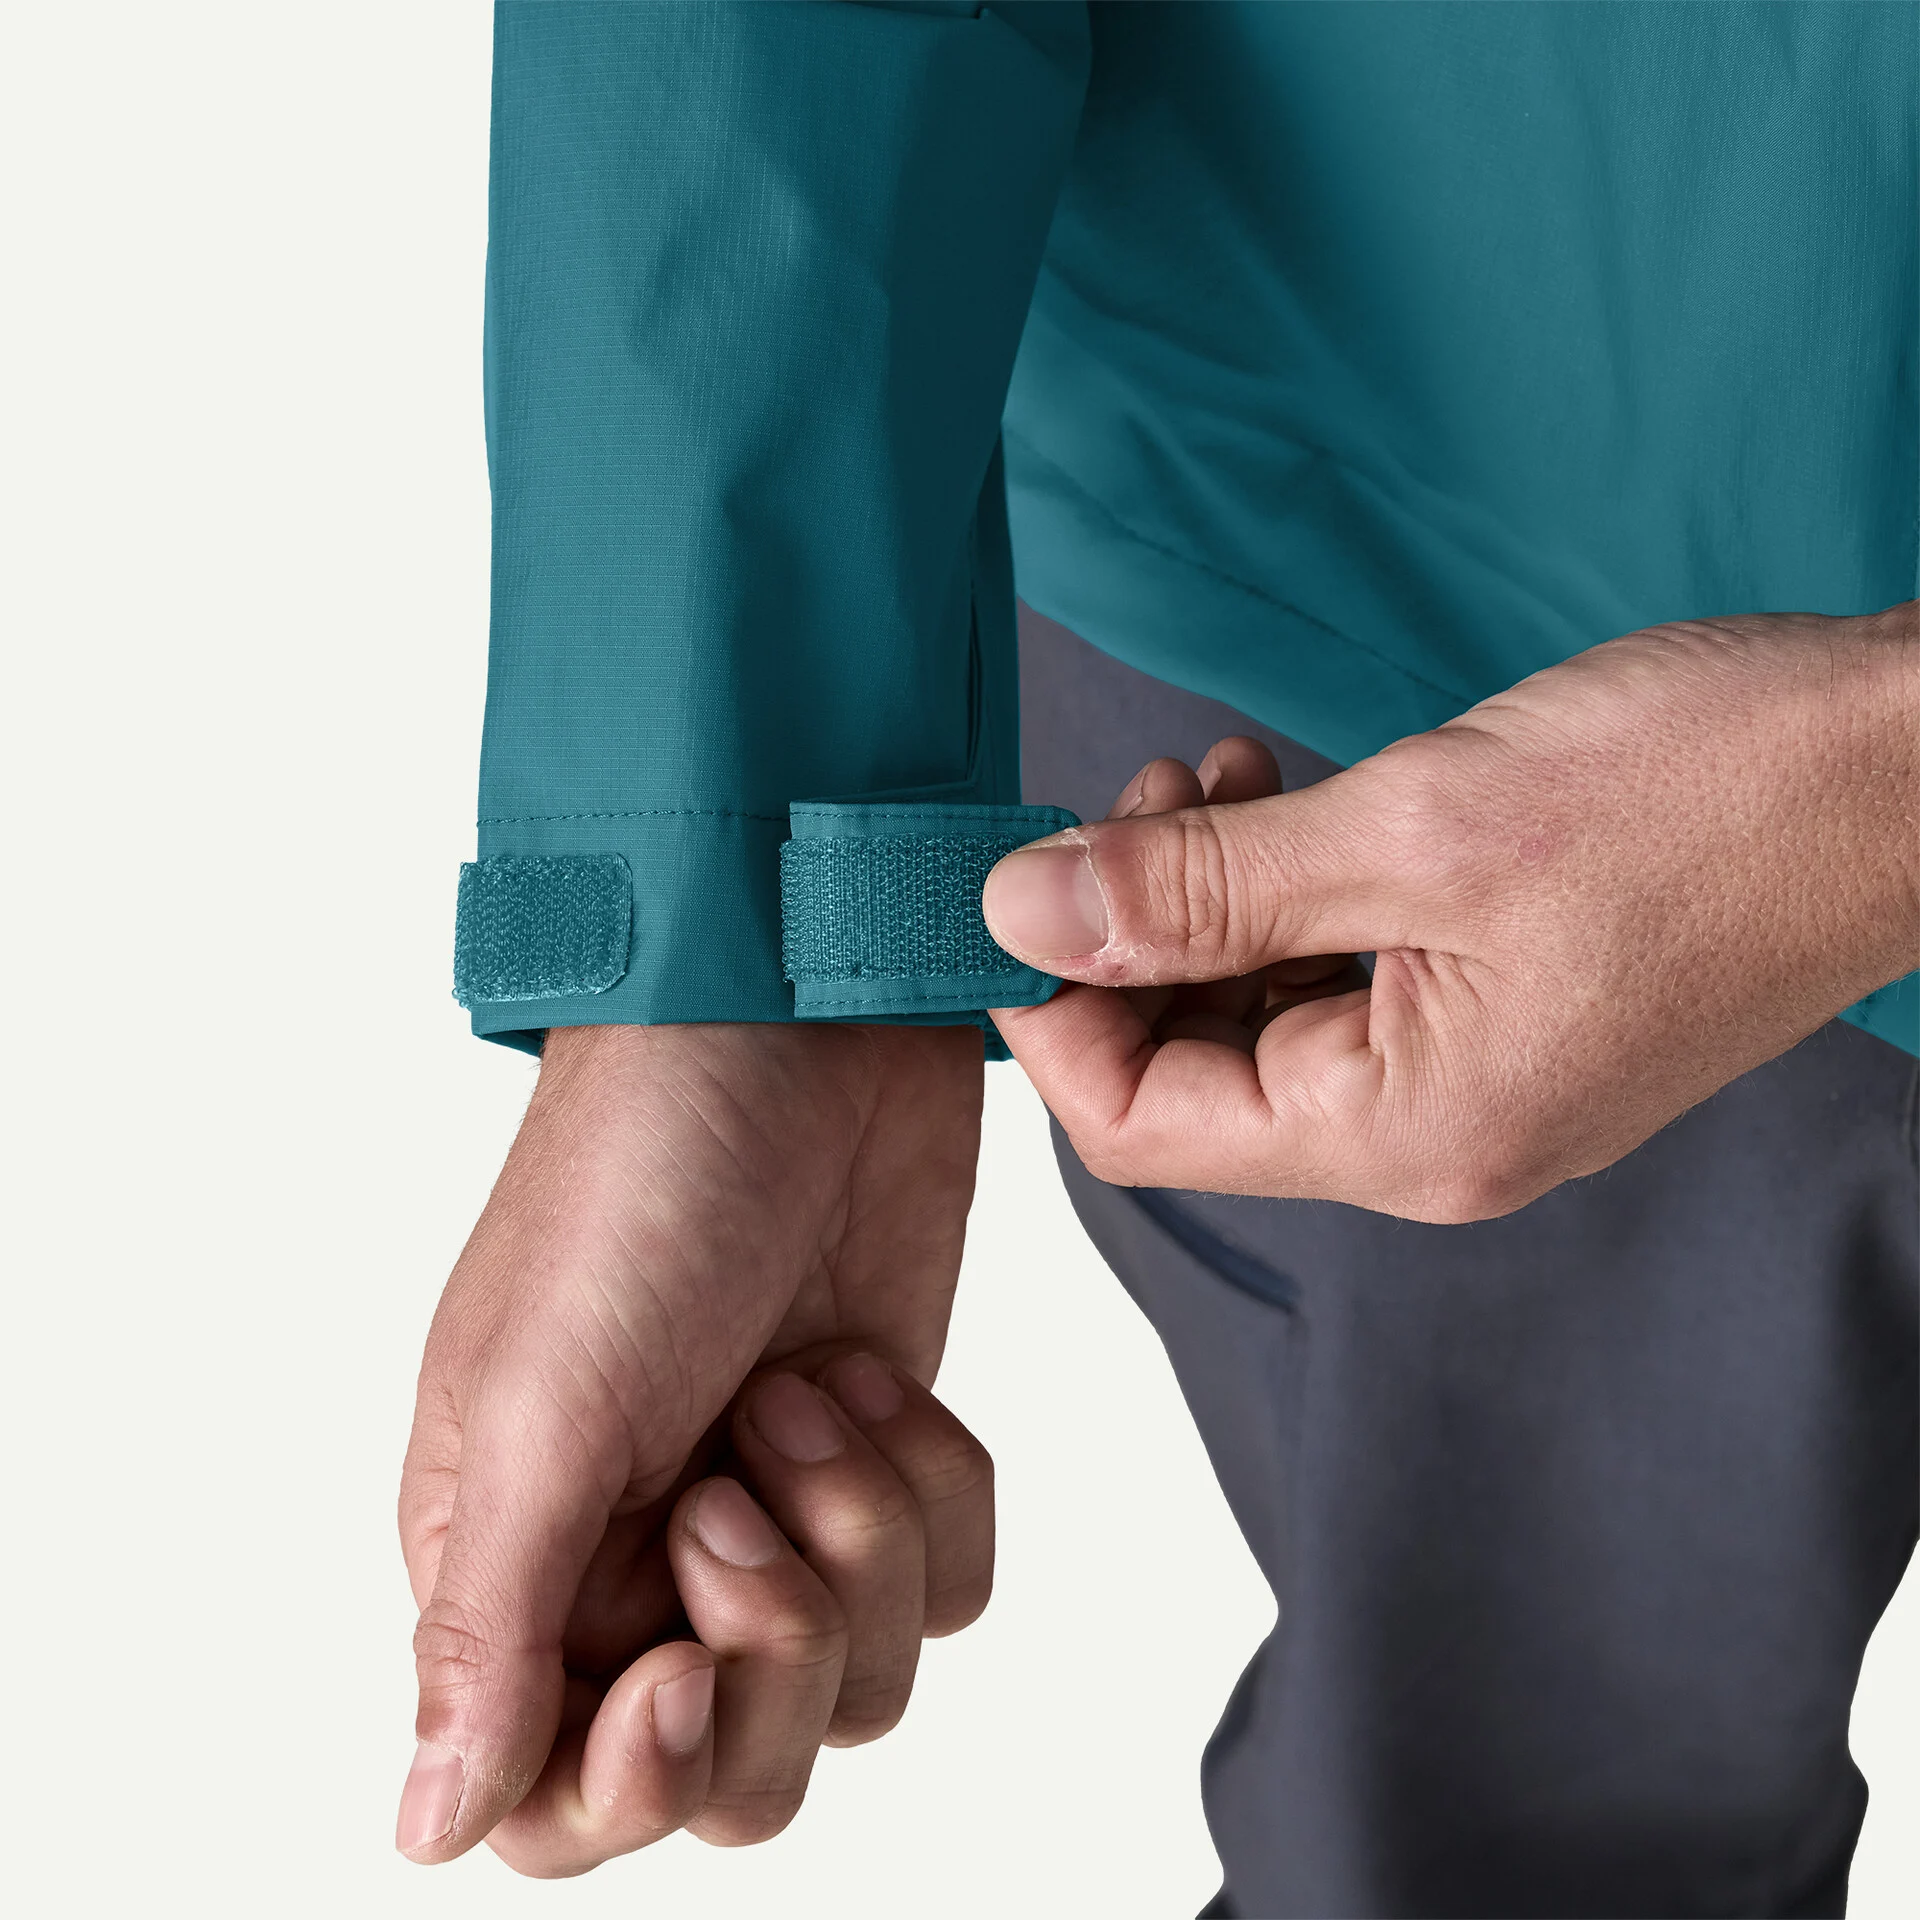
Fasten hook-and-loop tabs so they don't snag neighbouring fabric and release tension in drawcords. There is a small difference in zip advice: Mammut says to close all zips, whereas Arc'teryx's home-wash guide closes the front and pit zips but leaves pocket zips open. Use the preparation specified for your jacket. In either case, empty the pockets first. [4] [3]
Leave room in the drum. You need water to circulate and rinse through the garment, including its folds. A shell squashed into a load of muddy trousers is awkward to inspect and rinse properly. The Nikwax routine below has a maximum of two garments, which makes an easy small load to keep track of.
Choose a cleaner and measure it properly
Buy a cleaner labelled for waterproof breathable clothing. You don't need a collection of different bottles, but you do need to distinguish the cleaner from the reproofer. Tech Wash cleans; TX.Direct adds water repellency. Grangers Performance Wash and Clothing Repel have the same division of jobs.
For a worked example, Nikwax's current UK Tech Wash instructions use a maximum of two garments, 100ml per load in soft water or 150ml in medium or hard water, on a 30°C synthetic cycle with a slow spin. Shake the bottle and clear the dispenser first. These are the doses for that product, rather than a general measure for every technical cleaner. [6]
Grangers' concentrated Performance Wash is different: its instructions specify half a cap, 25ml, per wash load, regardless of water hardness. Measure the liquid instead of borrowing the cap count from another bottle. Concentrated and older formulations can have different doses, even when the brand name looks familiar. [7]
Mammut excludes powder detergent, fabric softener and bleach, and recommends a double rinse. Rab specifies a low spin of 400rpm. If the machine has no extra-rinse button, select a separate rinse programme after the wash. Keep conventional stain removers out of the load too; use the pre-treatment described above. [4] [5]
Don't combine cleaners or add a little normal laundry detergent to improve the smell. That introduces ingredients you were trying to rinse out in the first place. Once you've chosen a compatible cleaner, measure its dose and let the full programme finish.
When you take the shell out, open it carefully and check the places you pre-treated. If you're only cleaning, move on to the drying routine. If you've already established that it needs a treatment designed for wet fabric, keep it damp for that next step. There's no benefit in drying it and then having to wet it all over again.
Use controlled warmth to revive the existing finish
For a conventional fabric-faced shell whose label allows it, gentle heat can bring existing DWR back into use. This is a useful step before applying more treatment, especially when the jacket has spent months being washed and hung up without any heat.
Arc'teryx's DWR guide specifies 20 minutes of gentle tumble heat on the dried garment. The extra period starts once the fabric is dry. Twenty minutes with a soaking wet jacket isn't the same process. Keep to the gentle setting. [11]
Rab's reproofing guide recommends a low-heat tumble finish of 20-30 minutes, subject to the care label. It also describes an iron with a clean tea towel between the plate and fabric. If you use the ironing route, the garment must permit it: use the low, steam-free method Mammut describes and keep the protective cloth between the iron and shell. [8] [4]
Give the fabric a chance to cool, then sprinkle on some water. Check more than the chest. Shoulders and cuffs can behave differently from areas that see little rubbing. If drops bead and roll off, you've finished. If clean fabric still darkens and absorbs them, plan a fresh DWR treatment.
Check for repairs before putting an old shell through heat. A lifting seam tape or bubbling laminate needs assessment, rather than another hot cycle in the hope of sticking it back down. A tumble dryer provides useful controlled warmth for an intact, compatible garment; it isn't a substitute for a repair press.
If your label prohibits heat, keep within that limit and choose a compatible air-drying treatment when reproofing is needed. Both Nikwax TX.Direct and Grangers Performance Repel Plus are sold as working without heat activation. SHAKEDRY stays on its separate wash-and-air-dry routine without either treatment. [9] [10]
Apply spray-on DWR evenly, including the awkward bits
A spray is useful when you want to treat the outside while leaving a wicking lining alone. Nikwax specifically recommends TX.Direct Spray-On for waterproof clothing with those liners. It also lets you pay attention to worn shoulders and elbows without bathing the whole garment in proofer. [9]
A worked Nikwax TX.Direct Spray-On routine
- Clean the shell with Tech Wash first and leave it wet.
- Protect the surface beneath it from overspray. Arrange the garment so the panel you're treating is open and accessible.
- Shake the bottle, then spray evenly from about 15cm away.
- Turn the garment to reach the back, sleeves and hood. Lift folds so you don't leave untreated strips underneath them.
- Wait five minutes, then wipe away surplus treatment with a damp cloth.
- Let it air dry fully, or tumble dry on low if the garment permits. This product develops repellency without heat.
Those distances and waiting times are Nikwax's instructions. Avoid leaving puddles in folds or immediately packing the damp jacket away. Give yourself enough space to reach each panel and somewhere to leave it while it dries. [9]
Other sprays have different drying instructions
Grangers Performance Repel Plus also goes onto freshly cleaned, damp fabric. It calls for extra attention to areas exposed to abrasion, wiping off excess and natural drying or the garment's permitted drying method. Its current formula works without heat activation. [10]
Arc'teryx's Nu DWR routine takes a different route: wash, dry and test the existing finish first; spray the face fabric evenly and spread it with a clean sponge. It specifies 12-24 hours of air drying, followed by 20 minutes of gentle heat on the dried garment to improve effectiveness. [11]
The chemistry and drying requirements differ between products. Read the instructions on your particular bottle before starting, even if you've reproofed jackets for years. Five minutes before wiping excess and a full day allowed for drying are different stages, and swapping one brand's timing into another brand's recipe can leave the job unfinished.
Use a wash-in treatment when the garment suits it
A wash-in can be convenient for an uninsulated shell when its maker accepts that method. You get coverage through the garment without having to reach every panel with a spray. For a garment with a wicking lining, choose the exterior spray described above to keep the lining doing its original job. [9] [12]
Here is Nikwax's TX.Direct Wash-In machine routine. Clean the garments with Tech Wash in a separate wash first, keep them wet, clear detergent residue from the dispenser and put in no more than two clean garments. Add 100ml per garment, then run a 30°C synthetic cycle with a slow spin. Air dry, or use low tumble heat if the label permits. [12]
Grangers Clothing Repel uses another dose: 100ml for the first item, plus 50ml for each additional item. Clean the clothing first, shake the proofer and add it to the detergent drawer for a full 30°C cycle, or a programme consistent with the care label. It allows air drying or permitted tumble drying. Two items therefore use 150ml of this product, compared with 200ml in the Nikwax example. [13]
Keep the cleaner and proofer steps distinct for these routines. Rab describes some combined wash-and-proof methods using the conditioner compartment, but Nikwax's instructions above require separate cycles. Don't put TX.Direct into a random compartment and assume the machine will deliver it at the right stage.
Finish the chosen routine before testing the result. A wet garment coming out of the drum doesn't tell you how the fully dried treatment will bead. Hang it where sleeves and pockets can dry too, then check the surface with water once it's ready to wear.

Give newer PFAS-free finishes regular cleaning
If your newer jacket seems to wet out sooner than the old one, look at its care needs before assuming the membrane has failed. Gore says its PFAS-free DWR is less resistant to oils and benefits from more regular maintenance. The finish can be affected by contamination well before the garment looks covered in mud. [2]
Arc'teryx makes the same distinction in its ePE care advice: its newer FC0 finish needs more attention to oil contamination. That's the context for the shorter washing intervals earlier in this guide. The practical response is to remove the dirt and oils, dry the shell correctly and check whether beading returns. [3]
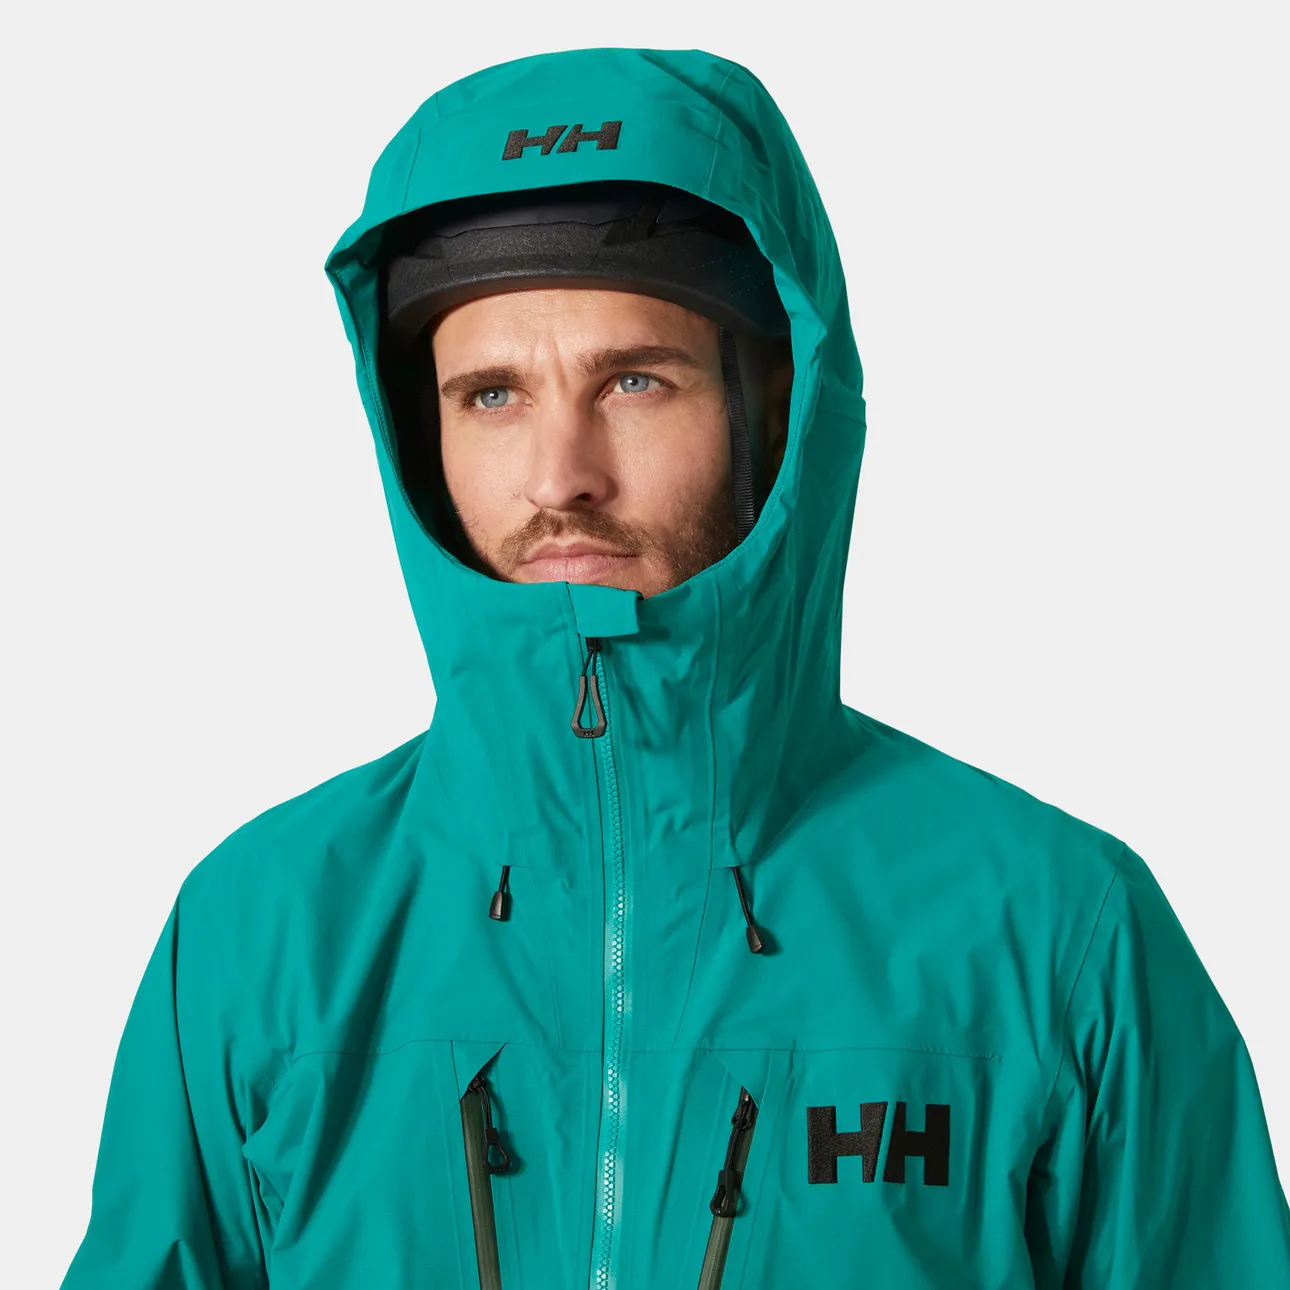
Give the collar, chin guard and cuffs a closer look when unpacking. Think about contact with sunscreen and insect repellent as well as sweat. Keep using the protection you need outside, then include those contact areas in your next clean. Spreading treatment over a greasy collar leaves the contamination underneath.
Don't turn reproofing into a cosmetic chase for identical beads everywhere. Record which panels soak up water after the complete care routine, then concentrate on those observations. A photograph of the clean, tested shoulder is more useful at the next wash than a vague memory that the jacket used to feel better.
Patch small tears and get failing seams assessed
Look inside the clean shell under good light. Find any lifting tape, bubbles between fabric layers or holes where a strap or sharp object has rubbed through. Reproofing the exterior won't close a tear or rebuild a separating laminate. Gore provides a repair-centre directory for work beyond a small patch. [14]
For a small tear in ordinary GORE-TEX clothing, GEAR AID Tenacious Tape GORE-TEX Fabric Patches give you a specific compatible repair option. Use the named fabric patch rather than choosing a random tape because it's a similar colour. Place the repair on sound, smooth fabric around the damage, with the torn edges aligned without stretching them apart.
GEAR AID's instructions say to clean and dry the area locally, avoiding a machine wash that could enlarge or fray the tear. Use a soft cloth to lift dirt away, then let the fabric dry fully. Peel off the backing and leave at least 12mm of overlap in every direction. Press from the centre outward to remove bubbles. You can use the garment straight away, but the adhesive continues strengthening over 12-24 hours. [15]
One useful snag to know before reproofing: GEAR AID warns that spray-on water and stain repellents can soften this patch's adhesive, and recommends a wash-in repellent for best results. If your jacket's lining rules out wash-in treatment, ask the jacket maker or repairer to plan the repair and aftercare together before spraying across a fresh patch. [15]
Don't peel a loose seam tape back farther to investigate or try to iron bubbling layers together. Photograph the damage, note the model and describe where water appears. A repairer can decide whether it needs replacement seam tape, a bonded patch, a new panel or a warranty assessment. Gore's repair guidance directs damaged SHAKEDRY garments to the manufacturer or an authorised centre for permanent repair. [14]
Treat GORE-TEX boots and gloves as separate care jobs
The GORE-TEX name on a boot doesn't make it suitable for a jacket wash. Its leather, textile panels, sole bonds and lining all need consideration. Gore says to remove laces and insoles where possible, shake out debris and clean with a cloth or brush and lukewarm water. Keep footwear out of the washing machine. [16]
Dry boots naturally at moderate temperatures, away from direct heat. Their outer material determines the suitable treatment: smooth leather, nubuck and mixed fabric uppers need different products. A jacket's wash-in proofer isn't the default for any of them. Our hiking boot care guide explains the compatible cleaners, leather treatments and footwear sprays, with worked application methods.
Gloves have another routine. Gore recommends shaking grit out of the fingers, hand washing in lukewarm water with a little liquid detergent and gently squeezing water from fingertips toward wrists. Line dry with the wrists pointing down; put half-dry gloves on and make a fist to restore their shape. Don't iron them or dry them on a heater. [17]
Leather gloves need a suitable water-based leather care product. A fabric glove can need a pump-spray DWR after cleaning if it no longer beads. Check the glove maker's leather instructions before applying anything, especially on mixed palms and backs. You want to preserve grip and flexibility as well as keep the exterior from absorbing rain. [17]

Put it away dry, then check it before the next trip
Open the pockets and let the inside dry as well as the outside. Check the hood folds and cuff tabs before storing the shell. Mammut recommends a wide hanger in a cool, dry, ventilated place out of direct light, avoiding vacuum bags and tightly compressed storage. A damp jacket stuffed into its own pocket can wait for the journey home, but needs unpacking when you arrive. [4]
Keep care products together with a measuring cup and a clean cloth. Write the product and date in your kit notes after reproofing. It takes seconds, and next season you won't have to guess which bottle went on the fabric or whether you've already treated that weak shoulder patch.
Before a longer outing, pull the jacket out early enough to deal with a problem. Try the main and vent zips, check that cuff fastenings still hold and inspect seams inside. Test beading on clean fabric. If a repair or another wash is needed, an evening at home gives you time to finish it and let everything dry.
The routine soon becomes familiar: clean when use calls for it, rinse properly, use the permitted drying method and test before adding treatment. Reproof with a product suited to the garment, giving its particular chemistry the drying time it needs. Catch a hole or loose seam tape while it's small, and you'll give a favourite shell a much better chance of staying in service for the trips ahead.
Read our waterproof jacket reviews
Keep the rest of your kit going with our guides to hiking boot care and tent care.
Sources and further reading
Manufacturer guidance checked on 2 November 2026.
- GORE-TEX: outerwear washing, drying and SHAKEDRY exceptions
- GORE-TEX: membrane, DWR, wetting out and newer finishes
- Arc'teryx: washing intervals, garment preparation, ePE and down-filled shells
- Mammut: washing frequency, preparation and storage
- Rab: washing after trips, machine preparation, temperature and spin
- Nikwax: Tech Wash dosing and machine instructions
- Grangers Performance Wash: concentrated dose and instructions, published by Rab
- Rab: heat reactivation and reproofing
- Nikwax: TX.Direct Spray-On, wicking liners and application steps
- Grangers: Performance Repel Plus application and air drying
- Arc'teryx: Nu DWR application, spreading, drying and heat treatment
- Nikwax: TX.Direct Wash-In dose, separate cleaning cycle and drying
- Grangers: Clothing Repel dose, wash programme and drying
- GORE-TEX: small repairs, SHAKEDRY repairs and authorised repair centres
- GEAR AID: GORE-TEX patch preparation, overlap, bonding time and proofer interaction
- GORE-TEX: footwear cleaning and drying
- GORE-TEX: glove washing, drying and leather care