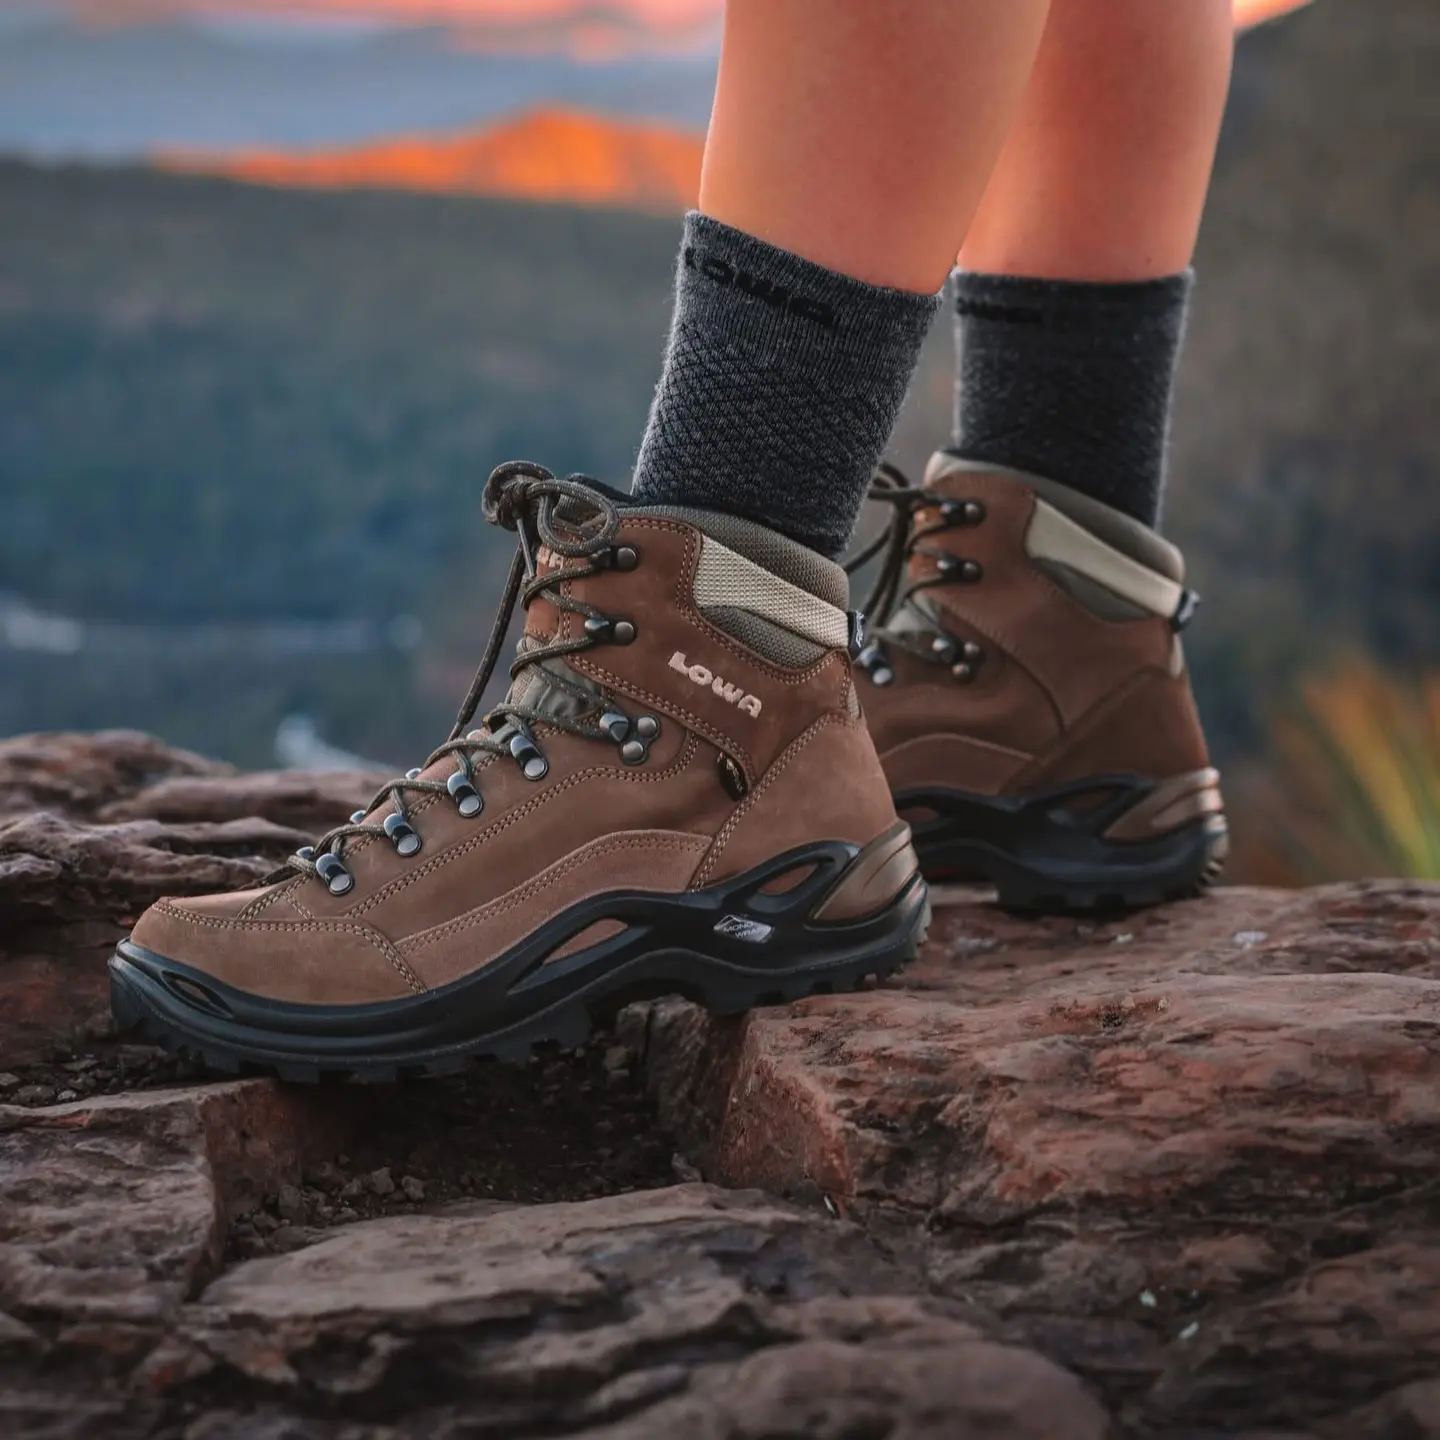
Good hiking boots aren't cheap, and once you've found a pair that fits, you'll want to keep them going for as long as possible. Clean off the mud, dry them gently, treat the upper with the right product and catch worn laces or lifting soles early. Most of the useful care is straightforward enough to do at home.
The fiddly part is choosing what goes on them. A wax that suits a traditional leather boot can change the finish of nubuck, while a mostly synthetic boot has little use for leather conditioner. And a boot that's soaking up water may need a clean before it needs another coat of proofer.
We'll go through those details, with named products, application steps and advice from the people who make the boots and treatments. We've also drawn on our reviews of the LOWA Renegade Evo GTX Mid, Salomon X Ultra 5 Mid GTX, Hoka Kaha 3 GTX, Merrell Moab 3 Mid Waterproof and La Sportiva Aequilibrium Hike GTX. Between them, those reviews cover wet trails, long trips, worn hardware and a particularly disappointing sole failure.
The everyday essentials
Brush and rinse away dirt, take out the insoles, open the tongues and let everything dry away from heat. Choose treatments for the upper material, use them sparingly and give them their full drying time. Before the next walk, check the laces, lining, tread and joins around the sole.
Do the small jobs when you get home
It's tempting to leave muddy boots by the door and deal with them before the next walk. Give them a few minutes now and the next job will be much easier. Brush out the loose grit, remove the worst mud and pull out the insoles so the inside can air.
Salomon recommends removing the insoles and airing the shoes after each hike, with a proper water clean after muddy outings. It also explains why leaving that crust on is unhelpful: dirt works into fabric and mud stiffens the material where it bends. A dry afternoon on a clean path needs much less attention than a day in peat and wet grass. [1]
While you're cleaning, look at the creases behind the toe, the stitching and the edge where the upper meets the sole. It's much easier to spot a loose thread or a small gap on a clean boot. Take a photo if something looks new, then check it again after the next outing rather than relying on memory.
Unlace the boots enough to take them off comfortably too. Pulling a tightly laced boot off with the other foot presses and scuffs the heel. Sit down, open the tongue and use your hands. It also leaves the boot open and ready to dry instead of closed around a damp insole.
Check what the upper is made from first
Start with the model's material list. The upper is the part around your foot; the waterproof lining sits inside it. A GORE-TEX badge tells you about the lining, but it doesn't tell you whether the outside needs a leather cream, a nubuck treatment or a fabric spray.
| What you have | What to look for | A useful starting point |
|---|---|---|
| Smooth full-grain leather | A leather care product approved for that boot; the finish has no fuzzy nap | Nikwax Waterproofing Wax for Leather is labelled for smooth leather. SCARPA specifies HS12 cream for several of its leather models. [11] [14] |
| Nubuck or suede | A treatment that preserves the napped surface, unless your boot maker specifies a waxed finish | Nikwax Nubuck & Suede Proof is designed for these surfaces. Ordinary smooth-leather wax can darken and flatten the nap. [8] [11] |
| Leather with fabric panels | A footwear treatment suitable for both materials | Nikwax Fabric & Leather Proof is designed for this combination. Keep thick leather cream off the fabric panels. [7] |
| Mostly synthetic fabric or coated panels | A footwear spray approved for the complete upper | Grangers Footwear Repel Plus lists fabric as well as leather, suede and nubuck. Purely synthetic panels do not need leather wax. [9] [2] |
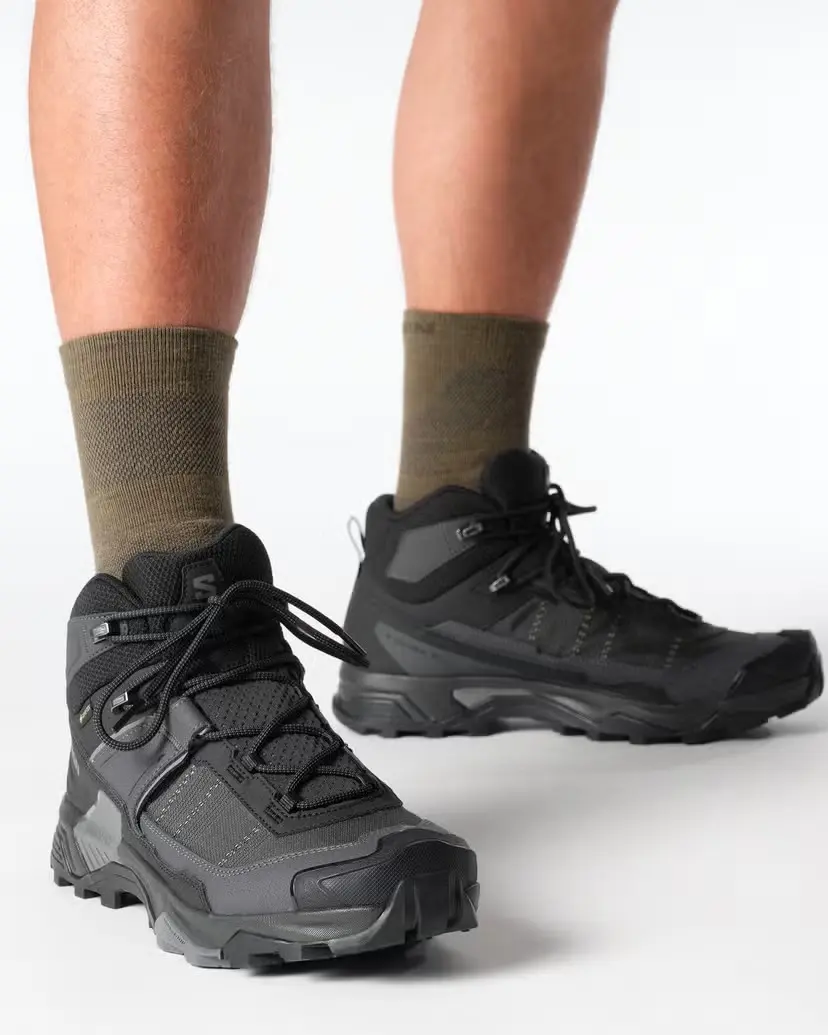
Look closely at mixed boots before treating the whole lot as one material. Our Moab 3 review lists pig suede and mesh, while the X Ultra 5 review records coated leather and textile. Neither is a reason to spread a tin of traditional leather grease over every panel.
Try any new treatment on a small hidden area first. Even a suitable proofer can darken pale leather or fabric. Let the test patch dry before deciding whether you like the result; a wet patch will naturally look different.
Wash out the dirt before adding anything else
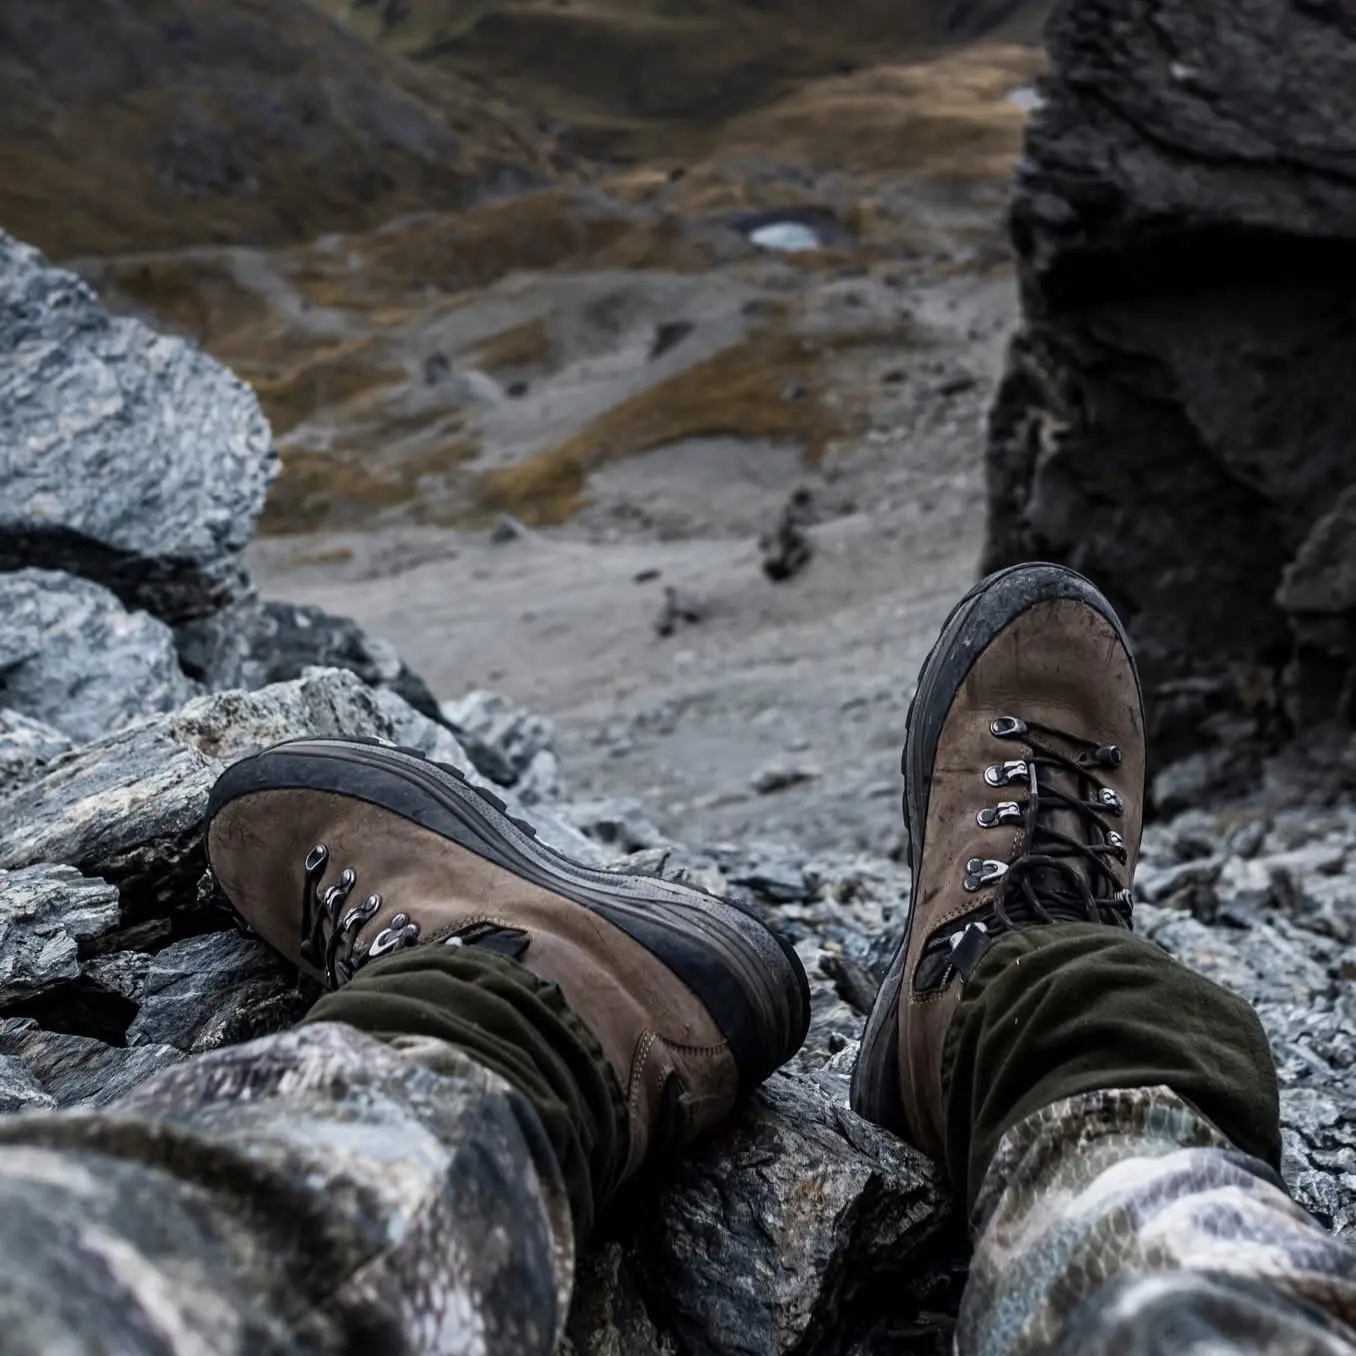
A bowl, a soft boot brush, an old toothbrush for the awkward bits and a cloth are enough for most cleans. Take the laces out when the tongue and eyelets are particularly dirty. Work the loose grit out of folds before you start rubbing at the upper.
Use clean water first. HANWAG favours water and a brush for the outside and warns against soap on its leather boots. HOKA's general instructions allow a mild soap with cold water, while LOWA describes lukewarm water and a suitable cleaner. That variation is a good reason to choose a footwear cleaner your boot maker accepts, rather than a strong household detergent. [3] [21] [2]
For a concrete example, SCARPA names Nikwax Footwear Cleaning Gel for very dirty boots. The brush-on bottle is used like this: [14]
- Rinse off excess dirt with clean water, leaving the surface damp.
- Shake the bottle, apply the gel and scrub gently with its applicator. Use a soft touch on mesh and coated panels.
- Rinse thoroughly, including the folds beside the tongue and the join around the sole.
- If a compatible Nikwax treatment is needed, apply it at the damp stage specified on that product. Otherwise, open the boots up to dry.
Nikwax says cleaning alone can revive water beading when dirt is masking the existing treatment. Try that before automatically adding more proofer. Its instructions also call for a colourfastness test in a hidden spot. [4]
Clean the tread as well. A wooden pick helps lift a stone from between the lugs without gouging the rubber. Let water soften stubborn mud and brush it out. You want to remove what's stuck there without attacking the rubber or the bond around the edge with a sharp metal tool.
Keep the boots out of the washing machine. GORE-TEX's care instructions rule it out, along with bleach. A hand clean gives you control over the materials and lets you check their condition as you go. [5]
Give wet boots air, not a blast of heat
Take out the insoles, loosen the laces and pull the tongues forward. Blot away obvious water with a cloth, then leave the boots in a well-ventilated place at room temperature. Check down inside the toe as well as around the collar before putting the insoles back.
Keep them away from radiators, fires and hot cars. LOWA warns that heat can crack wet leather, while Nikwax also identifies peeling bonded soles as a risk from drying too quickly. Putting soaked boots beside a stove can turn a drying job into a repair job. [2] [4]
Paper is one of those tips that needs a little more explanation. LOWA suggests paper in the toes and changing it daily until dry; Nikwax says to replace it when wet. La Sportiva's care booklet takes the opposite approach and advises against paper because it can slow drying. For La Sportiva boots, leave the interior open with the footbeds out. If you use paper in a pair whose maker recommends it, pack it loosely and remove it when it's soaked rather than leaving a wet wad in the toe. [2] [4] [6]
A convection-style boot dryer is an option GORE-TEX lists. Choose one compatible with the boots and follow its temperature guidance. A blast from a hairdryer, an oven or an improvised heater gives you far less control over the leather and glued parts. [5]
Allow proper time after a flooding. Our Renegade review notes that water entering over the collar can take more than a day to dry. The X Ultra 5 also dries much more slowly inside than its outer surface suggests. If you have another suitable pair, using it while the first dries is more useful than trying to cook the dampness out.
Clean the insoles and lining when they need it
Tip the boots out over a bin and check underneath the insoles. Sand and small stones can hide there for a long time. La Sportiva specifically recommends removing that debris because it can rub against and damage a GORE-TEX membrane as you walk. [6]
For a dirty lining, HANWAG recommends lukewarm water and a sponge, with no scrubbing brush inside. That lets you wipe away mud and salt without putting hard bristles against the lining. Keep the tongue open afterwards and let the inside dry fully. [3]
Wash removable fabric footbeds by hand if their care instructions allow it. HANWAG distinguishes these from leather footbeds, which it cleans with a damp sponge. An aftermarket orthotic may have a different construction again, so check that product before soaking it. Dry footbeds separately; putting a wet one back into the boot slows the whole job down. [3]
If they smell, start with cleaning and drying rather than adding perfume to a damp boot. Salomon recommends a footwear hygiene spray for persistent odour. Use a product suitable for the lining and allow it to dry before wearing the boots again. Fresh socks on a multi-day trip and an evening with the insoles out also give you a much better starting point the next morning. [1]
Feel for a rough patch at the heel while you're there. If the lining is wearing through, sort out the cause of the rubbing and ask about a lining repair early. A product sprayed on the outside won't deal with the heel sliding inside the boot.
Work out why your socks are getting wet
Water beading on the outside, a waterproof lining and dry socks are related, but they're different checks. The outer treatment helps the upper shed water. If that surface soaks up rain, the boot can feel heavier and clammier even while the lining is still keeping external water out. Nikwax explains this as the upper wetting out and reducing the escape of moisture vapour. [4]
Start with clean boots and sprinkle a little water over the upper. If it beads and rolls away, the surface treatment is still doing its job there. If the clean material darkens and absorbs it, consider renewing the water repellency. GORE-TEX uses that loss of beading as the cue to reapply DWR, or durable water repellent. [5]
If your socks are wet, also think about how the water arrived. Did it come over the cuff in a stream, run down your trousers, or appear in one spot under the forefoot? Dry the boots first, then look for worn lining, split stitching or a lifting sole around that area. A new outer coating won't mend a hole in the lining or close a gap in the sole bond.
Our Moab review describes water getting in after the toe-flex bond opened. That's a repair job. By comparison, sweat and slow drying were issues in several intact waterproof boots we tested. Treating every damp sock as proof that you need more spray can send you after the wrong problem.
For a suspected leak in a sound-looking boot, take photos and describe the location to the retailer or maker. Note whether the water stayed below the tongue's gusset. Give them that detail before attempting a glue repair, particularly on a recent purchase.
Apply the right proofer, with its own timings
Once cleaning no longer brings back the beading, choose a treatment for the material you've identified. Two useful examples are Nikwax Fabric & Leather Proof for mixed uppers and Nikwax Nubuck & Suede Proof for napped leather. Nikwax specifies clean, wet footwear for both. With the spray versions, apply from 15 cm, get into the seams, wait two minutes and wipe away the excess. Then let the boots dry naturally before use. [7] [8]
With the sponge-on versions, dab to release the product and spread it over the clean, wet surface. The same two-minute wipe-off step applies. Work over something that will catch runoff, and make sure the folds beside the tongue receive treatment as well as the easy-to-reach toe.
Grangers Footwear Repel Plus is another option for fabric, leather, nubuck and suede. Its instructions say to spray evenly over freshly cleaned, damp footwear, wipe off excess and let it dry fully. A second coat, if needed, goes on once dry. It doesn't use Nikwax's two-minute instruction. Grangers also says its clothing product, Performance Repel Plus, isn't the footwear substitute: the two formulas have different jobs. [9] [10]
Give the treatment its proper finishing time. LOWA says its waterproofing treatment reaches full effect after 24 hours. SCARPA makes a different preparation point: HS12 cream goes on clean, dry leather, whereas water-based Nikwax treatments go on wet uppers. A spray, a cream and a wax can have different instructions even when all three sit on the same shop shelf. [2] [14]
Before starting, read your bottle's wet-or-dry requirement, wipe-off step and drying time. Those details are easy to miss if you've watched a video using a different product. Putting more treatment over mud, leaving a heavy puddle to dry or pulling the boots straight on for a walk can undo the care you've just taken.
Give leather some care without smothering it
Leather care and water repellency overlap, but they're not the same job. A water-repellent spray helps rain run off the surface. A leather care product is also chosen to keep the material supple. Before adding more of either, clean the boots and have a look at how the leather feels and bends.
The recommendations can sound contradictory. GORE-TEX's general care page recommends a water-based pump spray and advises against waterproofing waxes and greases. LOWA, meanwhile, specifies a wax cream such as Active Cream for its leather boots, including those with GORE-TEX. Use the boot maker's material-specific care system for that pair. For a leather LOWA, that means its recommended cream, not any tub of grease labelled "waterproof". [5] [2]
Nubuck needs an extra decision about appearance. LOWA explains that waxing its nubuck or suede makes it smoother, shinier and darker. Nikwax's Waterproofing Wax for Leather goes further on its own label: smooth leather only, not nubuck or suede. That product is different from LOWA's recommendation for its leather. If you want to keep a napped finish, choose the appropriate nubuck treatment instead of assuming all boot waxes behave alike. Merrell's leather guide specifically names Nikwax Nubuck & Suede Proof for that material. [2] [11] [22]
Work a little into clean leather
For a boot whose maker recommends wax, use a soft cloth or brush and apply a thin, even amount. Reach the tongue and creases, then work it in and wipe or buff away surplus. HANWAG specifies clean, dry leather and room-temperature wax. Heating it makes it penetrate too deeply; a greasy surface is a sign you've put on too much. Pure oils and heavy grease can also affect the leather's support and breathability. [3]
On smooth leather suited to Nikwax Waterproofing Wax, its own method is to rub the product into the clean surface, pay attention to seams, then remove excess after two minutes with a damp cloth and buff. Test for darkening first and allow natural drying for best results. Keep this smooth-leather method separate from care for the Hoka's nubuck or the Moab's suede panels. [11]
| Maker and product | Published recommendation | How to use that advice |
|---|---|---|
| HANWAG: leather boot wax | After every two or three trips, with extra attention after a soaking | Check your leather after those outings rather than piling on wax over an already heavy coating. [3] |
| Meindl: regular waxing | Every few weeks, more often with daily use or very rainy conditions | This is its boot-care guidance for waxing; remember the tongue as well as the visible toe. [13] |
| Nikwax: Conditioner for Leather | One or two times a year for smooth leather | This is the conditioning product, not an instruction to reproof only twice a year. Routine water repellency is a separate check. [12] |
Nikwax Conditioner for Leather is intended to restore suppleness to smooth leather. Its instructions say to clean first, shake the bottle, apply to wet leather, work into seams and remove surplus. It isn't the product for every damp pair after every walk. Keep conditioner off purely synthetic panels and use the nubuck or combination-footwear treatment where that is what the upper requires. [12]
Replace a tired lace before it snaps on a hill
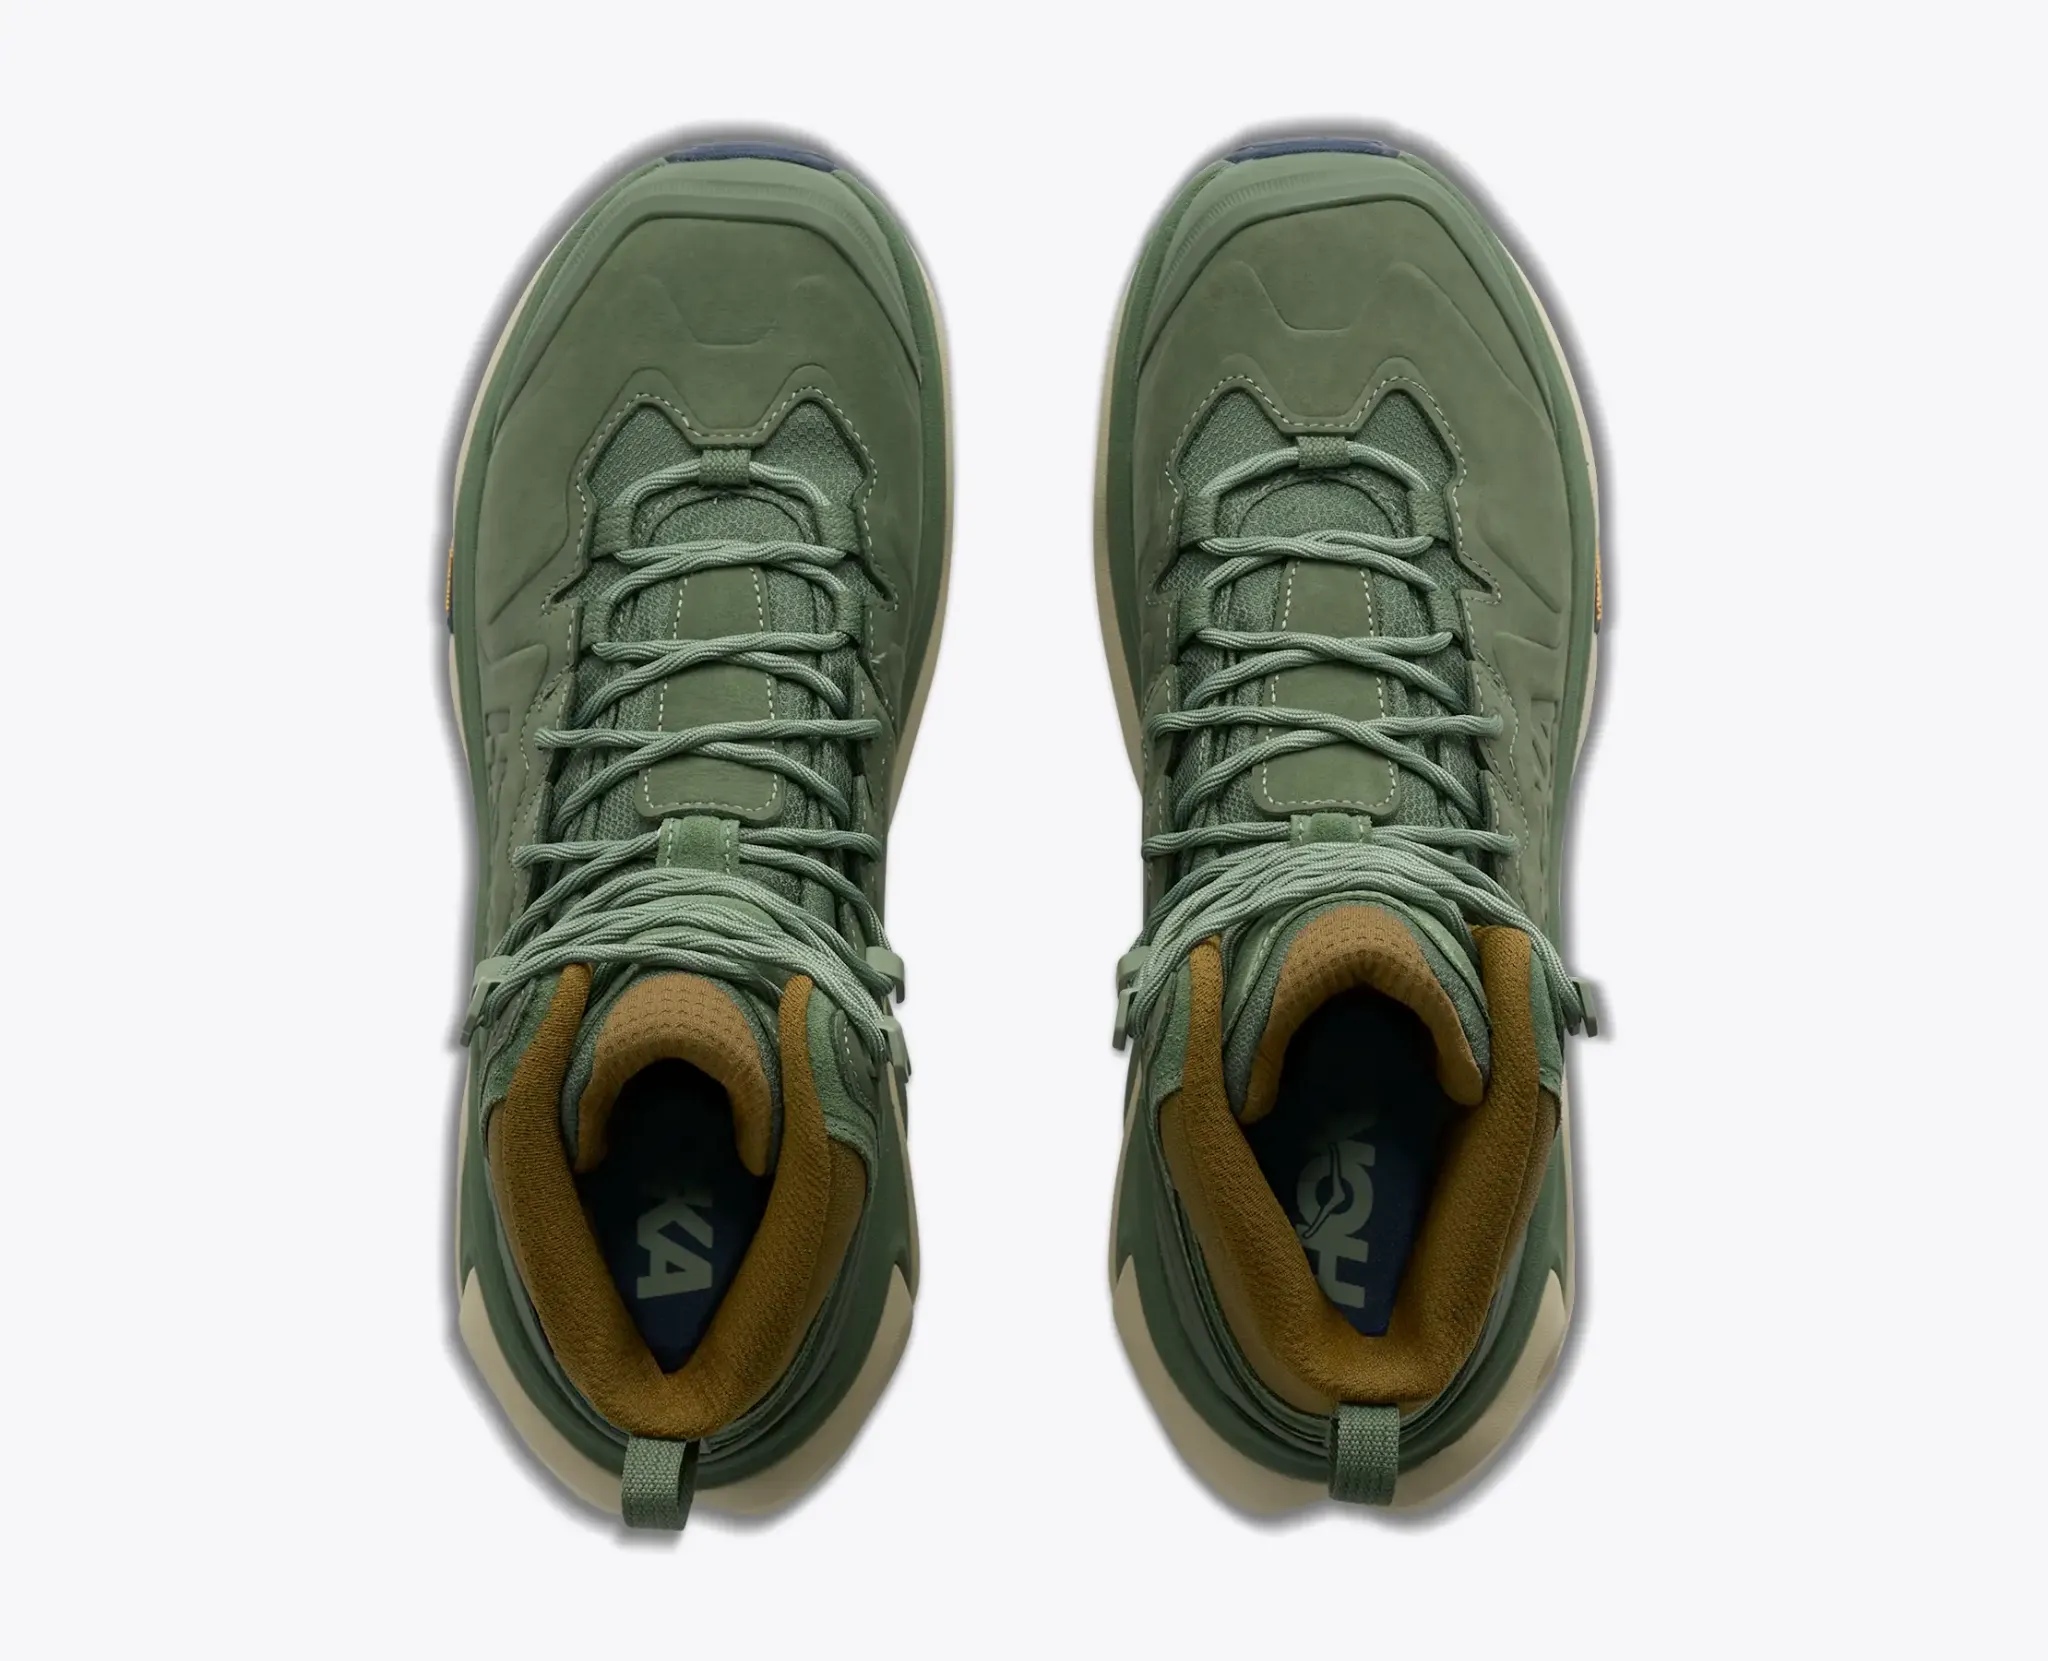
Run the laces through your fingers when they're out of the boots. Look for a thin patch, a fuzzy section or a broken outer sheath, especially where the lace bends around the top hooks. If the same point keeps wearing, feel the hook for a rough edge and have damaged hardware checked.
Match a replacement to the old lace's length, shape and thickness, or buy the maker's replacement for that model. A much thicker lace can bind in the eyelets; a much thinner one may sit poorly in an open hook. Keep a spare in your walking kit. In our Kaha 3 review, one stock lace broke within roughly 200 km even though the rest of the boot showed little wear.
Wipe dirt from the hooks and eyelets while the tongue is open, then dry them. La Sportiva calls out cleaning and drying both sides of the hardware to limit rust. Meindl suggests a little Sportwax on its hooks and eyelets for corrosion protection. Apply that locally if it is part of your boot's care system, rather than coating the laces and lining. [6] [13]
Look at the tongue's folded edges too. Remove grit gently from those folds and check for stitching rubbing against a hook. Sorting out a worn lace or a sharp piece of hardware now is much easier than trying to tie a knot around a break in the rain.
Check the tread and the cushioning underneath it
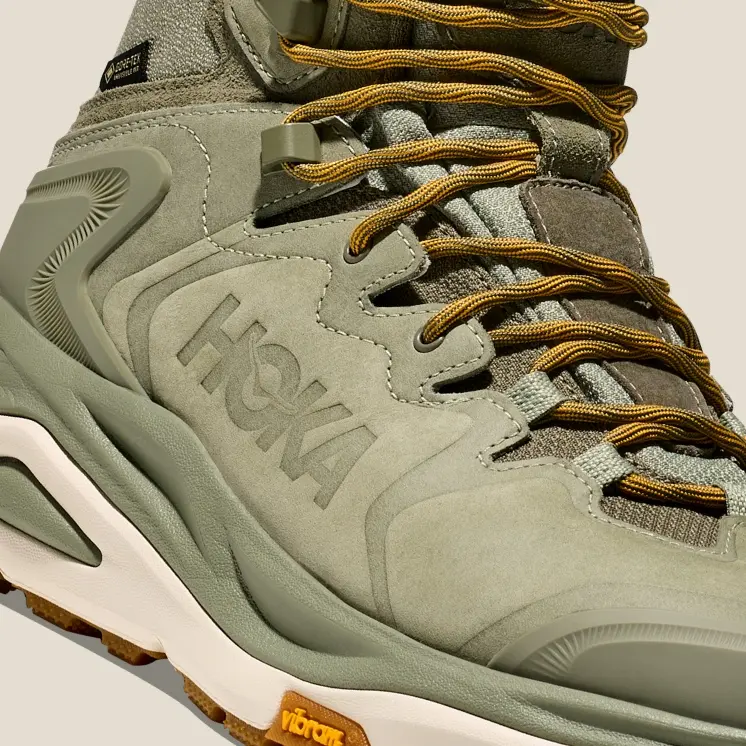
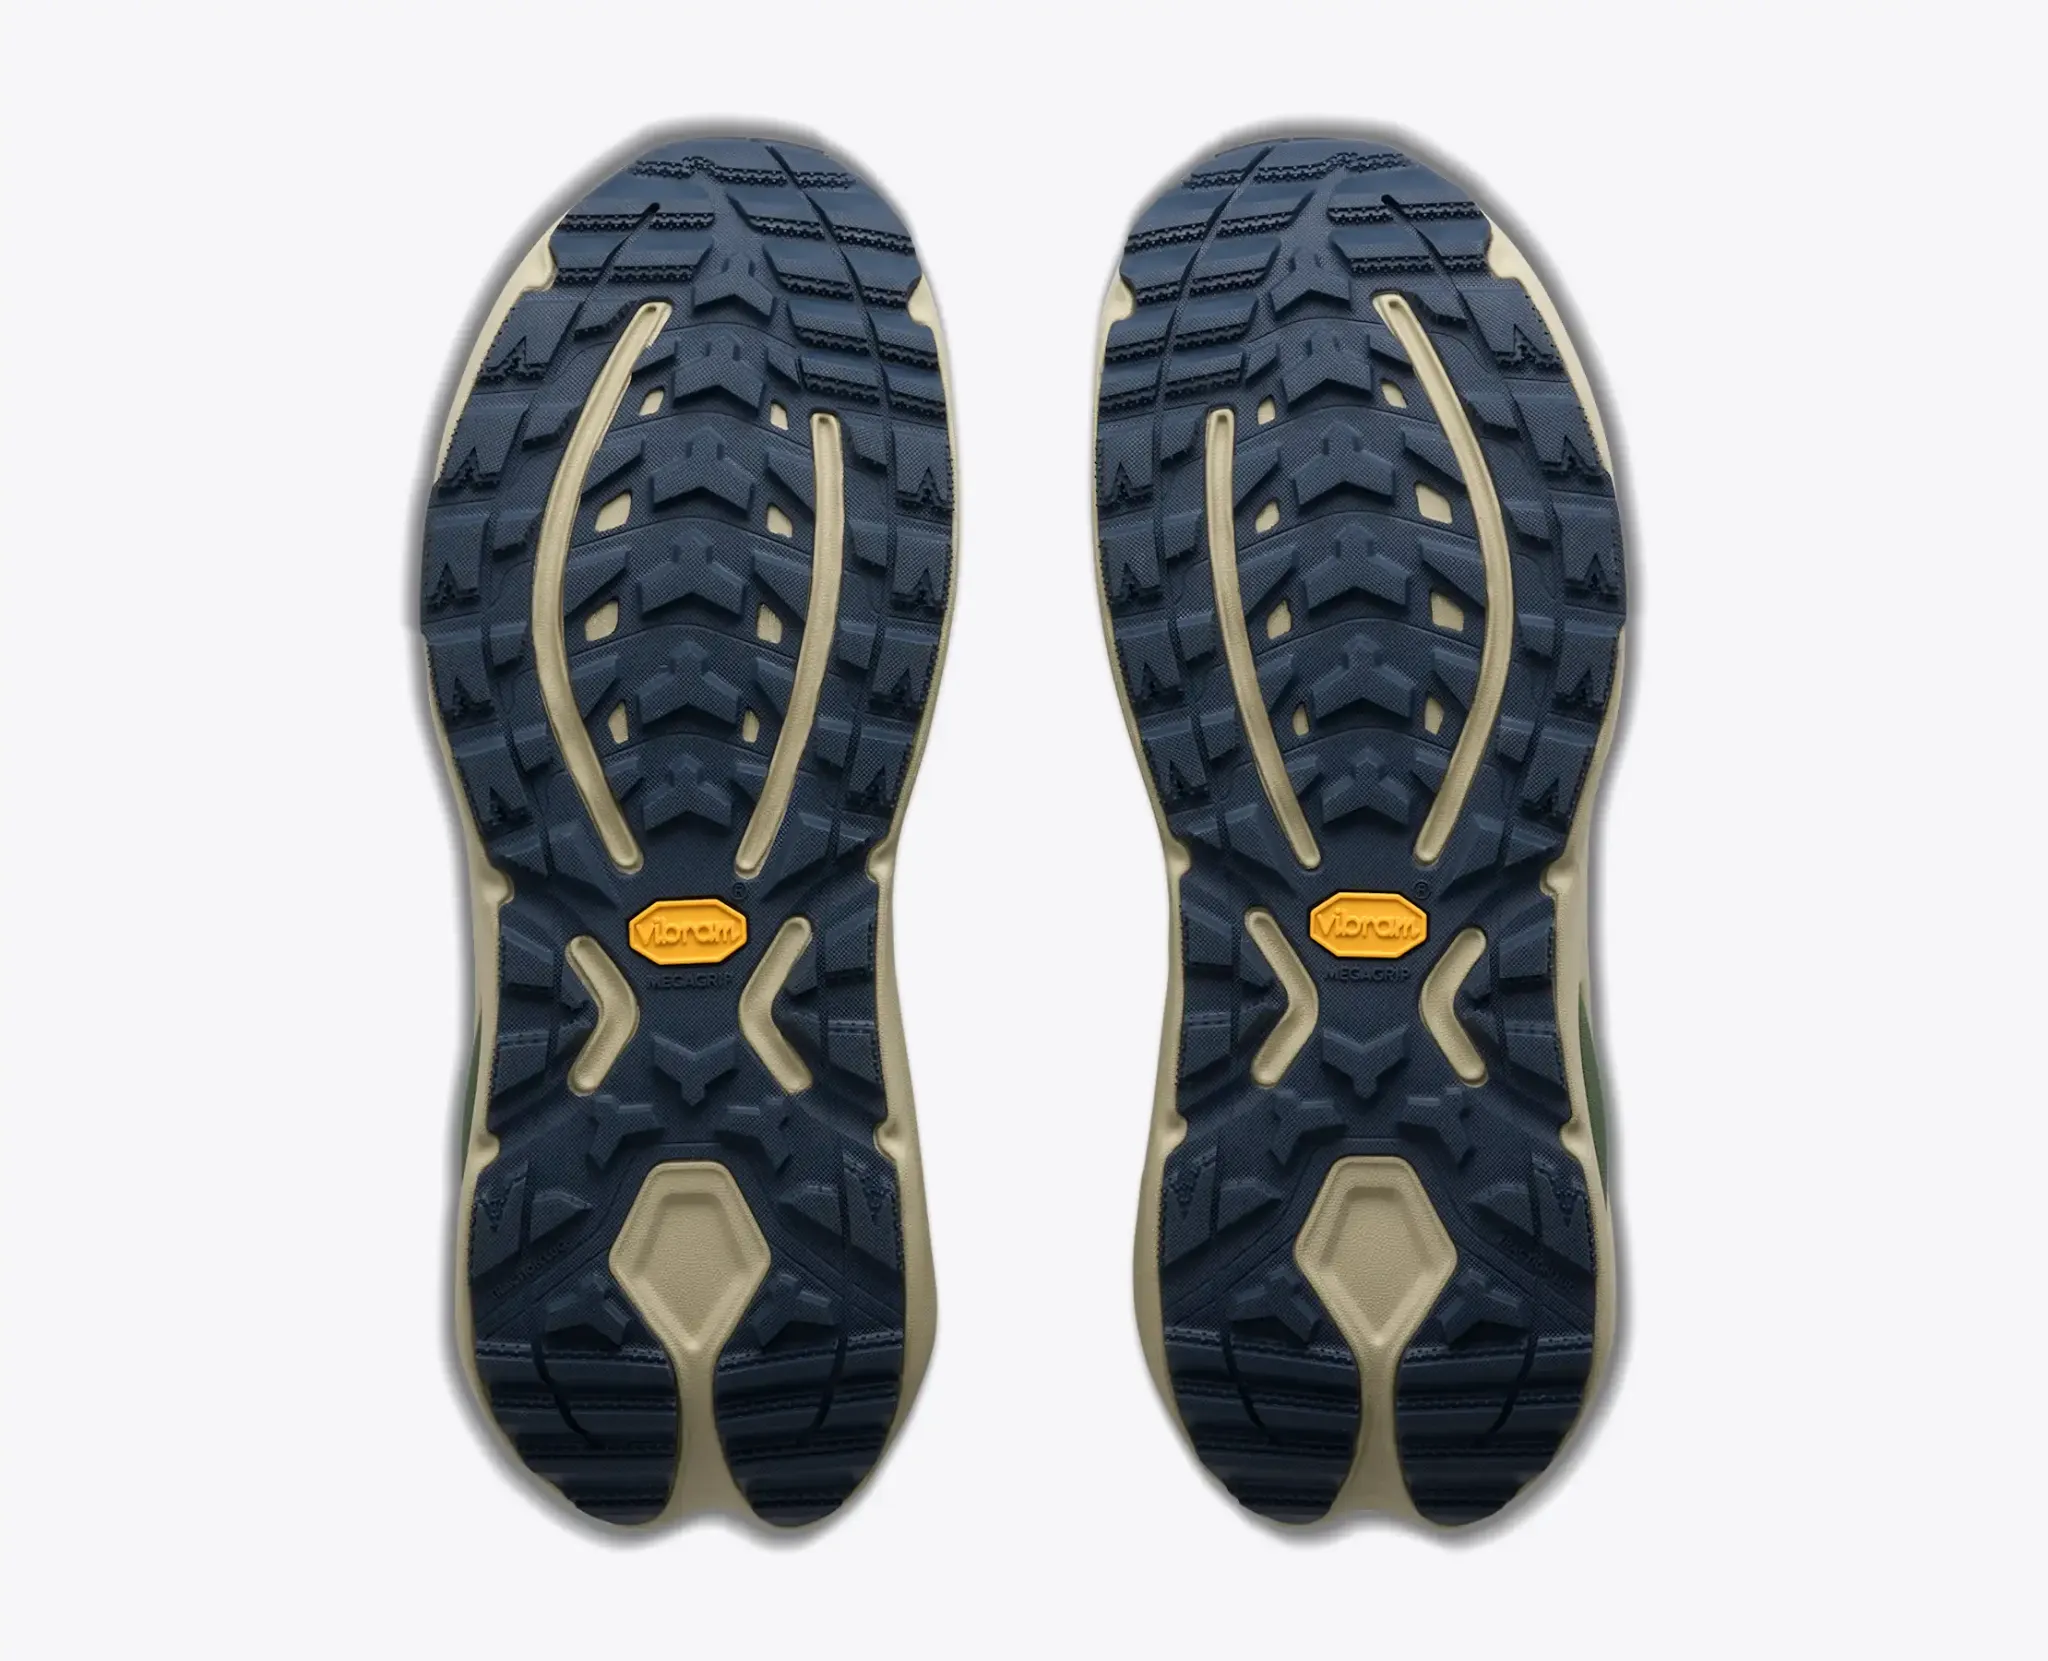
The rubber tread is only part of the sole. Look at the cushioning layer between it and the upper, and follow the glued edge all the way around. Clean away mud so you can see cracks, an opening at the toe flex or material beginning to crumble.
Pay attention to wear where you push off and brake downhill. A boot can still have deep-looking lugs in the middle while the heel edge and forefoot have become rounded. Compare both boots, and use how they feel on familiar ground as another clue. New spray on the upper won't bring a worn tread back.
Polyurethane midsoles can deteriorate through hydrolysis, including in boots with little visible tread wear. Meindl describes crumbling material and sole separation as signs, with damp storage an aggravating factor. If the foam breaks away when you handle it, get a repair assessment before the next walk. Glue needs a sound surface to stick to; loose crumbs underneath a neat repair won't hold the sole in place. [15]
HANWAG recommends a yearly check of tread, midsole and glued areas, and a maker or dealer inspection at the latest every six years. That gives you two useful reminders: inspect them at home before the walking season, and get an older pair checked rather than trusting an unworn-looking outsole. [16]
Our reviews show why it's worth checking more than mileage. The Renegade had no outsole separation after about 300 km. The X Ultra 5 still had usable tread around 900 km, but a toe-box seam had started opening. Both Moab soles began separating after roughly six to eight months. Look at the actual condition of the upper, bond and cushioning together.
Deal with a lifting edge while the damage is small
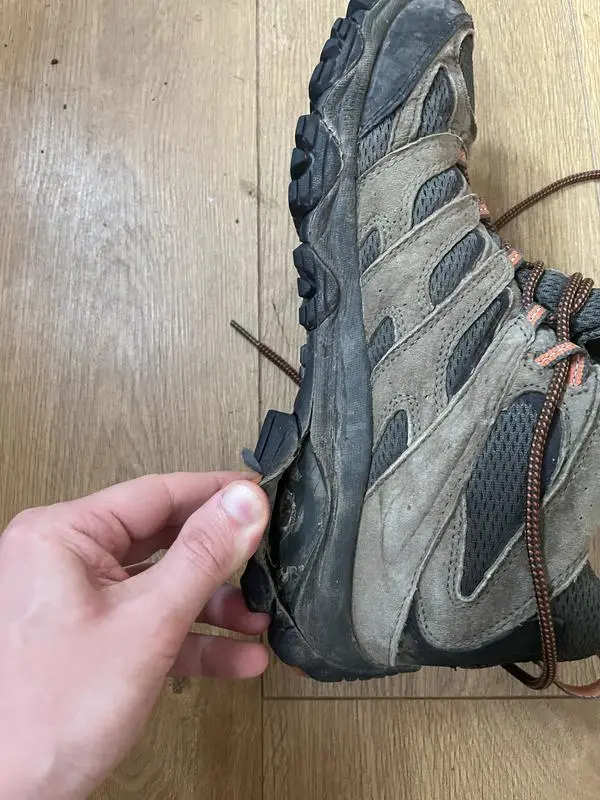
If you spot a new gap, clean it enough to see what's happening and take photos. For an early failure, contact the retailer before putting glue into it. Include a view of both boots, a close-up of the gap and the model label. Keep the receipt and explain when the opening appeared.
A small, accessible edge gap with sound material on both sides may suit a footwear adhesive. A loose sole, crumbling midsole or a crack running through the cushioning needs a specialist. Our Moab review describes an epoxy repair after a rejected warranty claim; those boots ended up on dry dog-walking duty.
An example using GEAR AID Aquaseal SR
Aquaseal SR is a flexible urethane shoe adhesive. GEAR AID lists leather, suede, rubber, neoprene, canvas and nylon among its bonding materials. Identify the two surfaces inside the gap, not just the material on the outside of the boot. For an unfamiliar coated plastic or a whole damaged sole unit, ask about the specific materials before choosing the glue. [23]
- Prepare the gap. Remove dirt and loose debris. GEAR AID's boot-repair guide uses isopropyl alcohol, maximum 70%, for cleaning. Test its effect on a hidden spot, keep it local to the bonding area and let that area dry. Work with ventilation and follow the adhesive's handling precautions. [19]
- Give smooth bonding surfaces some grip. Lightly roughen them with sandpaper where accessible. Protect the visible finish, stitching and lining. Leave crumbly foam to a repairer instead of sanding further into it.
- Apply the method for this adhesive. GEAR AID's sole-separation tips describe applying Aquaseal SR to both surfaces, waiting 15 minutes, then joining them. Use a thin, even application rather than filling the gap with a large blob. [20]
- Hold the parts in their proper position. Tape or clamp as directed and leave the repair undisturbed overnight. Check that you haven't pressed the sole out of alignment or let adhesive run into the boot.
- Allow the full cure. The product lists 8-12 hours; its tips allow 24-48 hours for thick repairs, and longer in dry conditions. It also specifies an application range of roughly 16-38°C and relative humidity above 40%. A cold, dry garage may be a poor place to expect an overnight cure. [20] [23]
Read the instructions on your actual tube before doing the job. Different shoe glues, regional versions and repair methods can have different waiting and cure times. The 15-minute joining step above comes from Aquaseal SR's published sole-separation method; it isn't a rule for every adhesive. Early grab also isn't the same as a fully cured repair.
Once cured, check the bond with a gentle flex and take a short local walk before relying on it further afield. If the gap reopens or the surrounding material starts breaking up, arrange a proper repair or retire the boots. Repeatedly gluing the same failed area won't give you a sound midsole underneath.
Ask about resoling before the upper is worn out
If the tread is nearly finished but the upper still fits well, ask a boot repairer about a replacement sole. Send the exact model, photos of the upper and lining, and a clear view underneath. They need to assess the construction and the condition of the whole boot.
LOWA describes resoling for its cemented construction, but the UK page for the Renegade Evo GTX Mid says its injected sole isn't suitable for a traditional resole. A GORE-TEX badge or a Vibram logo doesn't answer that construction question. Our Renegade review flags the same limitation. [17] [18]
Meindl says most of its boots can be resoled, provided the leather remains supple and the lining is in good condition. Cracked uppers and a badly worn interior can rule out work that would have been possible earlier. HANWAG also offers a resoling route, with customers outside Germany directed to its international partners or specialist retailers. Use the service for your country rather than assuming a German online form covers a UK repair. [13] [16]
Ask what the repair includes, whether the original sole unit is available and how it affects fit or waterproofing. LOWA warns that a full resole can change fit and may affect a GORE-TEX lining. Get those details before paying to preserve a pair whose fit is the main reason you love them. [18]
Put them away clean, dry and ready for a walk
Leave the insoles out until everything is dry, then store the boots somewhere cool and airy. Keep them upright rather than crushed under a pile of other kit. Salomon advises against plastic bags and airtight boxes for longer storage, and recommends keeping them away from damp and sunlight. [1]
Before a long period in the cupboard, check that there isn't still mud under the arch, moisture in the toe or a repair you've been meaning to arrange. A small note tucked beside the pair is more useful than hoping you'll remember that frayed lace in six months.
When you bring them back out, look over the sole and upper, try the laces and take a short walk locally. Meindl recommends a thorough inspection and a short test after a long period without use. Make that the first outing, before you pack them for a remote trip. [13]
The habit to aim for is a little care while the boots are still doing their job. Rinse away the mud, give damp interiors air, use the treatment meant for the material and deal with wear when it first appears. You'll spend less time scrubbing neglected boots, and more time walking in a pair that already feels right.
Boots we have reviewed
Read our hiking boot reviews
Also see our Hoka Kaha 3 GTX and La Sportiva Aequilibrium Hike GTX reviews, or compare the hiking boots we tested in wet conditions.
Sources and further reading
Manufacturer guidance checked on 2 November 2026.
- Salomon: after-hike cleaning, insoles, odour and storage
- LOWA: leather care, drying and waterproofing instructions
- HANWAG: cleaning, lining care and leather waxing
- Nikwax: Footwear Cleaning Gel instructions
- GORE-TEX: footwear washing, drying and water-repellent care
- La Sportiva: care and maintenance booklet, English section
- Nikwax: Fabric & Leather Proof application
- Nikwax: Nubuck & Suede Proof application
- Grangers: Footwear Repel Plus instructions
- Grangers: footwear and clothing treatment differences
- Nikwax: Waterproofing Wax for Leather and material limits
- Nikwax: Conditioner for Leather and treatment interval
- Meindl UK: waxing frequency, hardware, storage and repair eligibility
- SCARPA: material-specific boot care and treatment preparation
- Meindl UK: sole hydrolysis, storage and assessment
- HANWAG: inspection intervals and regional resoling services
- LOWA UK: Renegade Evo GTX Mid construction and resoling limits
- LOWA: cemented-boot resoling and possible changes after repair
- GEAR AID: boot-repair preparation and isopropyl alcohol guidance
- GEAR AID: Aquaseal SR sole-separation method and thick-repair curing
- HOKA: general hand-cleaning guidance
- Merrell: care for smooth leather, fabric and suede
- GEAR AID: Aquaseal SR materials, application conditions and cure time