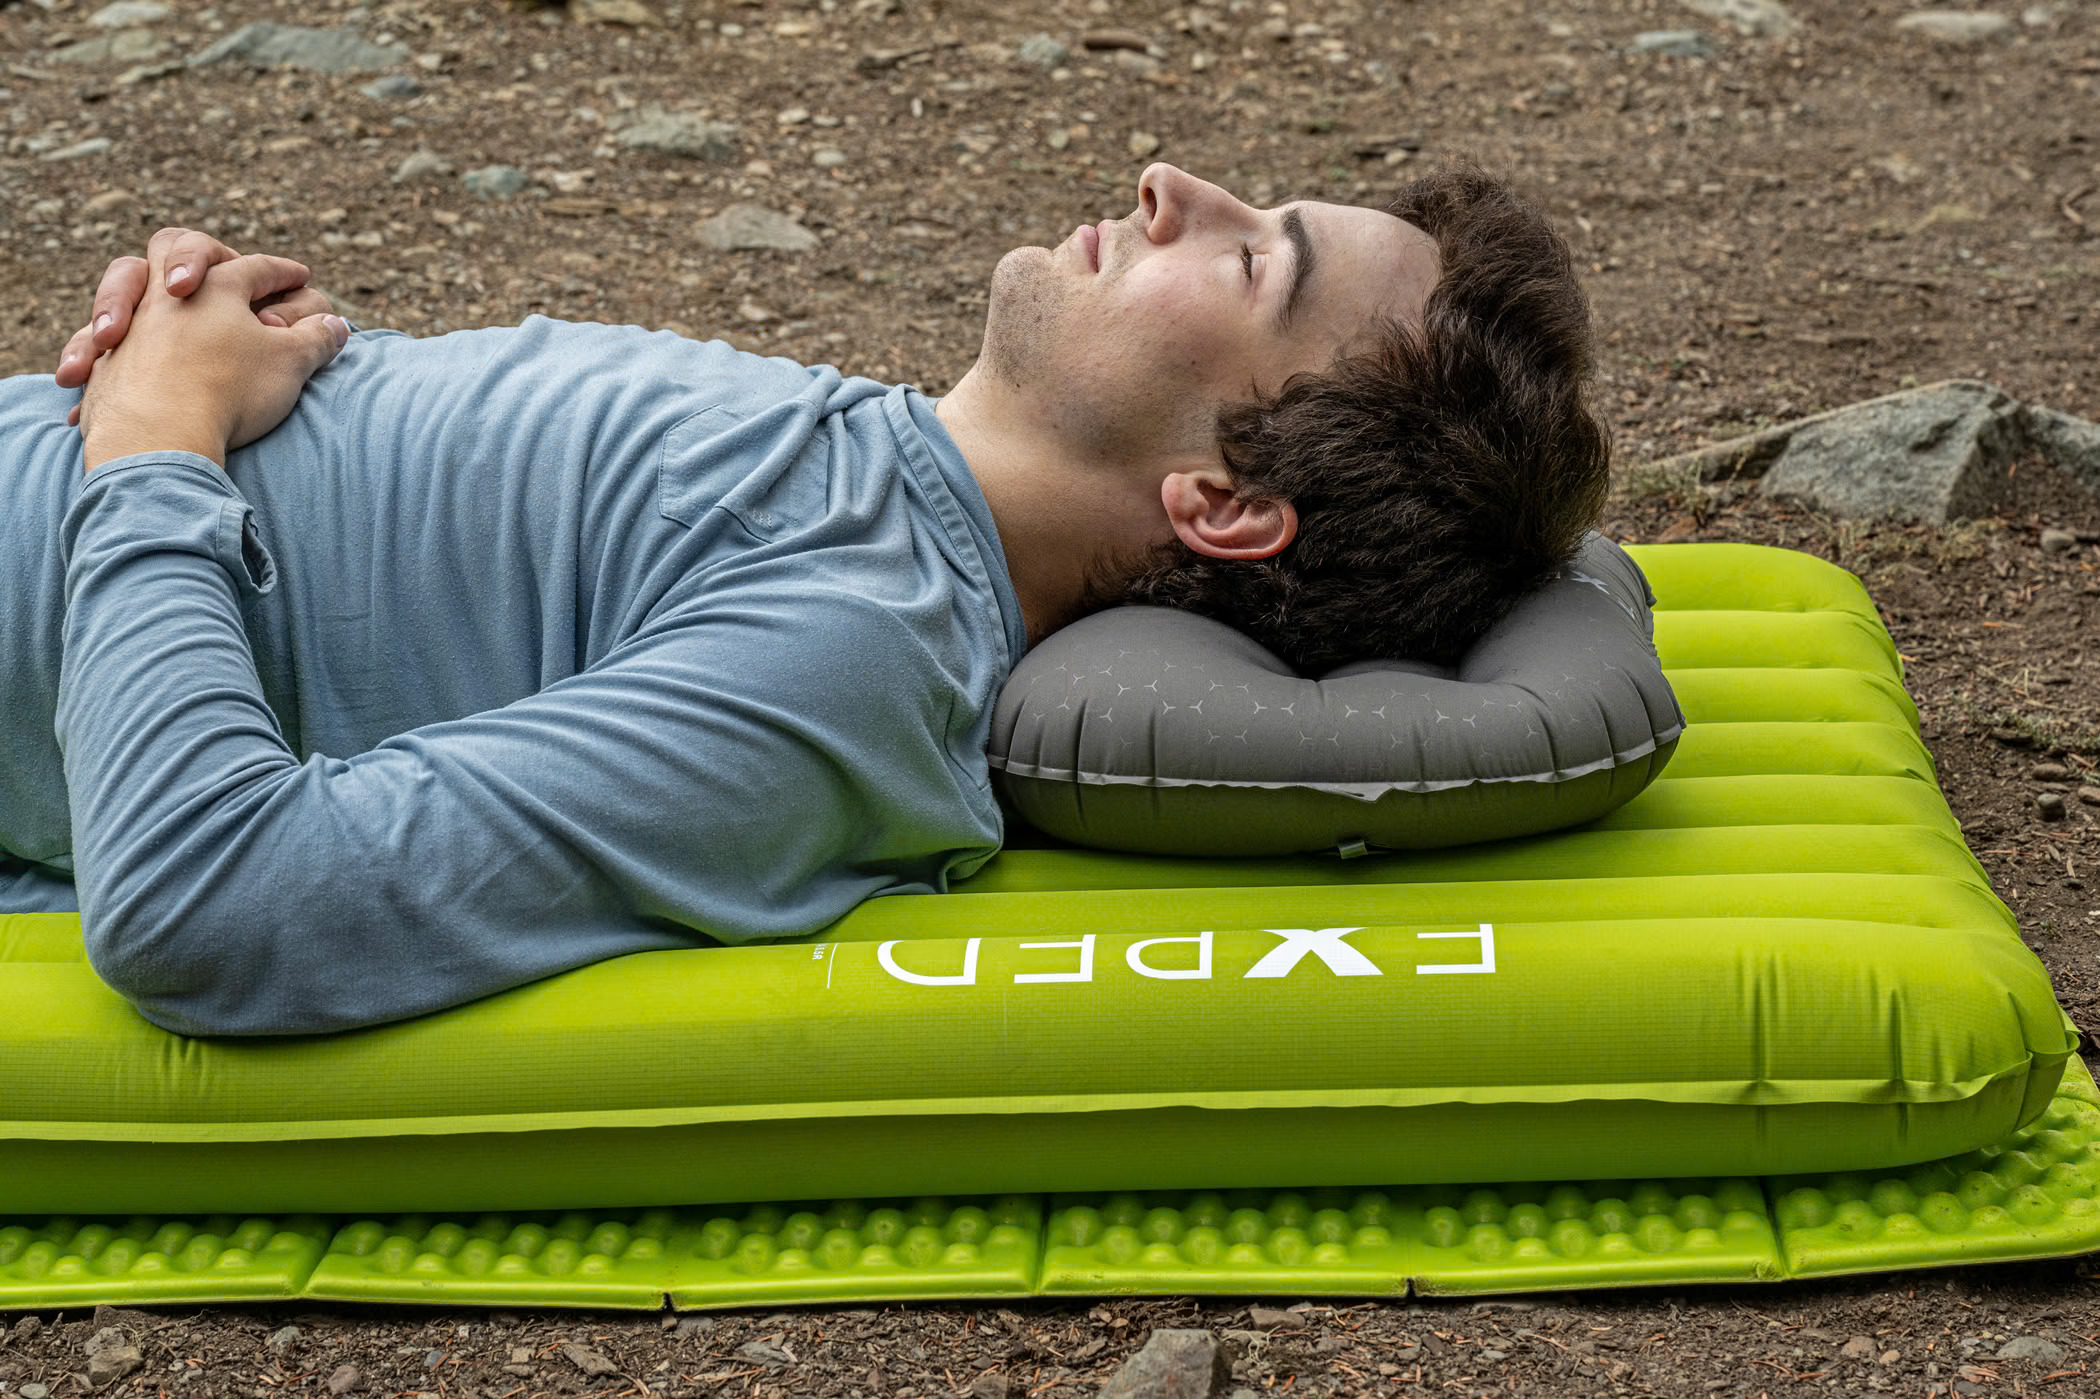
A comfortable sleeping mat makes camping much more appealing, especially if your hips usually find every lump under the tent. But cushioning is only half its job. The mat also slows the heat leaving your body for the ground, and a deep, bouncy air bed can still leave you cold. We'd choose enough insulation for the coldest conditions on the trip, then find a size and firmness we can sleep on comfortably, within the weight and space available.
It's easy to become preoccupied with the sleeping bag and treat the mat as whatever fits underneath. Then the bag is lovely and warm around your shoulders while the cold seems to come straight up through your back. Or the mat is warm enough, but every time you turn over an elbow lands on the tent floor. Neither problem is much fun at three in the morning.
We've spent about 60 nights on the Exped Ultra 6.5R and 90 consecutive nights on two NEMO Roamers. Those experiences give us useful examples of a compact backpacking mat and a much more substantial camping mattress. The buying advice below also draws on technical guidance from the manufacturers.
The choices we'd narrow down first
| Your camping | What we'd look for | What we'd check closely |
|---|---|---|
| Walking to camp with everything in a rucksack | An insulated air mat with enough room to sleep naturally | Complete packed weight, width and repair kit |
| Camping beside the car for several nights | A broad, foam-filled self-inflating mattress | Rolled size, effort to pack and storage at home |
| Sleeping on your side | Support that lets the hip and shoulder settle without reaching the floor | Comfort at your preferred firmness, including near the edges |
| Frost, frozen ground or snow | A higher ASTM R-value, with a foam layer considered as part of the setup | Insulation underneath as well as the sleeping bag above |
| Two people sharing a small tent | Mats whose actual inflated outlines fit the floor | The narrow foot end, usable width and space beside the walls |
Warmth and cushioning are separate jobs
Your weight compresses the sleeping bag beneath you, reducing the loft that normally traps warm air. The mat supplies much of the insulation under your body. Therm-a-Rest explains that ground contact can draw heat away even when the bag above you is well insulated. [1]
Thickness tells you how far the sleeping surface stands above the floor. The R-value tells you how well the mat resists heat passing through it. A thick air chamber without much insulation and a thinner insulated mat can therefore behave very differently on cold ground.
We'd keep the sleeping bag, mat and overnight clothing in the same buying decision. NEMO's sleep-system guidance makes the same distinction between the loft above the sleeper and the structured insulation below. If the trip is cold enough to need a warmer bag, look at the mat's insulation at the same time. [2]
Making sense of R-values
A higher R-value means greater resistance to heat flow. Look for a figure tested to ASTM F3340, the sleeping-mat test standard, so you're comparing insulation measured using the same method. The mat sits between controlled hot and cold surfaces during the test; the energy needed to maintain the temperature is used to establish its thermal resistance. [1] [2]
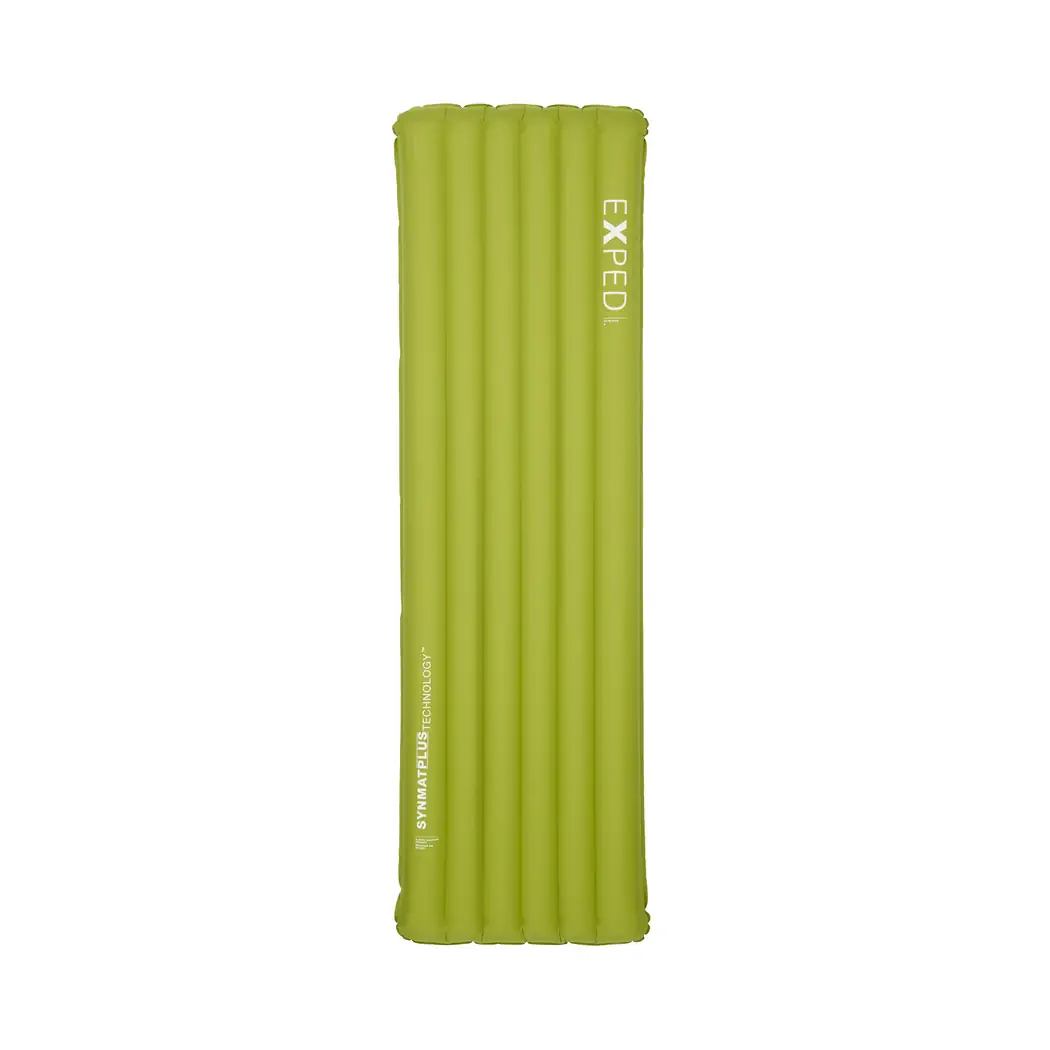
Use the published specification rather than guessing from the model name. The Exped Ultra 6.5R in our review, for example, has a stated ASTM R-value of 6.9. EXPED lists synthetic microfibre insulation and reflective foil inside it. Those are doing a different job from the air that keeps a hip off the floor. [9]
For shopping, we'd use the following as a fairly generous starting point, then adjust upwards for someone who sleeps cold or regularly camps on colder ground:
| Conditions we are planning for | The R-values we'd begin looking at |
|---|---|
| Warm, low-level summer camping | Around 2 or higher |
| Mixed three-season trips with cool nights | Around 4 or higher |
| Repeated frosty nights and colder shoulder-season camps | Around 5 or higher |
| Winter trips on frozen ground or snow | Around 6.5 or higher, including a stacked setup where appropriate |
Those are our shortlist preferences. Sea to Summit's sleep-system guidance describes R1-2 for summer, R3-4 for cooler weather and R5 or more for winter; EXPED recommends at least R6.5 for its all-season use. We favour the warmer end when buying one mat for varied trips. [3] [9]
A seasonal label leaves out some useful detail. A summer camp high in the mountains can have much colder ground than a sheltered low-level pitch. Sea to Summit points out that weather forecasts give air temperature, while the surface beneath the mat can be colder, and gives frost-based guidance for that reason. We'd avoid converting an R-value into one exact overnight air-temperature limit. [4]
You can also use a well-insulated mat on warmer trips. It produces no heat of its own. Sea to Summit explains that it resists heat transfer between you and the ground; a higher R-value doesn't automatically make a summer night too hot. Venting the sleeping bag gives you a much easier way to release excess warmth. [5]
Air, self-inflating or closed-cell foam
The construction changes how the mat feels, how it packs and how you deal with damage. Sea to Summit separates the main options into air-filled mats, self-inflating mats with an open-cell foam core, and closed-cell foam. [6]
Air mats for carrying to camp
These pack down small because most of their volume is air added at camp. Internal insulation can make them suitable for cold conditions without the bulk of a foam-filled camping mattress. We'd usually look here for backpacking, bikepacking and trips where the sleep kit has to share a small bag with everything else.
The surface can feel springy, and the arrangement of tubes or cells affects how stable it feels when you turn. Try rolling towards an edge as well as lying still in the middle. A narrow, rounded edge that collapses under an elbow can make the usable bed feel smaller than its listed width.
Self-inflating mats for a more mattress-like feel
Open the valve and the foam expands, drawing air into the mat. A top-up is often needed to reach the firmness you want. Sea to Summit describes that expanding open-cell core in its construction guidance. [6]
A substantial foam core gives the surface a more supported feel. Our Roamers were comfortable for 90 nights, especially for side and front sleeping, but the rolled mattresses occupied a lot of space. We'd happily accept that beside the car. Carrying two of them more than 10 km was a job we'd rather avoid repeating on every trip.
Closed-cell foam for a simpler setup
A folding or rolled foam mat has no valve to open and no sealed air chamber to lose its inflation. It is quick to throw down for a stop and useful beneath an inflatable. Enlightened Equipment describes closed-cell foam as a durable, relatively inexpensive option, with bulk as its main packing drawback. [7]
The harder sleeping surface is the sticking point for many side sleepers. We'd spend a proper stretch lying on one before deciding to use it alone for a week. It may make more sense as an extra insulating and protective layer beneath a more comfortable air mat.
Comfort comes from support, width and firmness
A mat can look wonderfully deep when nobody is on it. Lie down in your normal sleeping position and see what happens beneath the shoulder and hip. If either reaches the ground once the mat is adjusted to a comfortable softness, that particular combination of thickness and construction isn't giving you enough support.
We'd begin by inflating it fairly firmly, then release small amounts of air while lying down. Keep enough support under the pressure points, but let the surface give a little. A drum-tight mat often feels less comfortable than the same mat adjusted with your weight on it.
Adam is 6ft tall, weighs 75 kg and sleeps on his side. On the 9 cm-deep Exped Medium, he could soften the mat without his hip or shoulder reaching the ground. The lengthways tubes and raised outer chambers also helped him stay settled. Read our Exped Ultra 6.5R review for that 60-night experience.
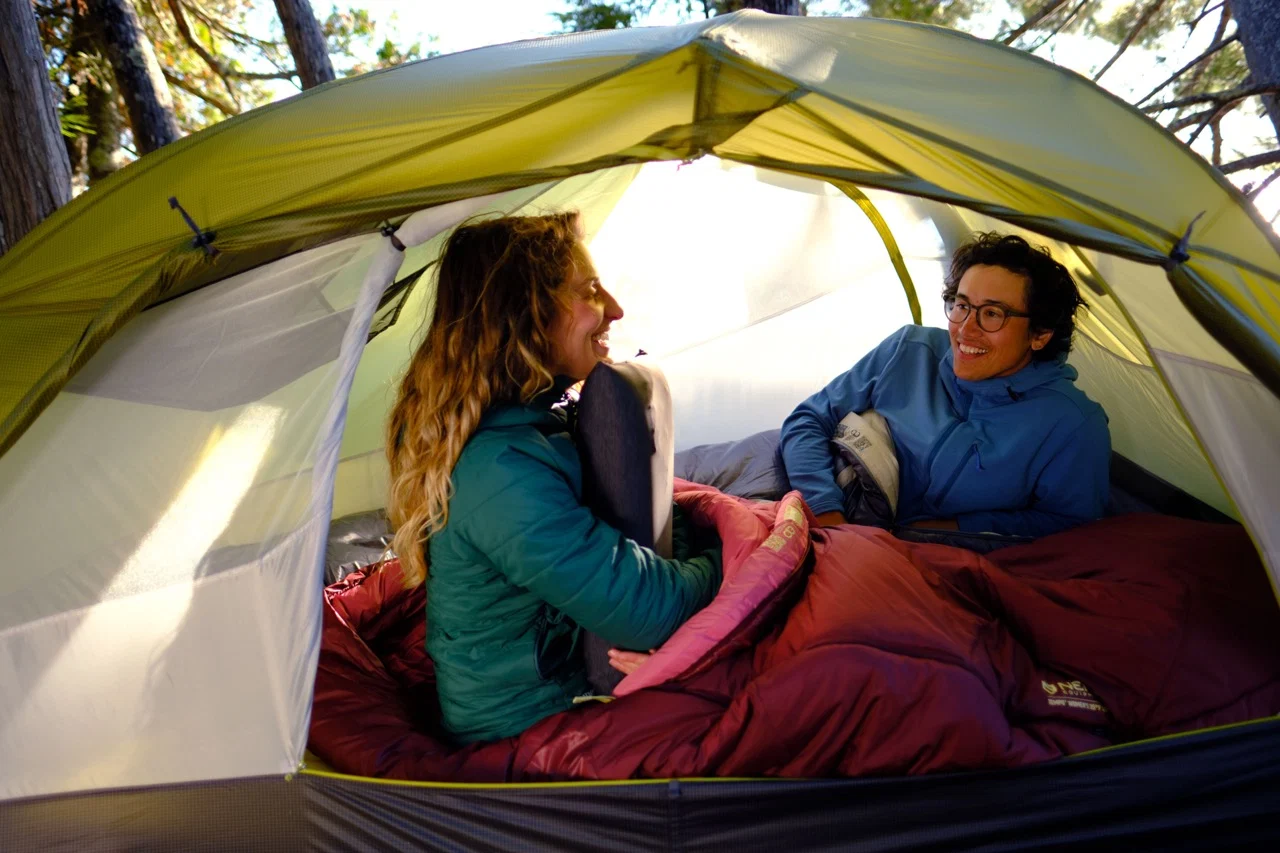
The 10 cm Roamer felt different: its foam-backed surface had less of the hollow bounce of a basic air bed, and the stretch top was soft and quiet. Both sleepers could settle onto their sides and fronts without bottoming out. Our NEMO Roamer review covers the 90-night test.
Noise deserves a try too. Roll over in the clothes or sleeping bag you'd use, rather than judging the mat by pressing a hand into it. Listen for rustling and check whether the fabric slips against the bag. Both reviewed mats were quiet enough that turning over stopped being something we thought about.
Choose the sleeping space before chasing the lowest weight
Length and width deserve separate decisions. Therm-a-Rest, for example, offers regular-length mats in both standard and wide versions. You can gain room across the shoulders without automatically buying extra length you don't need. Its sizing guide describes common widths of 20 inches and 25 inches, about 51 cm and 64 cm. [8]
For a straightforward full-length setup, allow room for your head, body and feet while lying naturally, including where the pillow sits. We'd then check the width while on our backs, on our sides and with a knee drawn up. If an arm keeps falling off or a turn requires careful positioning, we'd try the wider version.
Adam fitted the Exped's 183 cm length comfortably, but its 52 cm width is a fairly lean bed. Someone who likes sleeping with both elbows out may value a wider mat more than a small saving in packed weight. A tapered or mummy shape trims material around the legs; a rectangle leaves more room to move there.
A short, torso-length mat saves weight by leaving your lower legs supported by something else. Enlightened Equipment discusses using a pack or separate foam section there. We'd reserve that approach for campers who already know they sleep comfortably with it, especially when cold-ground insulation needs to cover the full body. [7]
Check the narrow end of the tent
Two mats that look sensible in a shop can be an awkward fit inside a tapered tent. Add their inflated widths, then compare that with the floor along its length. Two 65 cm rectangular mats need 130 cm across at both ends; a floor narrowing to 110 cm at the feet can't take that pair flat.
Leave room for the mattresses' sidewalls and for the sleeping bag to loft without being pushed against a damp inner. In a low, sloping tent, adding a thicker mat also lifts your head and feet closer to the fabric. We'd put the actual inflated mats inside the pitched tent before committing to the combination.
This was a practical constraint in our Big Agnes Copper Spur UL2 review. The extra space was lovely for one person, while the narrowing foot end became much more noticeable with a second sleeper. A mat's width can change whether a two-person tent feels comfortable to share.
A double mattress or two linked Singles
A double gives you one continuous sleeping surface, while separate Singles let each person set their own firmness. They can also be divided between two packs or used independently on a solo trip. The seam between them is the tradeoff, along with finding a way to keep the pair together.
We used two regular Roamer Singles throughout the Quebec test. Their built-in toggles kept them aligned when both sleepers turned over, and we liked being able to adjust each side separately. The join remained noticeable, but it never opened into a gap that needed sorting during the night. NEMO specifies connecting toggles and loops on the Single and Single Wide models. [10]
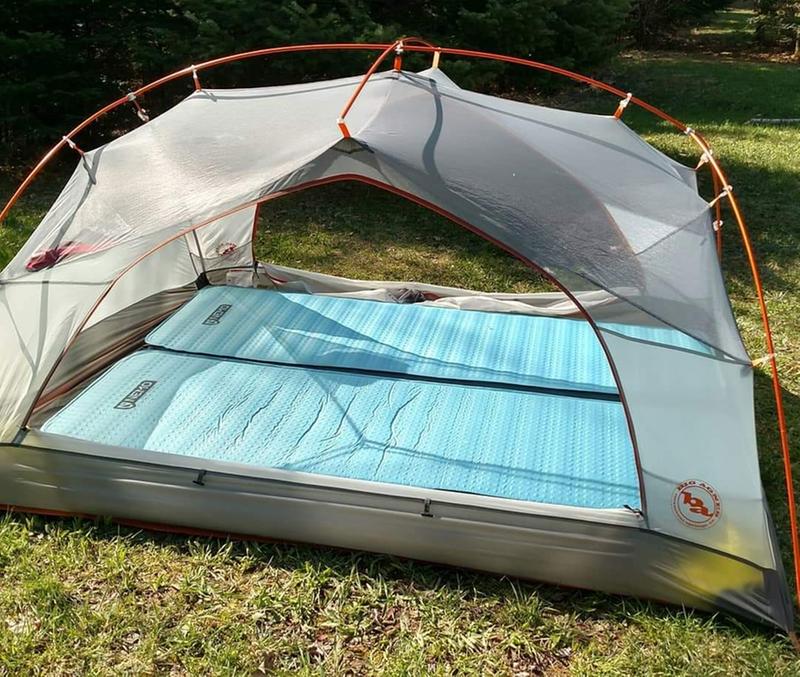
For a car-camping couple, we'd compare the complete setup: both mats, their bags, the space available in the boot and somewhere to store them unrolled at home. A large double also needs space to manoeuvre when rolling it up inside a small tent.
Compare the packed kit as well as the mat
An insulated air mat is usually the easier thing to fit inside a backpack. Sea to Summit notes the typical weight and packed-volume advantage over a foam-filled self-inflating mat. The difference becomes obvious when you put a compact backpacking pad beside a thick camping mattress. [6]
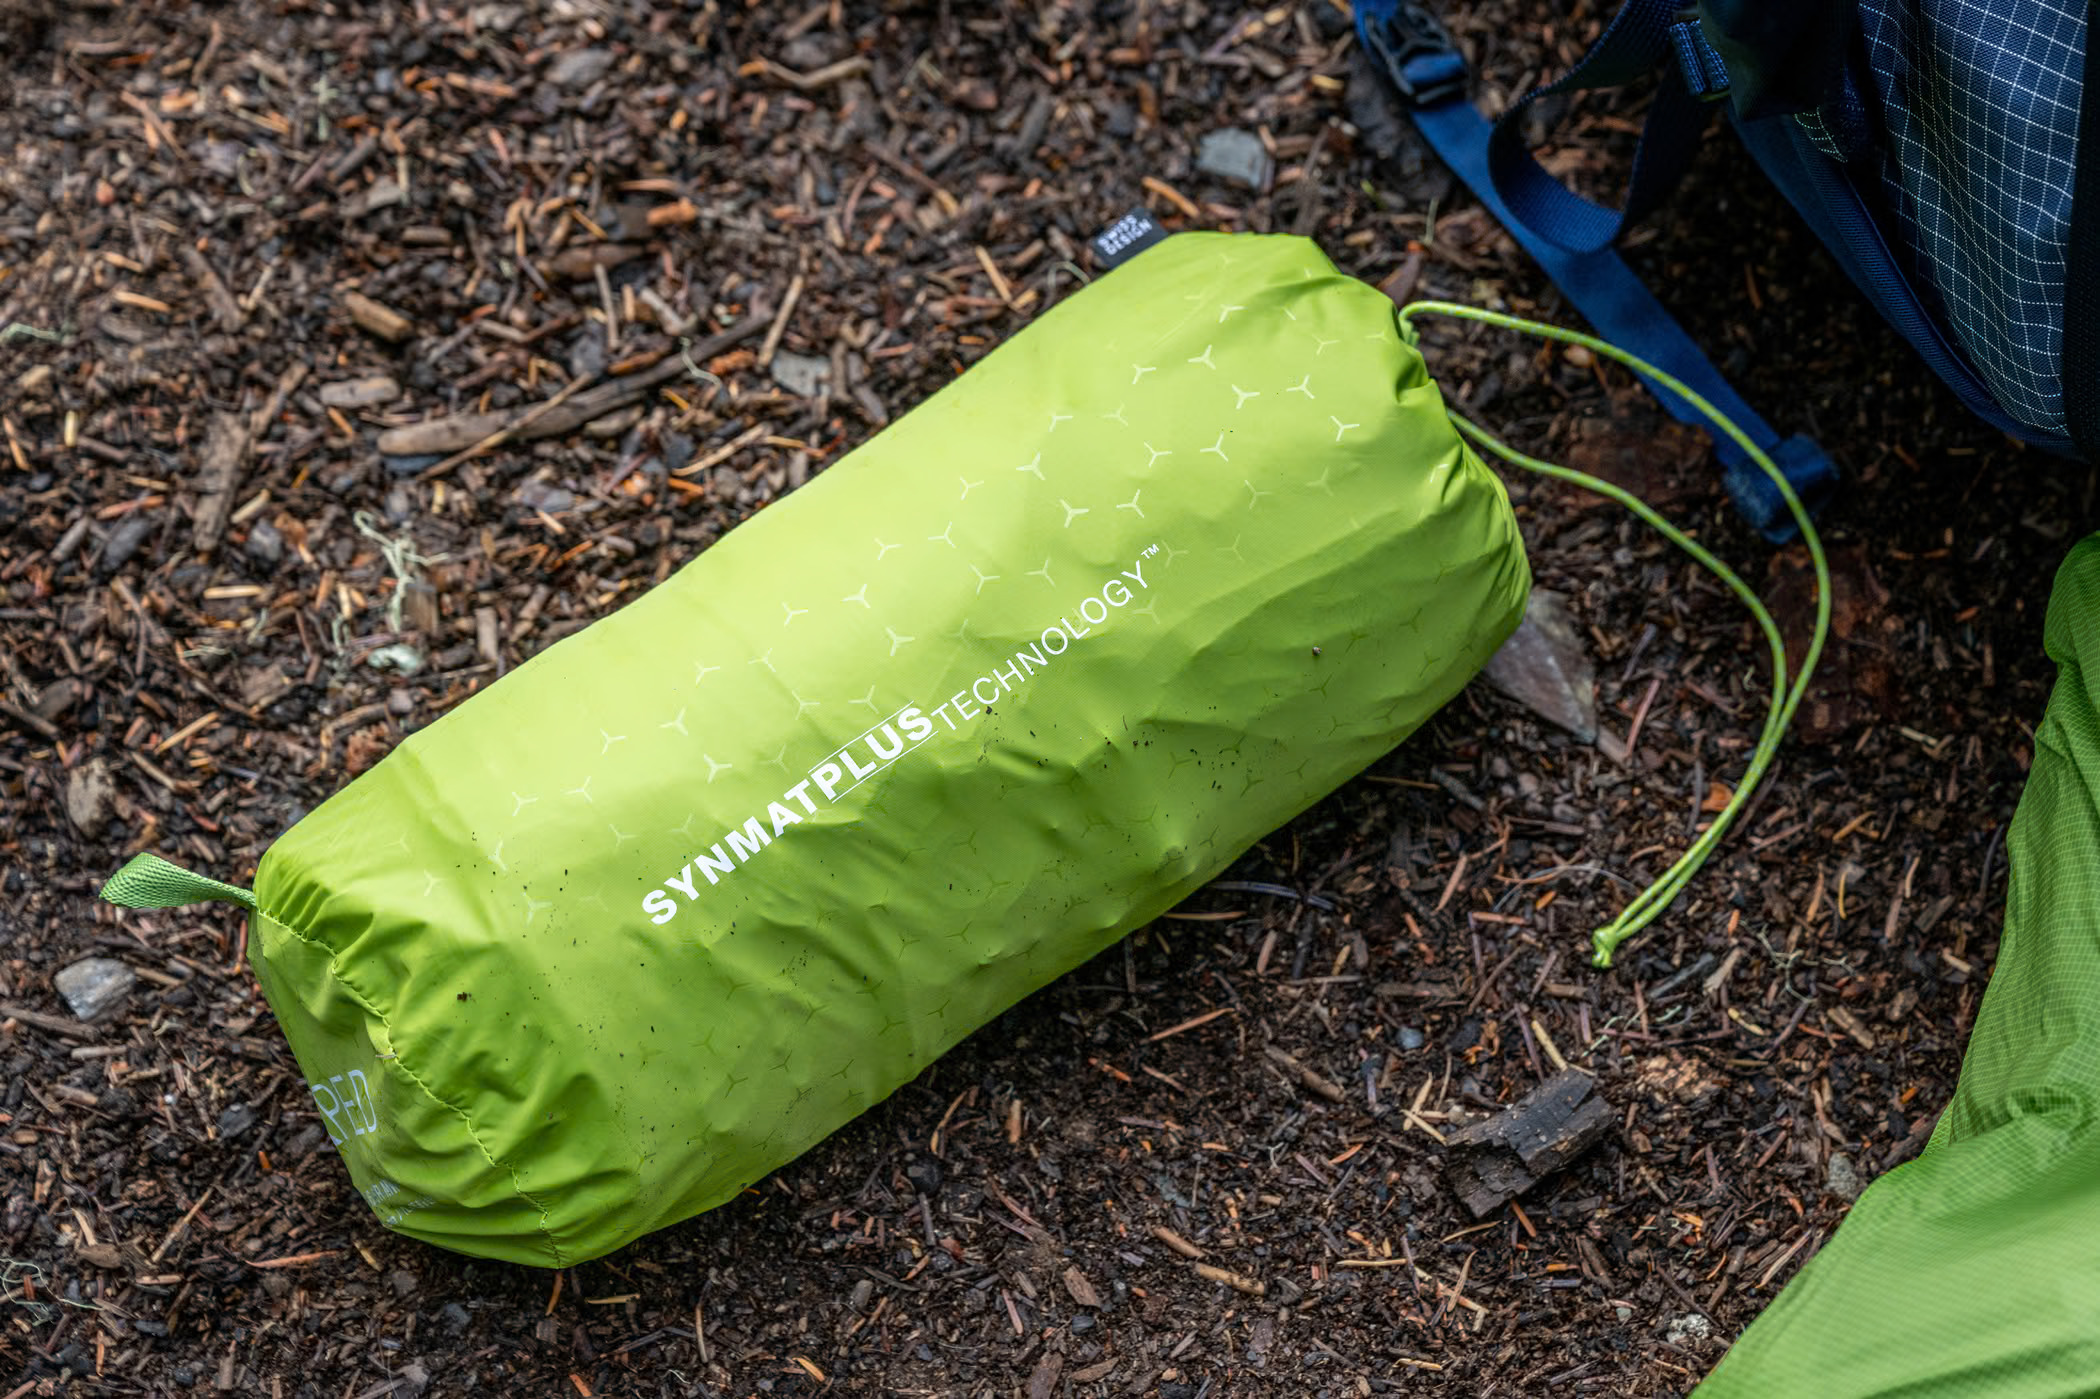
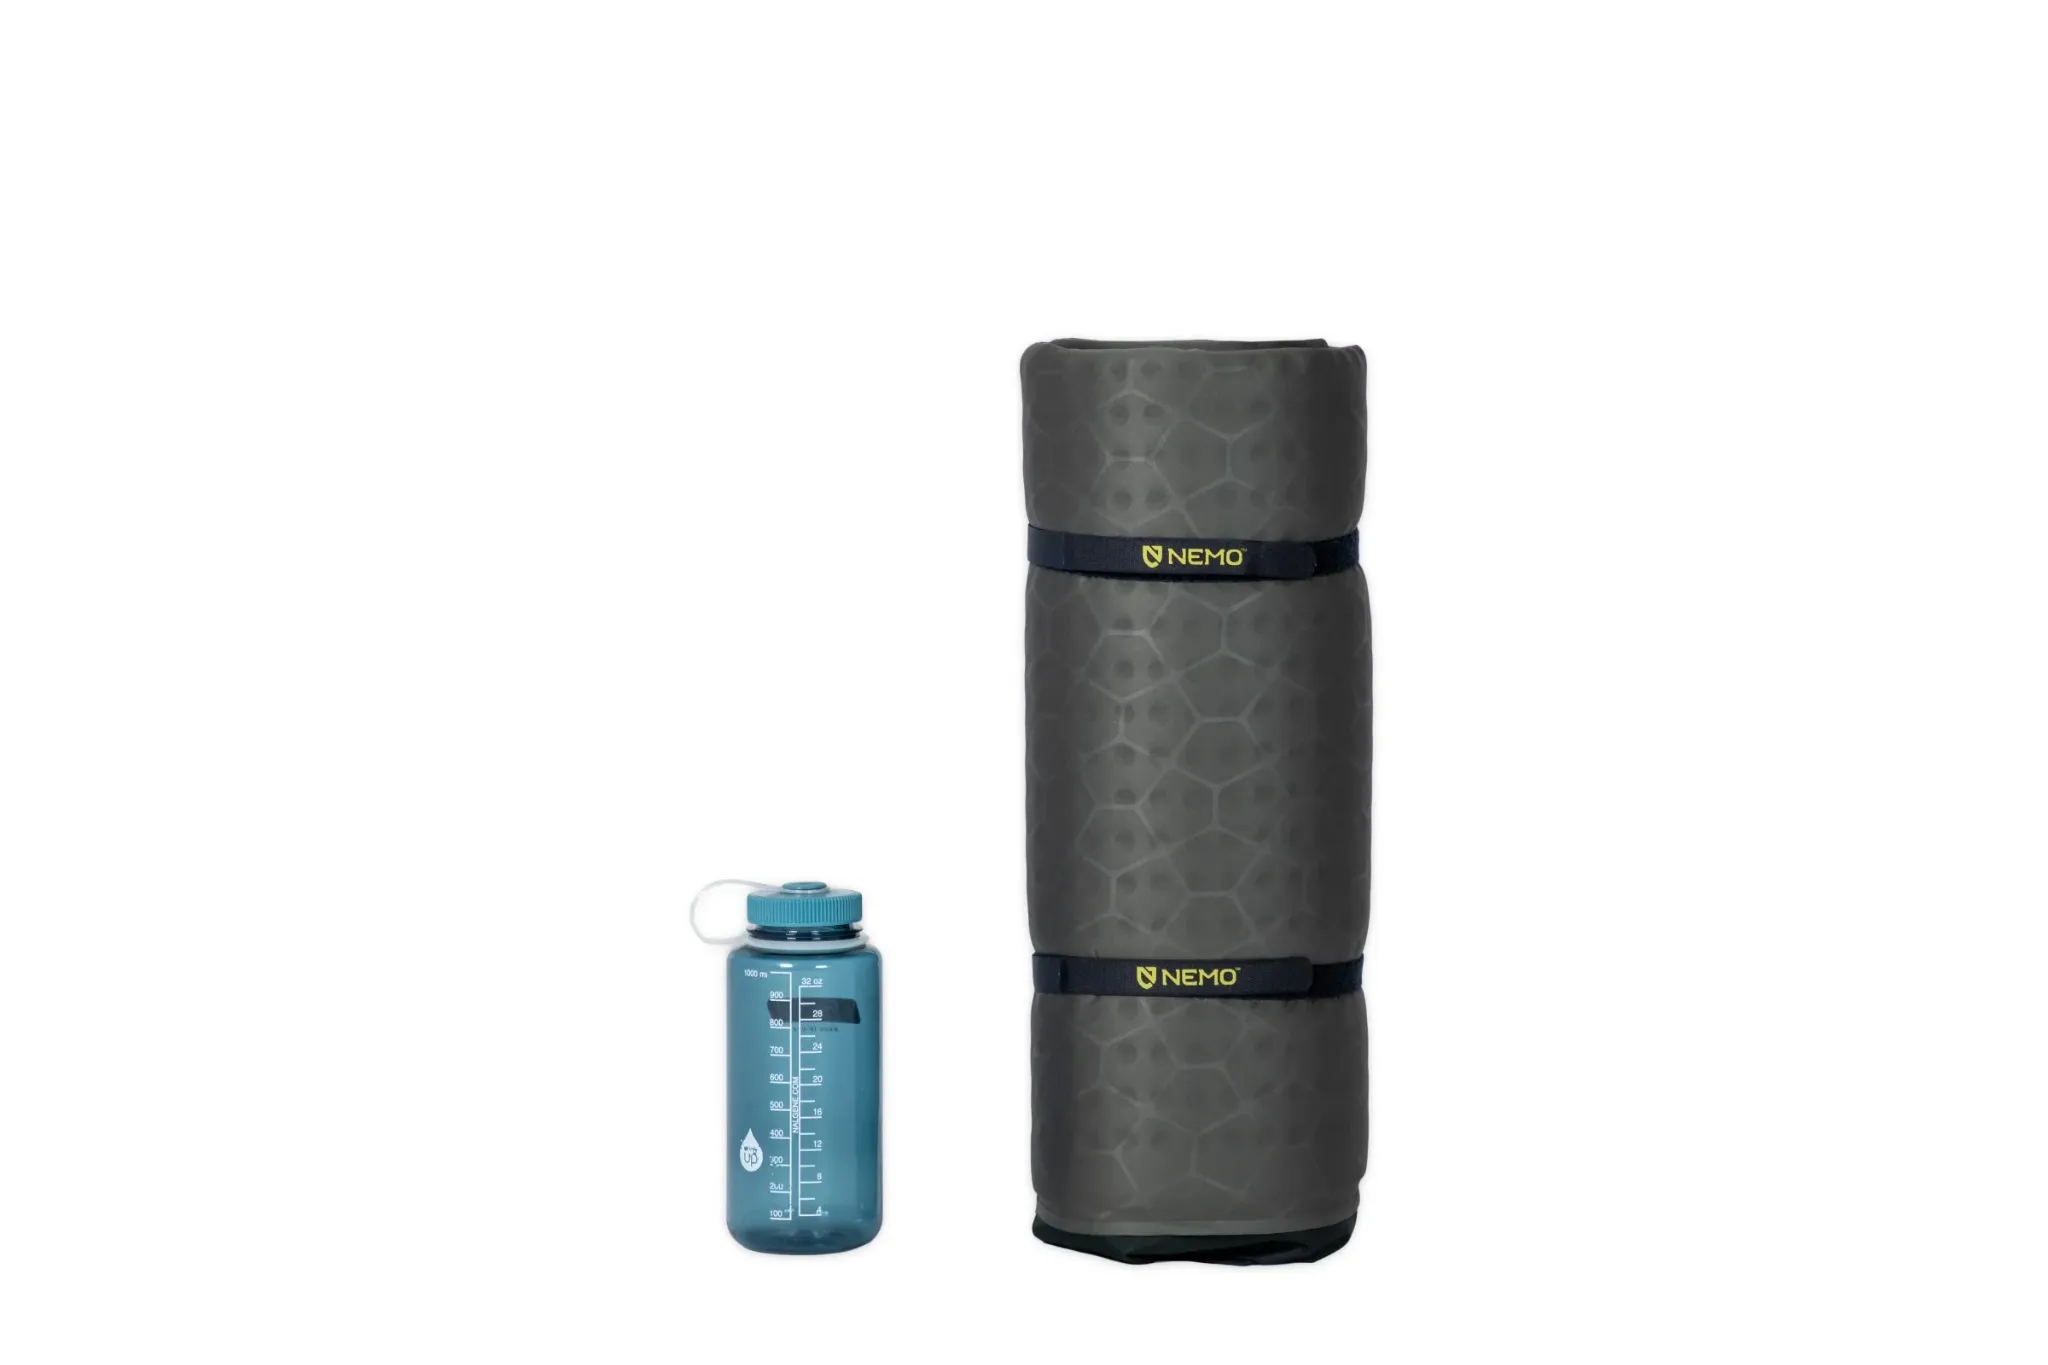
Compare the same size and the same level of insulation, then count the pump sack, stuff sack, straps and repair kit you plan to carry. A headline minimum weight can leave those pieces out. Packed dimensions are useful too: a light foam roll strapped outside a pack and a compact air mat inside it create different packing problems.
Our Exped rolled to roughly the size of a one-litre bottle. Two Roamers made a comfortable bed for months but needed far more transport space. We've gone into that daily difference in our Exped Ultra 6.5R vs NEMO Roamer comparison.
If most nights begin beside the car, we'd spend more of the budget on width and comfortable support before paying to save the last few grams. If we're carrying the whole camp, we'd keep the mat compact while protecting the insulation and sleeping room we need.
Try the valves and the morning packing routine
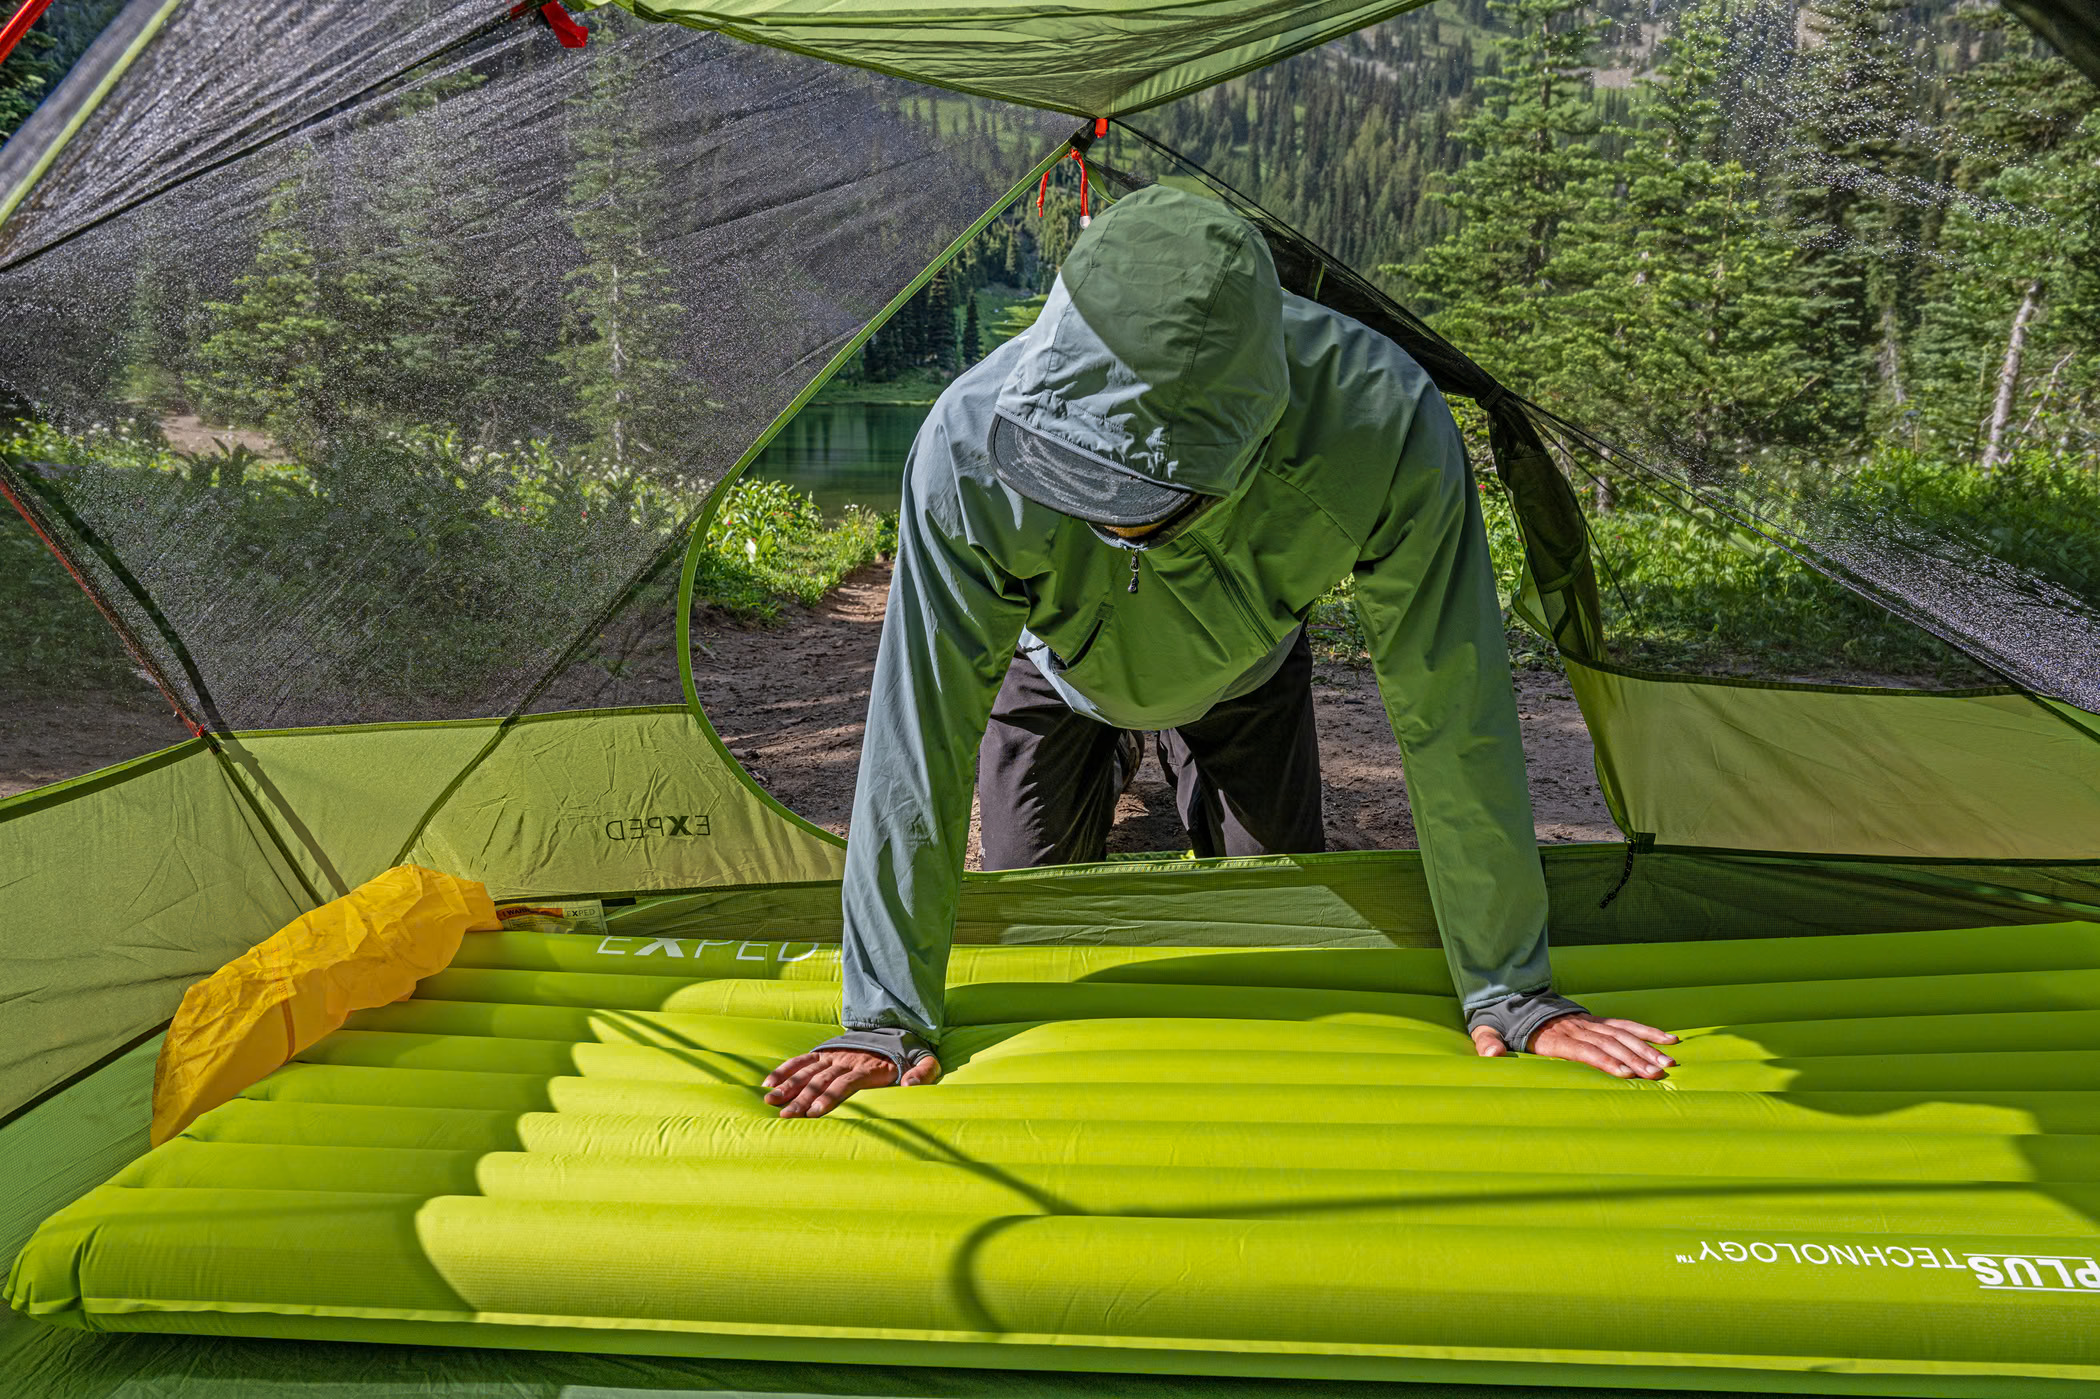
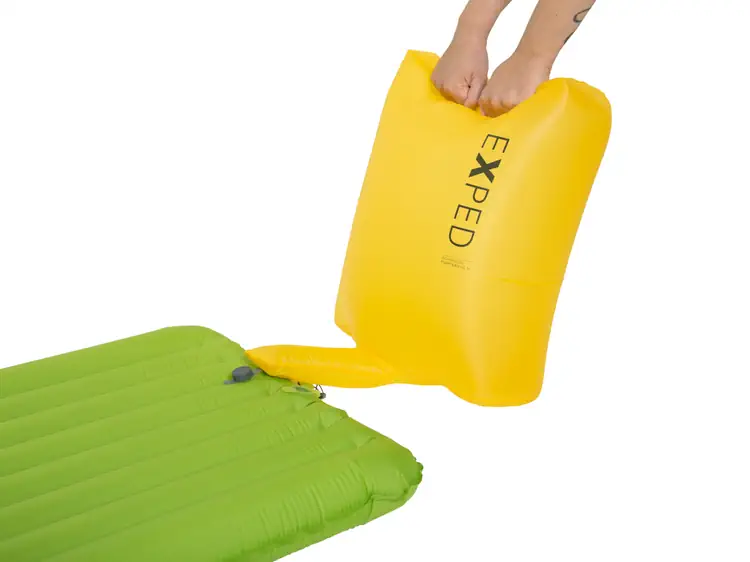
A pump sack is well worth having on a larger air mat. It moves a useful volume of air without repeated mouth inflation, and it reduces the breath moisture going inside. EXPED supplies the Schnozzel with the Ultra 6.5R; Adam usually needed about three full bags and roughly a minute to inflate his Medium. [9]
With the Roamers, opening the valves for 10-15 minutes did most of the inflation, followed by two or three pump-sack fills for a firm starting point. NEMO's low-profile valve made it easy to release controlled amounts of air while lying on the mattress. [10]
Check how inflation, fine adjustment and deflation work on the model you're considering. We'd want to soften it without accidentally dumping half the air, then empty it without it drawing air back in while rolling. Try doing that inside the tent, where catching a big pump sack full of air can be more fiddly.
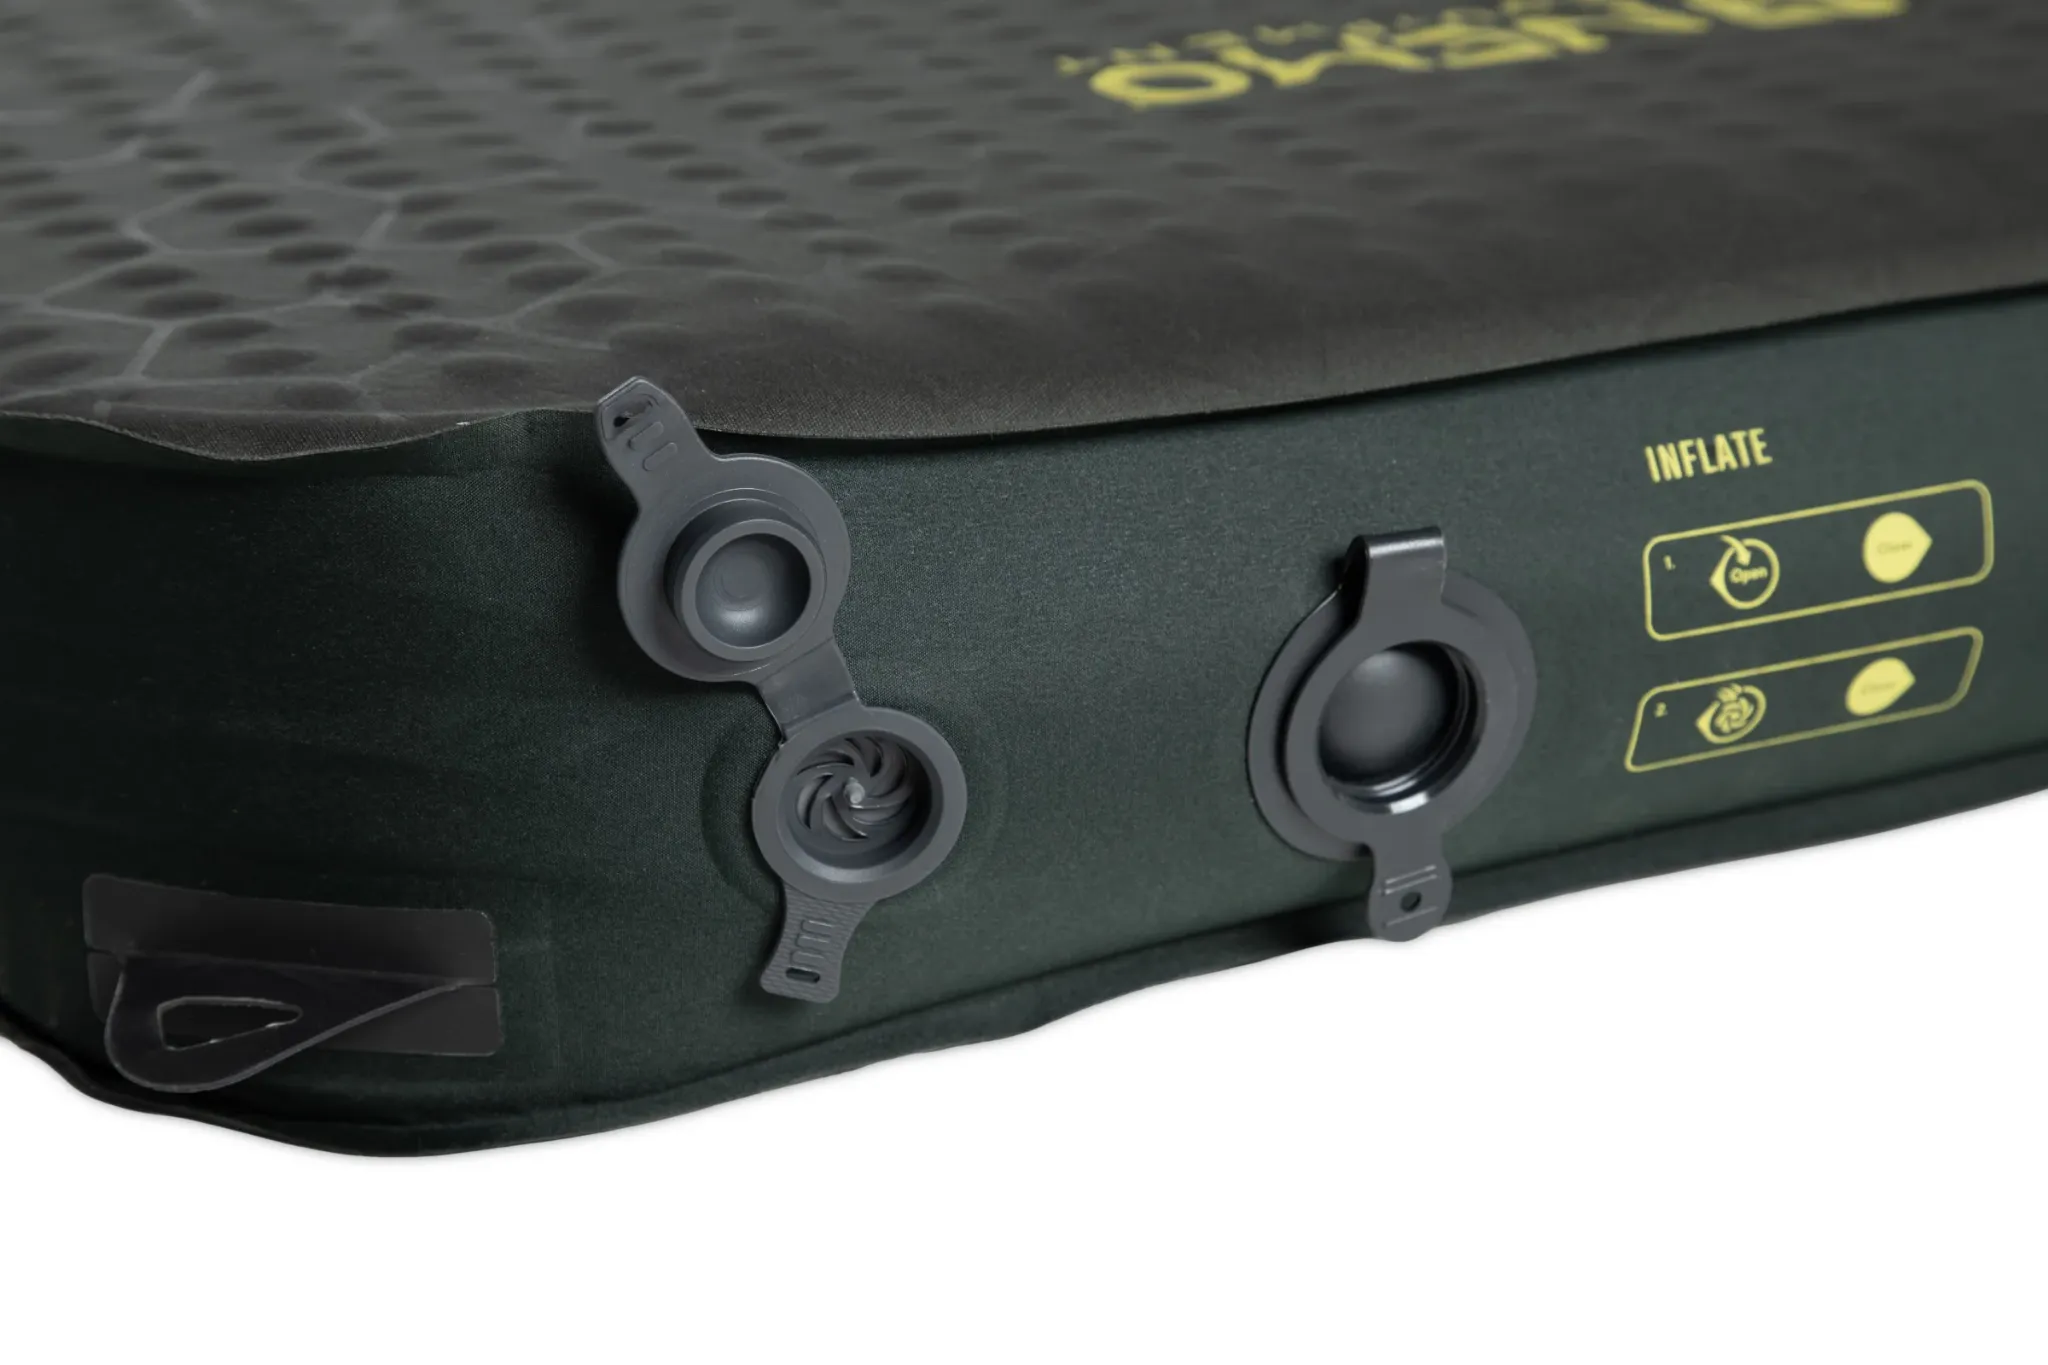
Then put it back in its bag yourself. Our Roamers needed a deliberate compress-and-roll routine, using knees and body weight to remove the final air. A self-inflating mat is convenient at bedtime, but the foam still has to be compressed in the morning. That is worth trying before buying one for a trip with a move every day.
Using two mats for more insulation
R-values add when mats are stacked. An R4 air mat over an R2 foam mat gives a nominal combined R6. That can make a foam pad a useful addition to an existing setup for colder trips, rather than replacing the inflatable immediately. Sea to Summit and Therm-a-Rest both explain the additive approach. [5] [11]
We'd normally put the closed-cell foam underneath, where it also separates the inflatable from small abrasive bits on the tent floor. Therm-a-Rest recommends that arrangement as an insulating and protective layer. [11] Check that the combined height still leaves room in the tent and that the sleeping bag or quilt attachments fit around it.
The foam also leaves you with something to sleep on while an air-mat repair cures. Choose the full combination for the temperatures expected; an inflatable losing its air leaves only the insulation and cushioning of the remaining foam layer.
Build repairability into the choice
Light fabrics need more deliberate handling. The Exped's 20D ripstop shell kept the packed size down and survived Adam's 60-night test without a puncture. He used a tent floor or footprint beneath it and kept sharp equipment away from it. We'd pack a lightweight air mat where stove parts and knife points can't rub against it. [9]
For any inflatable, look for an available repair kit suited to its surface and construction, and find out whether the manufacturer can help with a failed valve or seam. A peel-and-stick patch and a glue repair can have very different waiting times. Our sleeping-mat puncture and valve guide explains compatible materials, slow-leak tests and curing.
Storage is part of ownership too. EXPED recommends keeping the mat rolled out with both valves open in a cool, dry place. [9] A thick foam mattress needs more space for that than a compact backpacking mat, so we'd sort out where it will live between trips before bringing home a pair.
The checks we'd make before keeping it
- Lie on it for more than a quick sit. Use your usual sleeping positions, adjust the firmness and check your hip, shoulder and elbows.
- Turn over and move towards an edge. Feel how much of the listed width supports you and listen to it against your sleeping bag.
- Put it in the pitched tent. Include the other sleeper's mat, pillows and bags. Check both the floor width and the headroom above the mattress.
- Inflate, adjust and repack it. Use the supplied pump bag and stuff sack so you know the whole routine.
- Give it a night at home before the trip. That is a useful opportunity to catch an awkward valve, a slow leak or a bed you dislike after a few hours.
For backpacking, we'd usually choose an insulated air mat wide enough to sleep on naturally. For a camp beside the car, we'd give a foam-filled mattress more space and weight in return for the comfort. Once the insulation suits the trip, a little extra width often earns its place every time you turn over.
Sources and further reading
Manufacturer guidance and our field reviews
Technical guidance checked on 3 November 2026. The R-value shortlist is our buying preference, informed by the manufacturer guidance linked below. Comfort, packing and test-night observations come from our Exped Ultra 6.5R and NEMO Roamer reviews.
- Therm-a-Rest: thermal resistance and heat loss into the ground
- NEMO: ASTM F3340 and the complete sleep system
- Sea to Summit: seasonal insulation guidance within a sleep system
- Sea to Summit: ground temperature, frost and mat ratings
- Sea to Summit: R-values, stacking mats and warm-weather use
- Sea to Summit: mat construction and packed size
- Enlightened Equipment: foam, self-inflating and air mats
- Therm-a-Rest: choosing mat length, width and shape
- EXPED Ultra 6.5R: insulation, fabric, pump bag and storage
- NEMO Roamer: foam construction, valves and connecting Singles
- Therm-a-Rest: layered mats and closed-cell foam