A hot meal after a wet day is a pretty good argument for carrying a camping stove. So is coffee when you’ve just crawled out of a sleeping bag. They’re dependable bits of kit on the whole, but they also get covered in grease, boiled-over porridge and whatever else ends up in the bottom of a cooking bag. It’s easy to put one away after a trip and leave all of that for next time.
Fortunately, looking after a stove doesn’t usually involve much work. Clearing up spills and letting it dry properly will take care of a lot. Beyond that, the useful jobs depend on what you’re cooking with. A little gas burner mostly needs external cleaning, while a liquid-fuel stove has a pump, seals and a jet that need occasional servicing.
A change in how it runs deserves more attention. A weak flame might be a blocked burner, but it might also be a cold canister. A failed igniter can be annoying without putting the stove out of action. Those are the sort of problems we’ll work through here.
Why gas burners usually need less servicing
A small screw-on gas burner has relatively few parts to maintain. Most of the work is external: spills around the burner head, dirty connections and the condition of its sealing gasket. Getting inside the control valve is a job for the manufacturer’s repair service.[9]
Liquid-fuel stoves are often designed for more hands-on maintenance. The jet can be removed for cleaning, the pump cup lubricated and worn seals replaced. That makes them repairable, but the parts and procedure belong to the particular model. A WhisperLite service kit and an assortment of O-rings from the garage aren’t interchangeable.
Larger gas cookers sit somewhere between the two. There’s usually more you can remove to reach the grease and food underneath, while the regulator and fuel controls stay assembled. If you’re weighing up the different formats, our camping stove buying guide goes through their advantages in use.

How often a stove needs attention
A stove used for boiling water on occasional weekends has a much easier life than one frying dinner every night. I’d deal with spills as they happen and leave the more involved cleaning for home, where there’s room to spread the parts out and let them dry.
Coleman recommends cleaning after boilovers and before annual storage. Camp Chef suggests a thorough clean once or twice a year. For a liquid-fuel stove, hours of use and fuel quality give you a better guide than the calendar: MSR’s cleaning intervals get shorter as the fuel gets dirtier.[1] [2] [3]
| Manufacturer | Cleaning or service interval | What that means in practice |
|---|---|---|
| Coleman | After boilovers, when dirty and before annual storage. | A messy cooking trip may bring the next clean forward. |
| Camp Chef | Thorough cleaning once or twice a year. | Clean accumulated grease sooner if you’re cooking regularly. |
| MSR liquid-fuel stoves | Jet and line cleaning at about 40 hours with white gas; 20 with good-quality kerosene or 10 with poorer-quality kerosene. | Fuel must be approved for the model. A long trip can reach these intervals quickly. |
| MSR liquid-fuel pumps | Annual maintenance. | Check sooner if the pump starts losing pressure or feels different. |
MSR gives the pump its own annual maintenance routine, separate from cleaning the burner.[4] If you use a stove heavily, it’s worth keeping a brief note of the fuel, approximate hours and any parts changed. That’s much more useful when a problem appears than trying to remember whether you serviced it before last summer or the summer before.
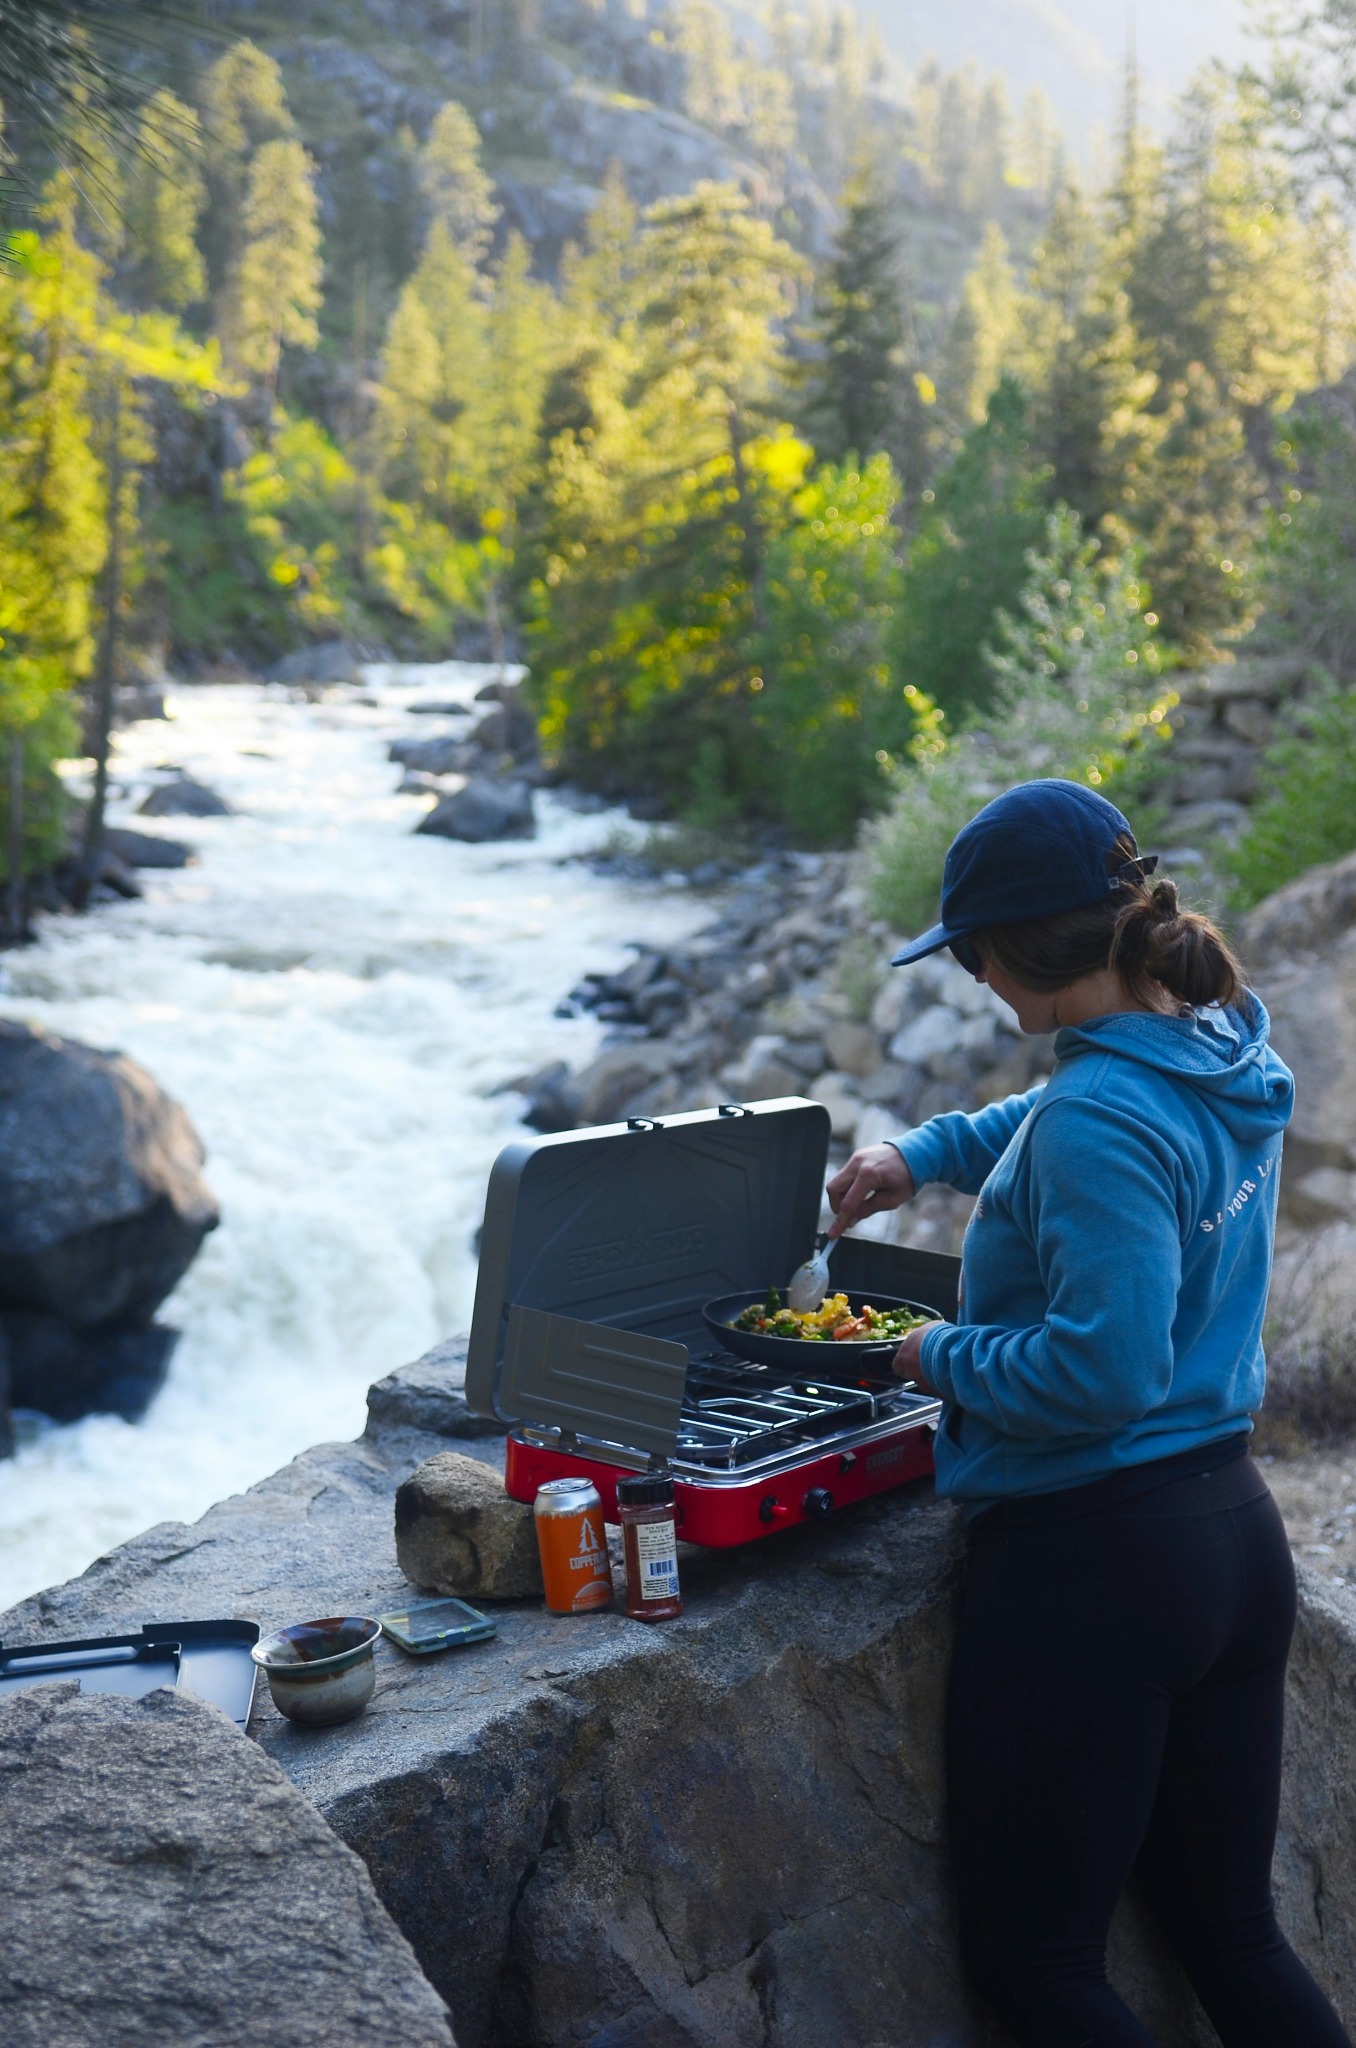
Spilled food is easier to remove before it dries
Porridge and sauce have a habit of getting into the awkward bits around a burner. Once it’s cold and the removable fuel supply is disconnected, wipe away what you can with a cloth and warm, mildly soapy water. A soft brush helps with loose crumbs. For dried-on food, give the removable tray or support time to soften in the wash water rather than scraping hard around delicate fittings.
Coleman recommends warm water and washing-up liquid, and advises against oven, engine and tyre cleaners. Those stronger products can damage paintwork or stove components.[6] There’s little to gain from reaching for them when you’re dealing with ordinary cooking grease.
A liquid-fuel stove needs its proper shutdown and depressurising sequence before you disconnect anything. Leave hot fuel fittings alone and do fuel handling outdoors, away from ignition sources.[5] After that, the campsite clean can be fairly quick. The aim is to avoid packing a layer of dinner around the burner; reaching every corner can wait until you’re home.
It’s also worth separating the greasy stove cloth from whatever you use inside your mug. Otherwise the cooker gets cleaner and tomorrow’s coffee acquires a faint taste of last night’s frying.
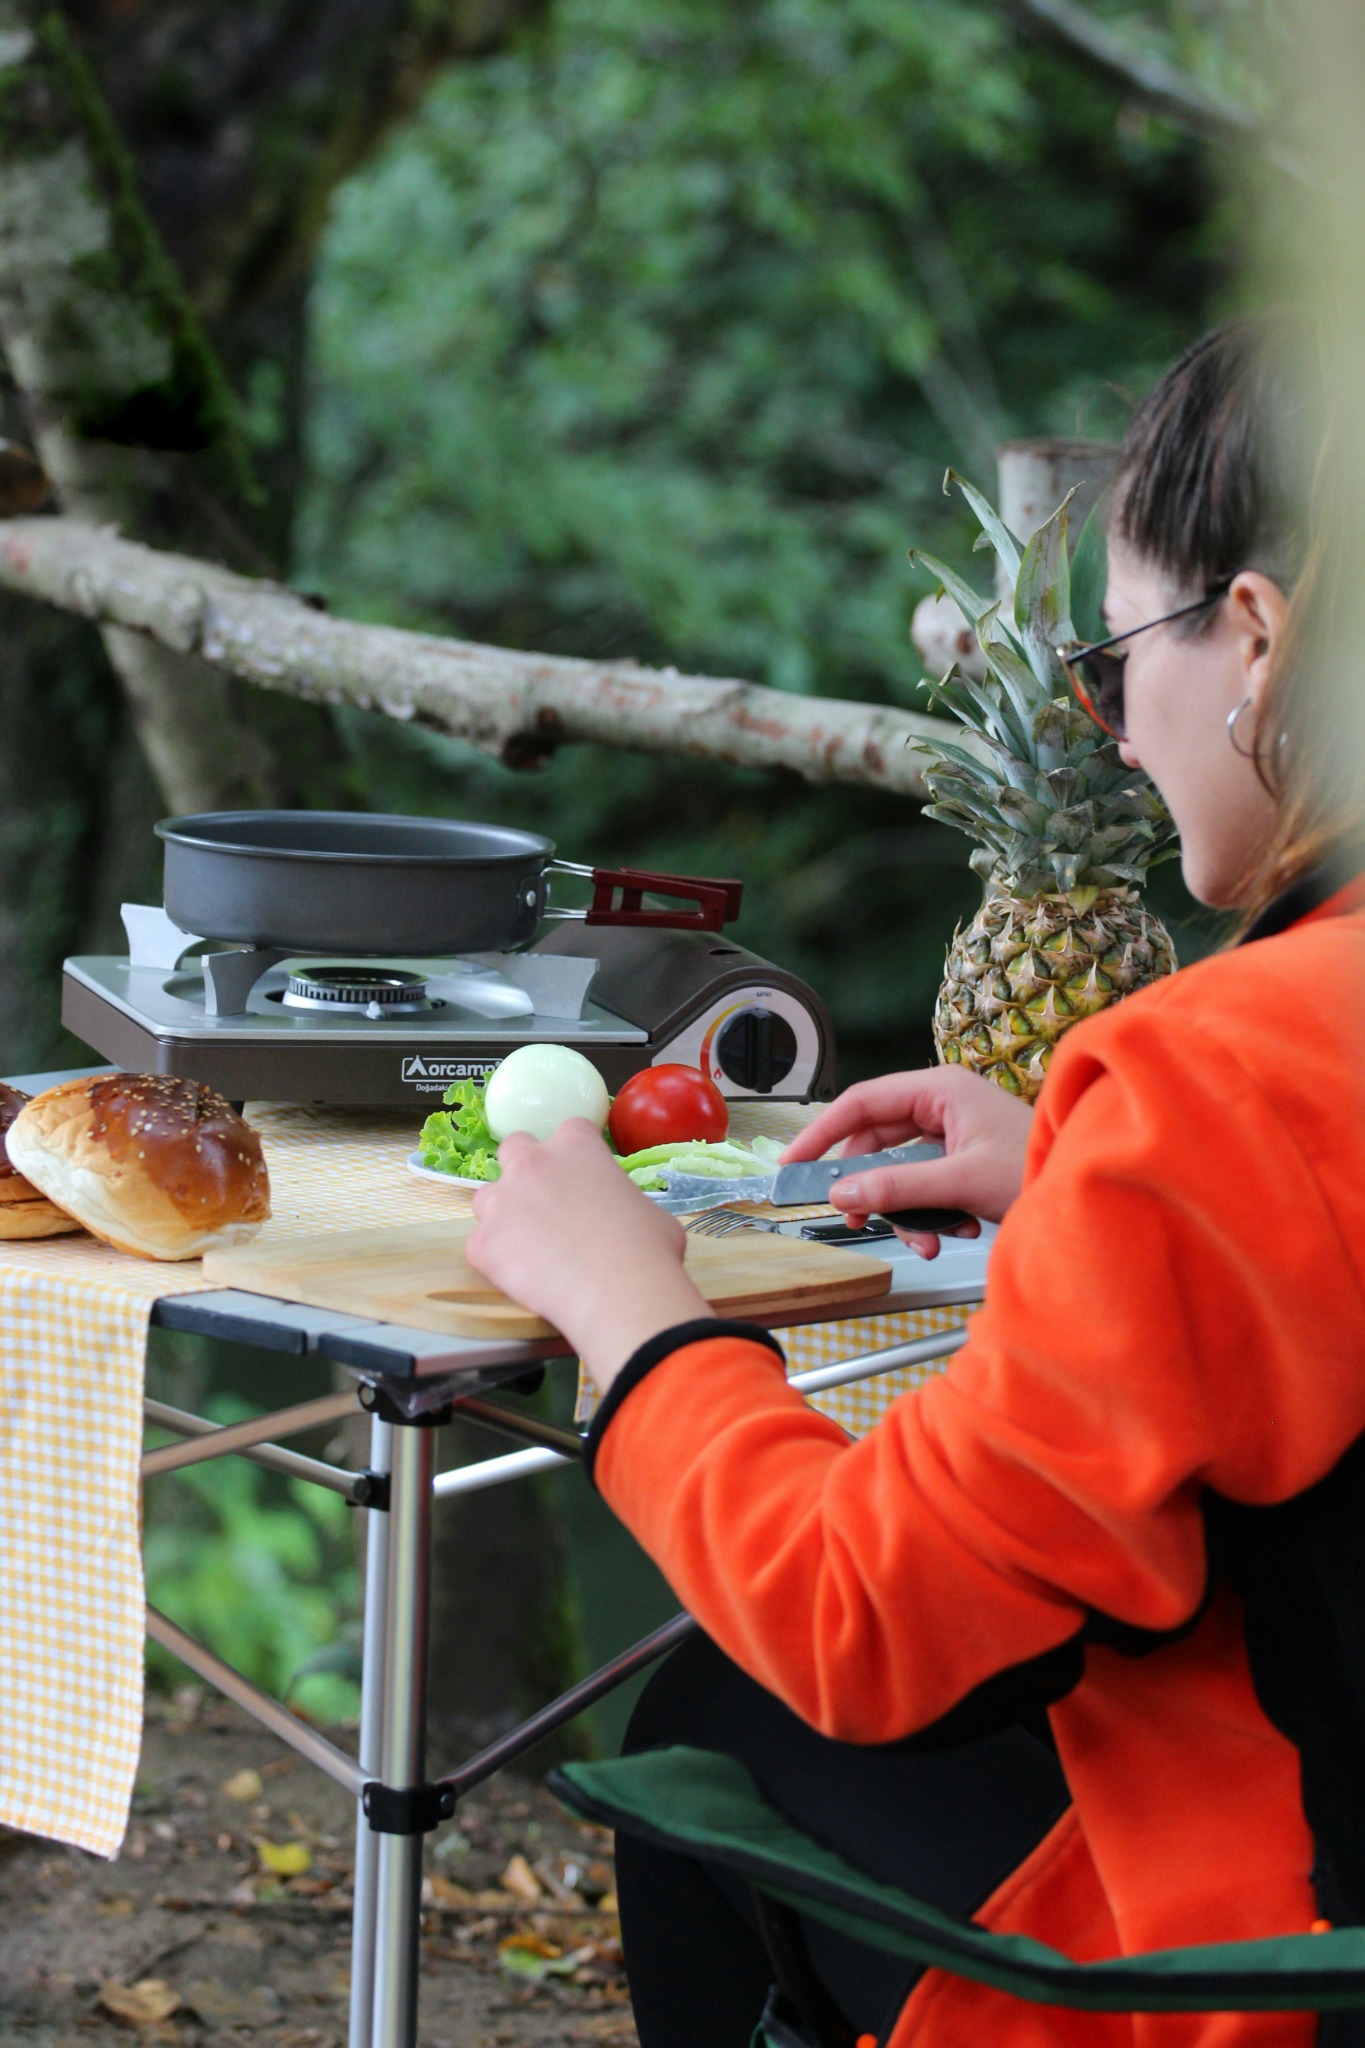
Getting underneath a twin-burner cooker
The top can look clean while the burner wells and hinges are still greasy. Lift the grate and you’ll usually see where the rest of the meal went. In our Everest 2X review, the removable grate made wiping the stainless surface easier, although the corners still needed attention.
Camp Chef also recommends a flexible venturi brush for the tubes that mix air with the gas. Insects or debris inside those passages can affect the flame, and cleaning the outside won’t reach them. Its cleaning routine has the stove cold and the hose and regulator detached before work begins.[2]
The Genesis has a useful arrangement for a more thorough clean. Its manual describes releasing the grate tabs, unscrewing the burners anticlockwise without bending the ignition electrodes, then lifting out the drip tray. The grate and tray can be handwashed in soapy water; Jetboil advises against abrasive cleaners and dishwashers.[7]
I’d keep the exploded diagram beside you the first time, because removable parts aren’t consistent across stoves. Coleman warns against taking apart and rearranging the burner rings on its liquid-fuel models: the order affects how they run.[6] Something that comes off easily on a Genesis may need to stay exactly where it is on another cooker.
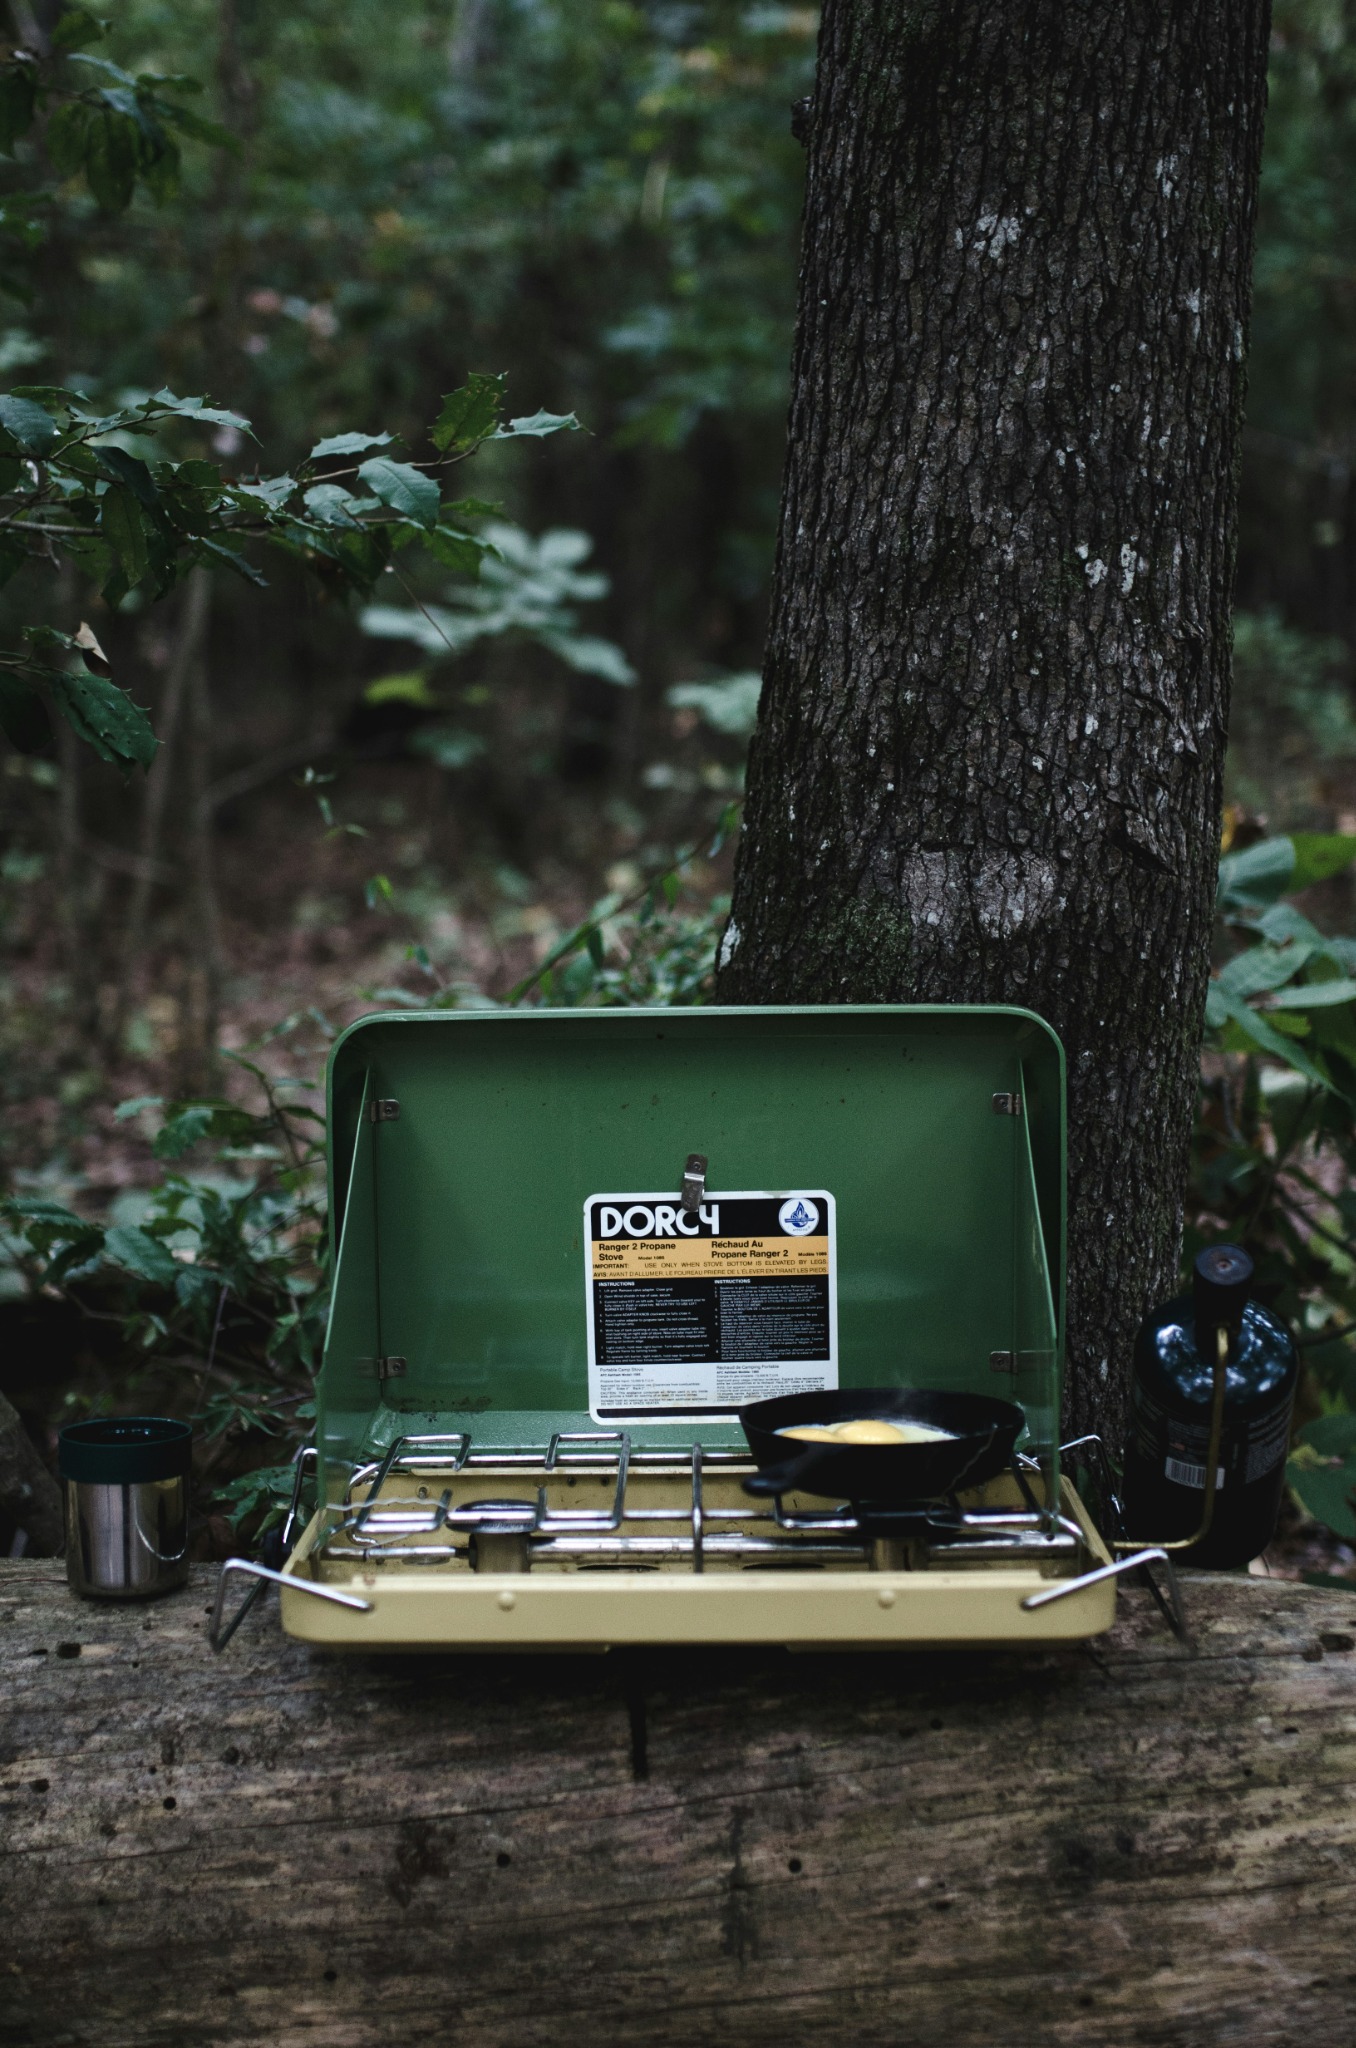
Cleaning a burner after a boilover
A small gas burner generally needs a gentler approach. Jetboil recommends a soft brush or cloth for food and dirt, keeping water out of the burner ports. A damp cloth with mild detergent can deal with stubborn residue, followed by thorough drying.[8] There’s no need to soak the assembly as part of an ordinary clean.
A proper boilover can be another story. MSR describes soaking and agitating a badly fouled burner head, then allowing roughly a day in a ventilated place for the internal moisture to dry.[9] So there’s a difference between a quick clean before packing and recovering a burner that’s had a pot of food emptied through it.
If yours needs that recovery treatment, arrange it when you’ve got drying time to spare. The outside can feel dry while there’s still water somewhere a cloth won’t reach. That’s an unhelpful discovery when you’re trying to light it for dinner.
While cleaning around folding supports, check any that have become loose or bent. A damaged support is easier to spot with the stove on a bench than with a full pot balancing on it at camp.
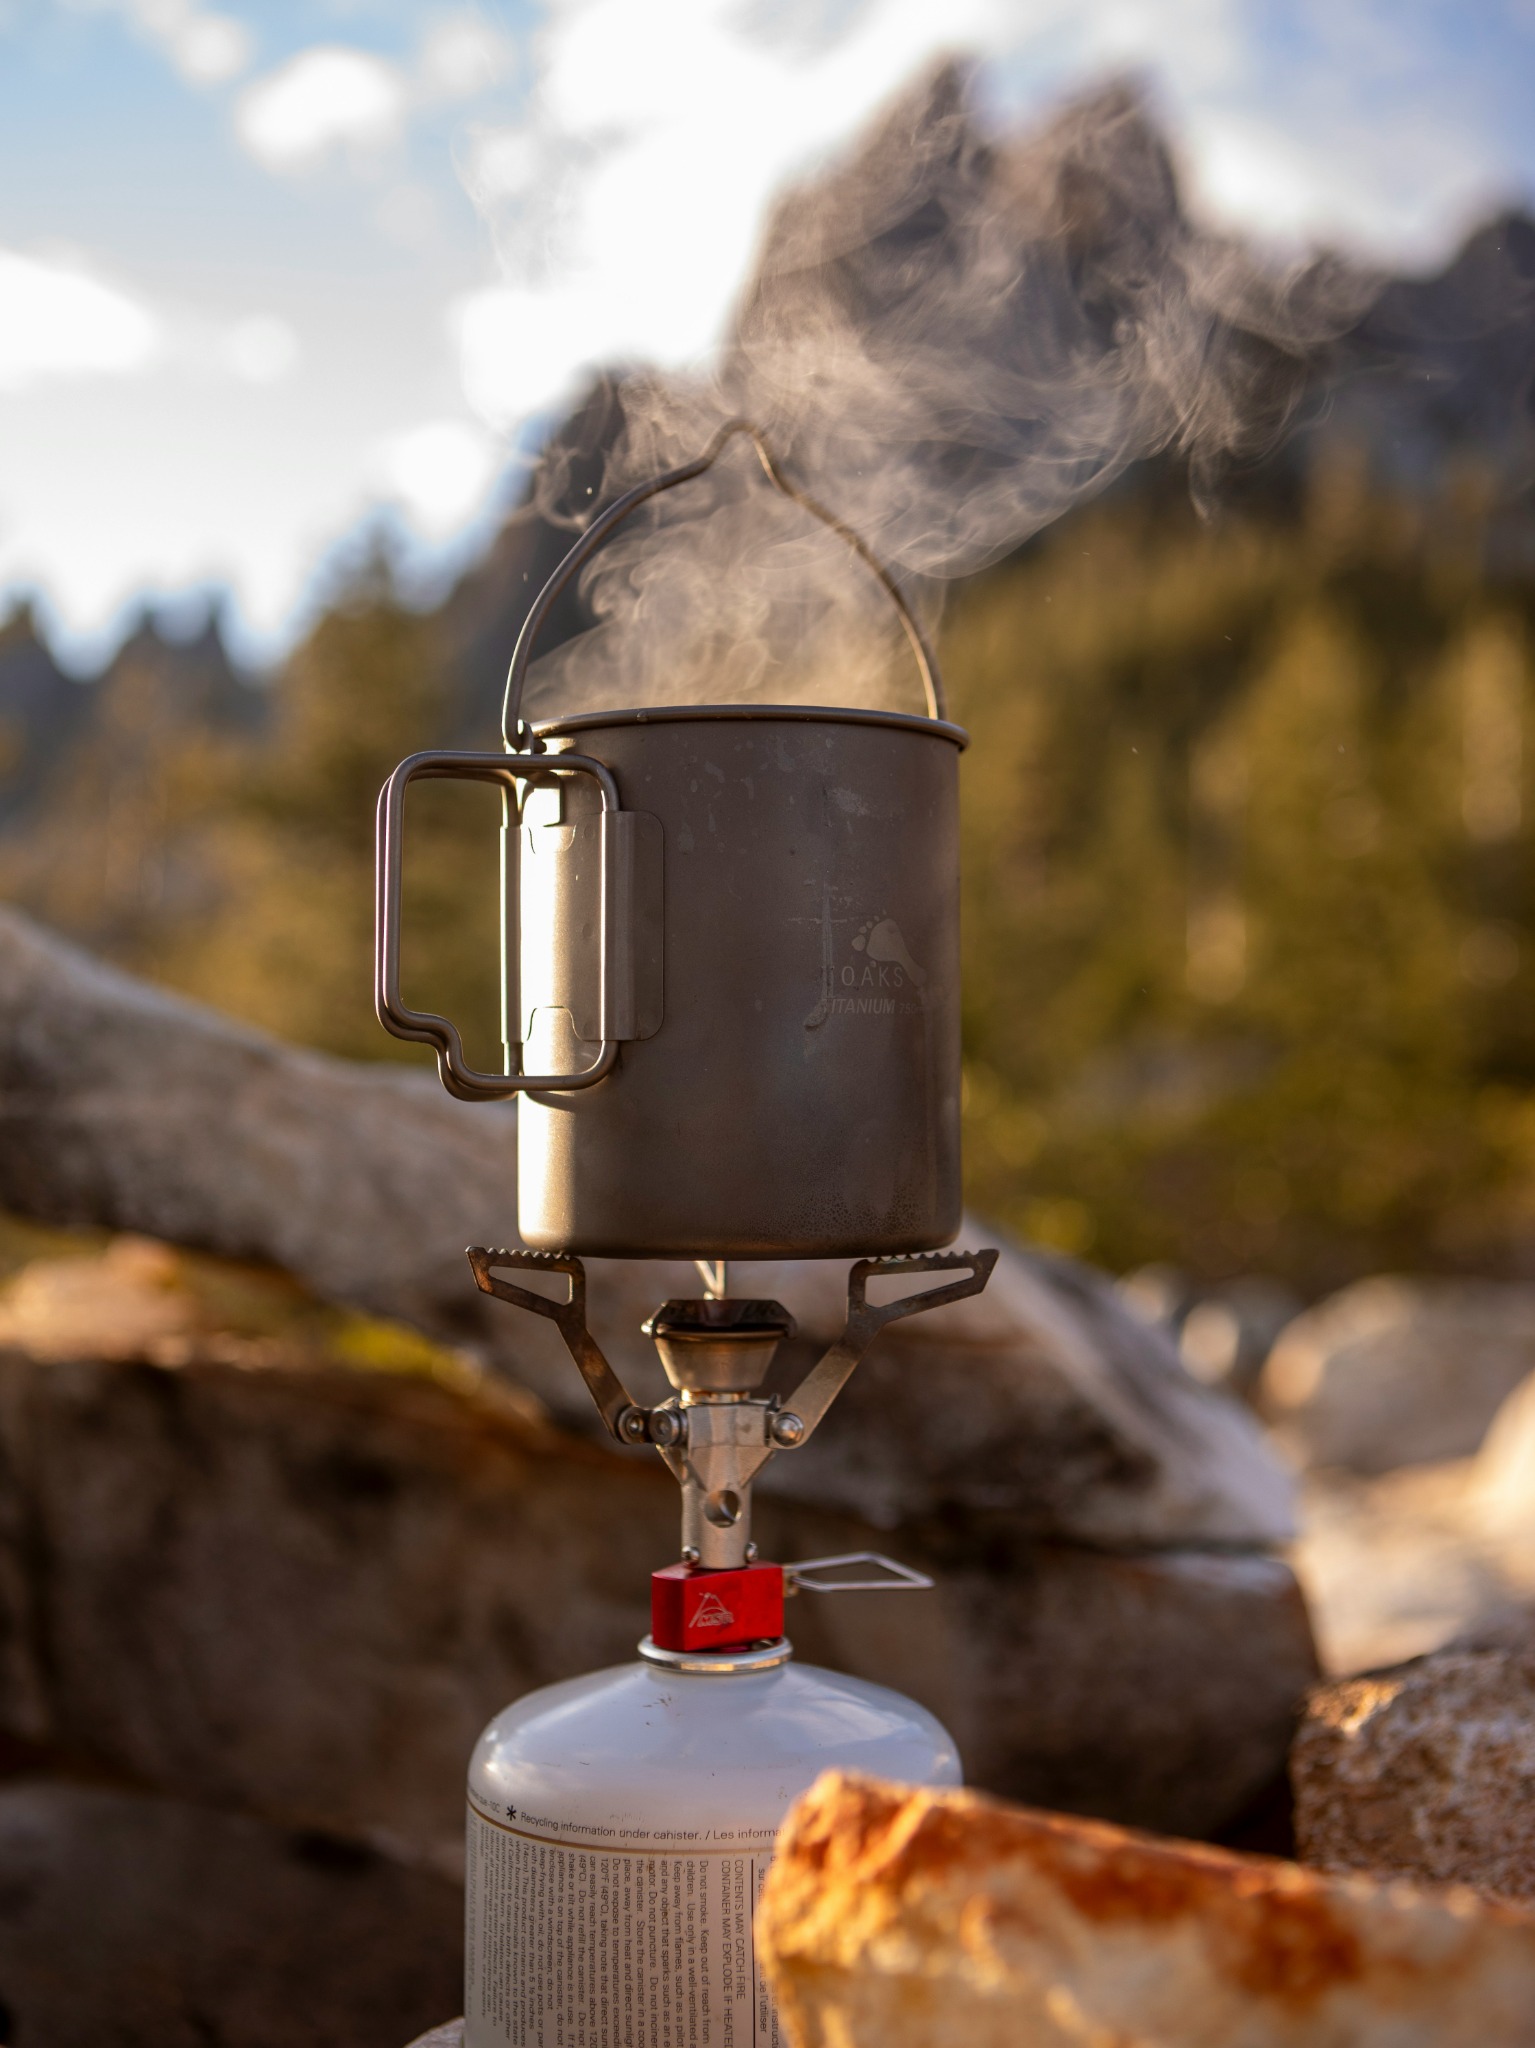
Sticky pots and heat-exchanger cups
The burner may be fine while the cooking cup is becoming a nuisance. Narrow pots are awkward to scrub, and a heat exchanger gives spilled food more places to lodge underneath. It’s one reason a water-boiling system can become frustrating if you regularly cook sticky meals in it.
For a Jetboil vessel, the manufacturer suggests boiling three parts water to one part white vinegar for a few minutes, staying within the marked fill limit, then using a non-metallic pad. A paste of bicarbonate of soda and water is another option it lists. It advises against dishwashers and powdered detergents containing lye, which can damage the surface.[10]
That treatment is for the pot, with the burner kept out of the washing-up water. Jetboil also recommends low-abrasion cleaning for its anodised aluminium cookware, so leave the steel scourer for a suitable pan at home.[10]
Our Flash 1L review describes the compromise well: a tidy, fast water boiler with very limited simmer control and a narrow cup. You can clean burnt porridge out of one, but if that’s becoming a regular evening activity, a wider pot and a more controllable burner would make cooking easier.
When the igniter gives up
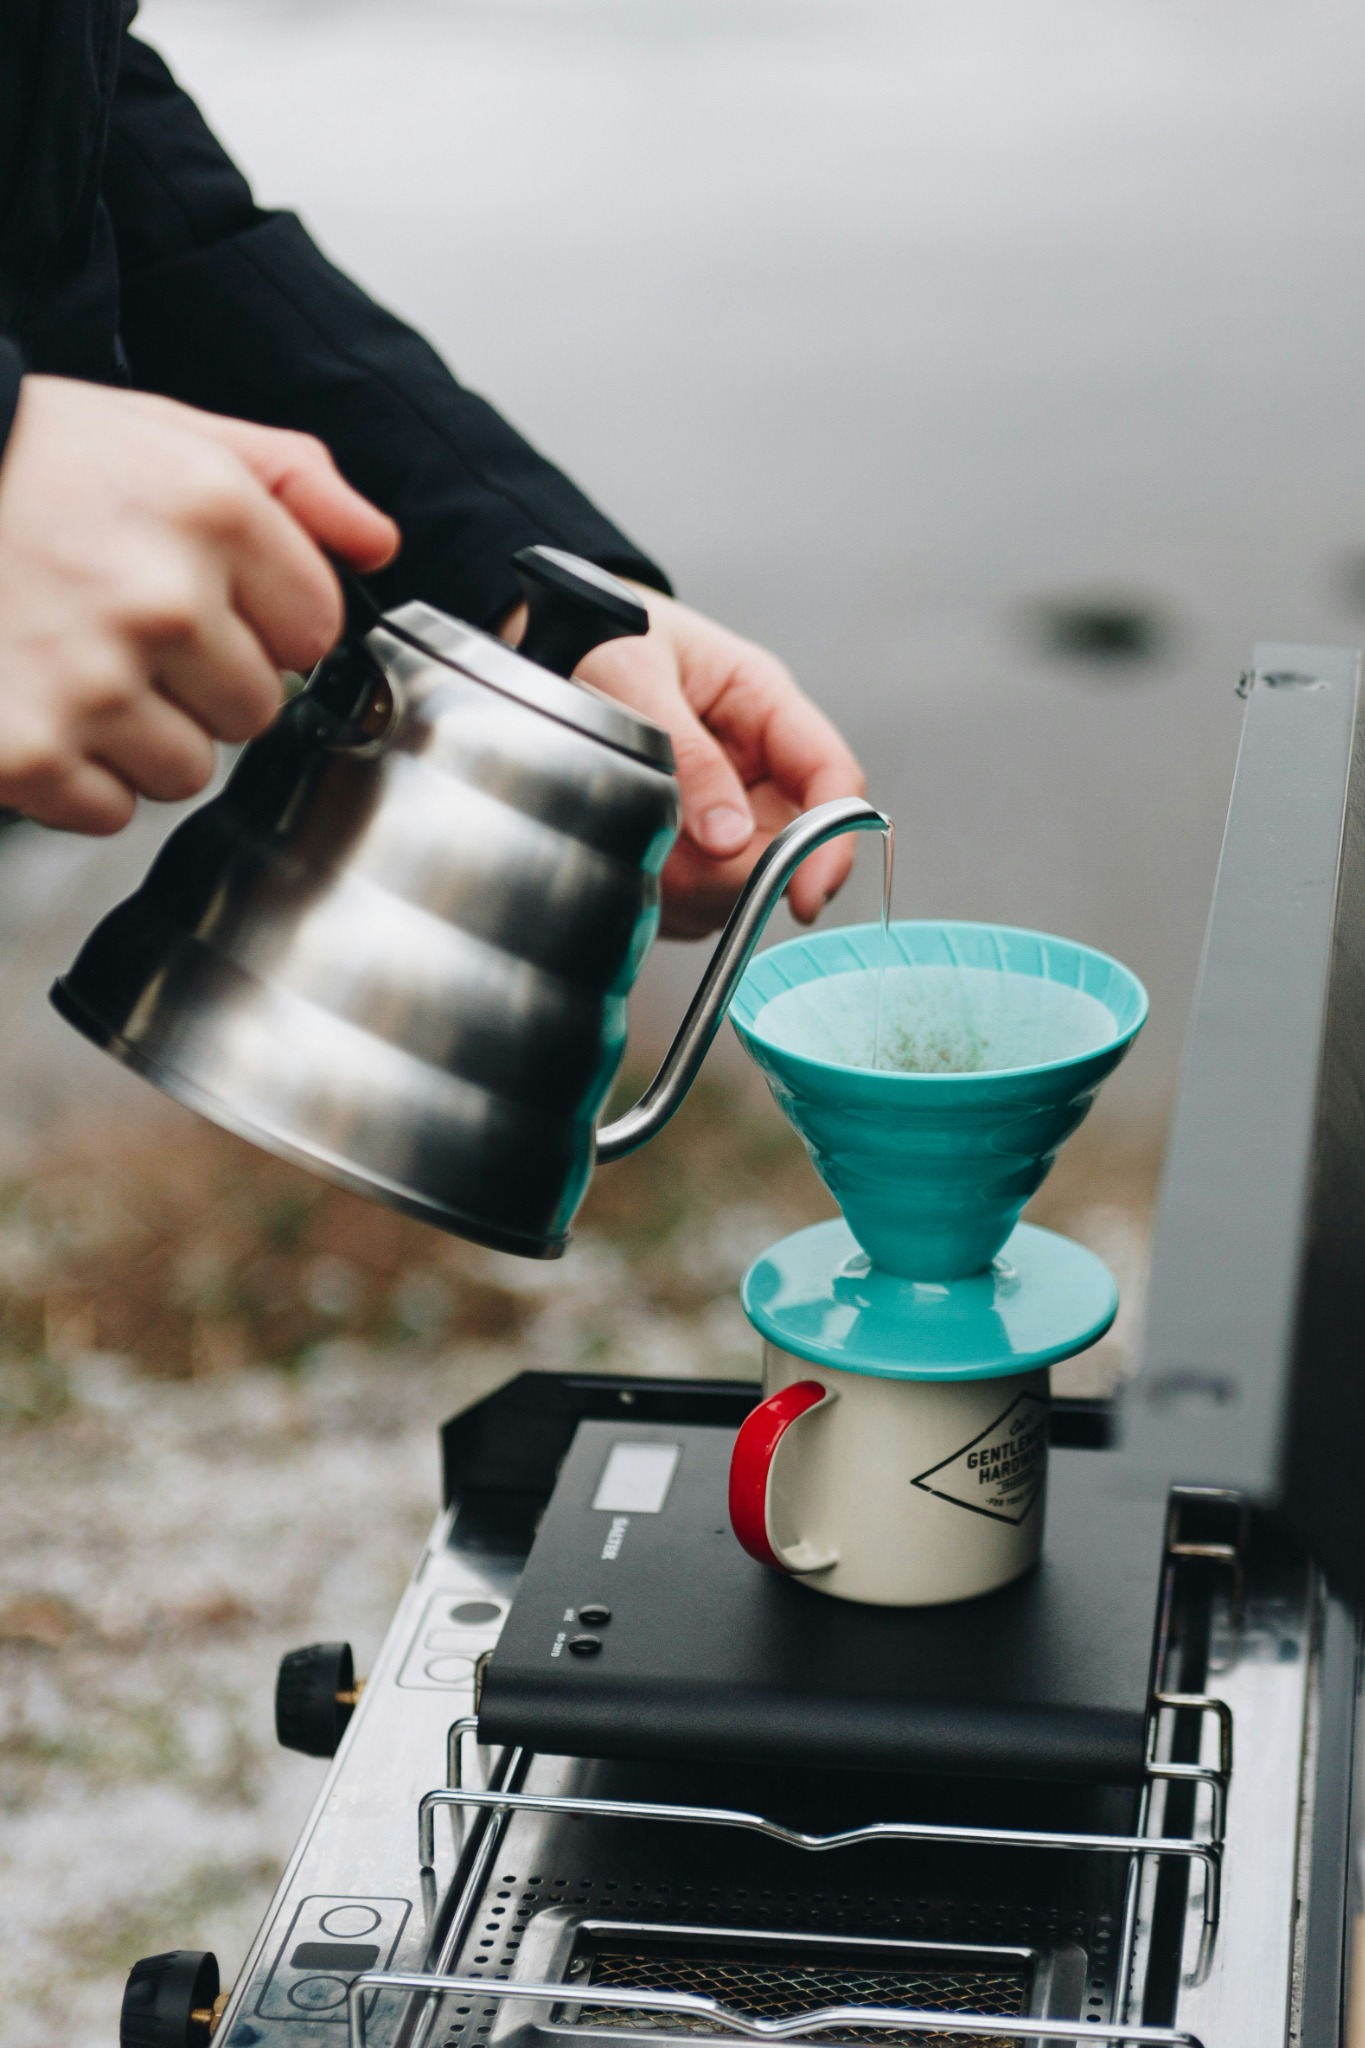
The built-in igniter is often the first thing to become temperamental. That happened with the Flash, Genesis Basecamp and Everest in our reviews, while a separate lighter still allowed cooking. I’d carry one even if the piezo is working perfectly when you leave.
With the stove cold and fuel disconnected, have a look for food or dampness around the electrode and damage to its ceramic insulation. Clean gently and give it time to dry. The gap and position are specific to the burner, so bending it to match advice for a different stove can create another fault.
Gas flow can affect ignition too. MSR recommends a low flow, just audible at the burner, for its canister-stove piezos. The Genesis manual uses a full-flow lighting sequence. Those are different starting points, which is why winding every stove fully open isn’t a useful general fix.[11] [7]
If it still won’t spark, close the gas and observe the model’s waiting time before another attempt. Use a lighter only through its permitted manual-lighting procedure. MSR directs owners with a failed piezo to its support team for replacement rather than an internal repair.[11] You can then sort the igniter at home without making it the reason a trip loses its cooking stove.
A weak flame doesn’t always mean a blockage
A stove that boils quickly at first and then slows down can send you looking for a fault that isn’t in the burner. As a gas canister gets colder, its pressure and output can fall. Jetboil notes that this can also make piezo ignition harder.[10] Fuel level is worth checking before you take anything apart.
The Coastal Range Backpacker review describes reduced output near freezing and with a nearly empty canister. If you recognise that pattern, concentrate on the fuel supply and operating conditions before deciding the jet needs cleaning. Don’t try to recover pressure by heating a canister with a flame or enclosing it beside the burner.
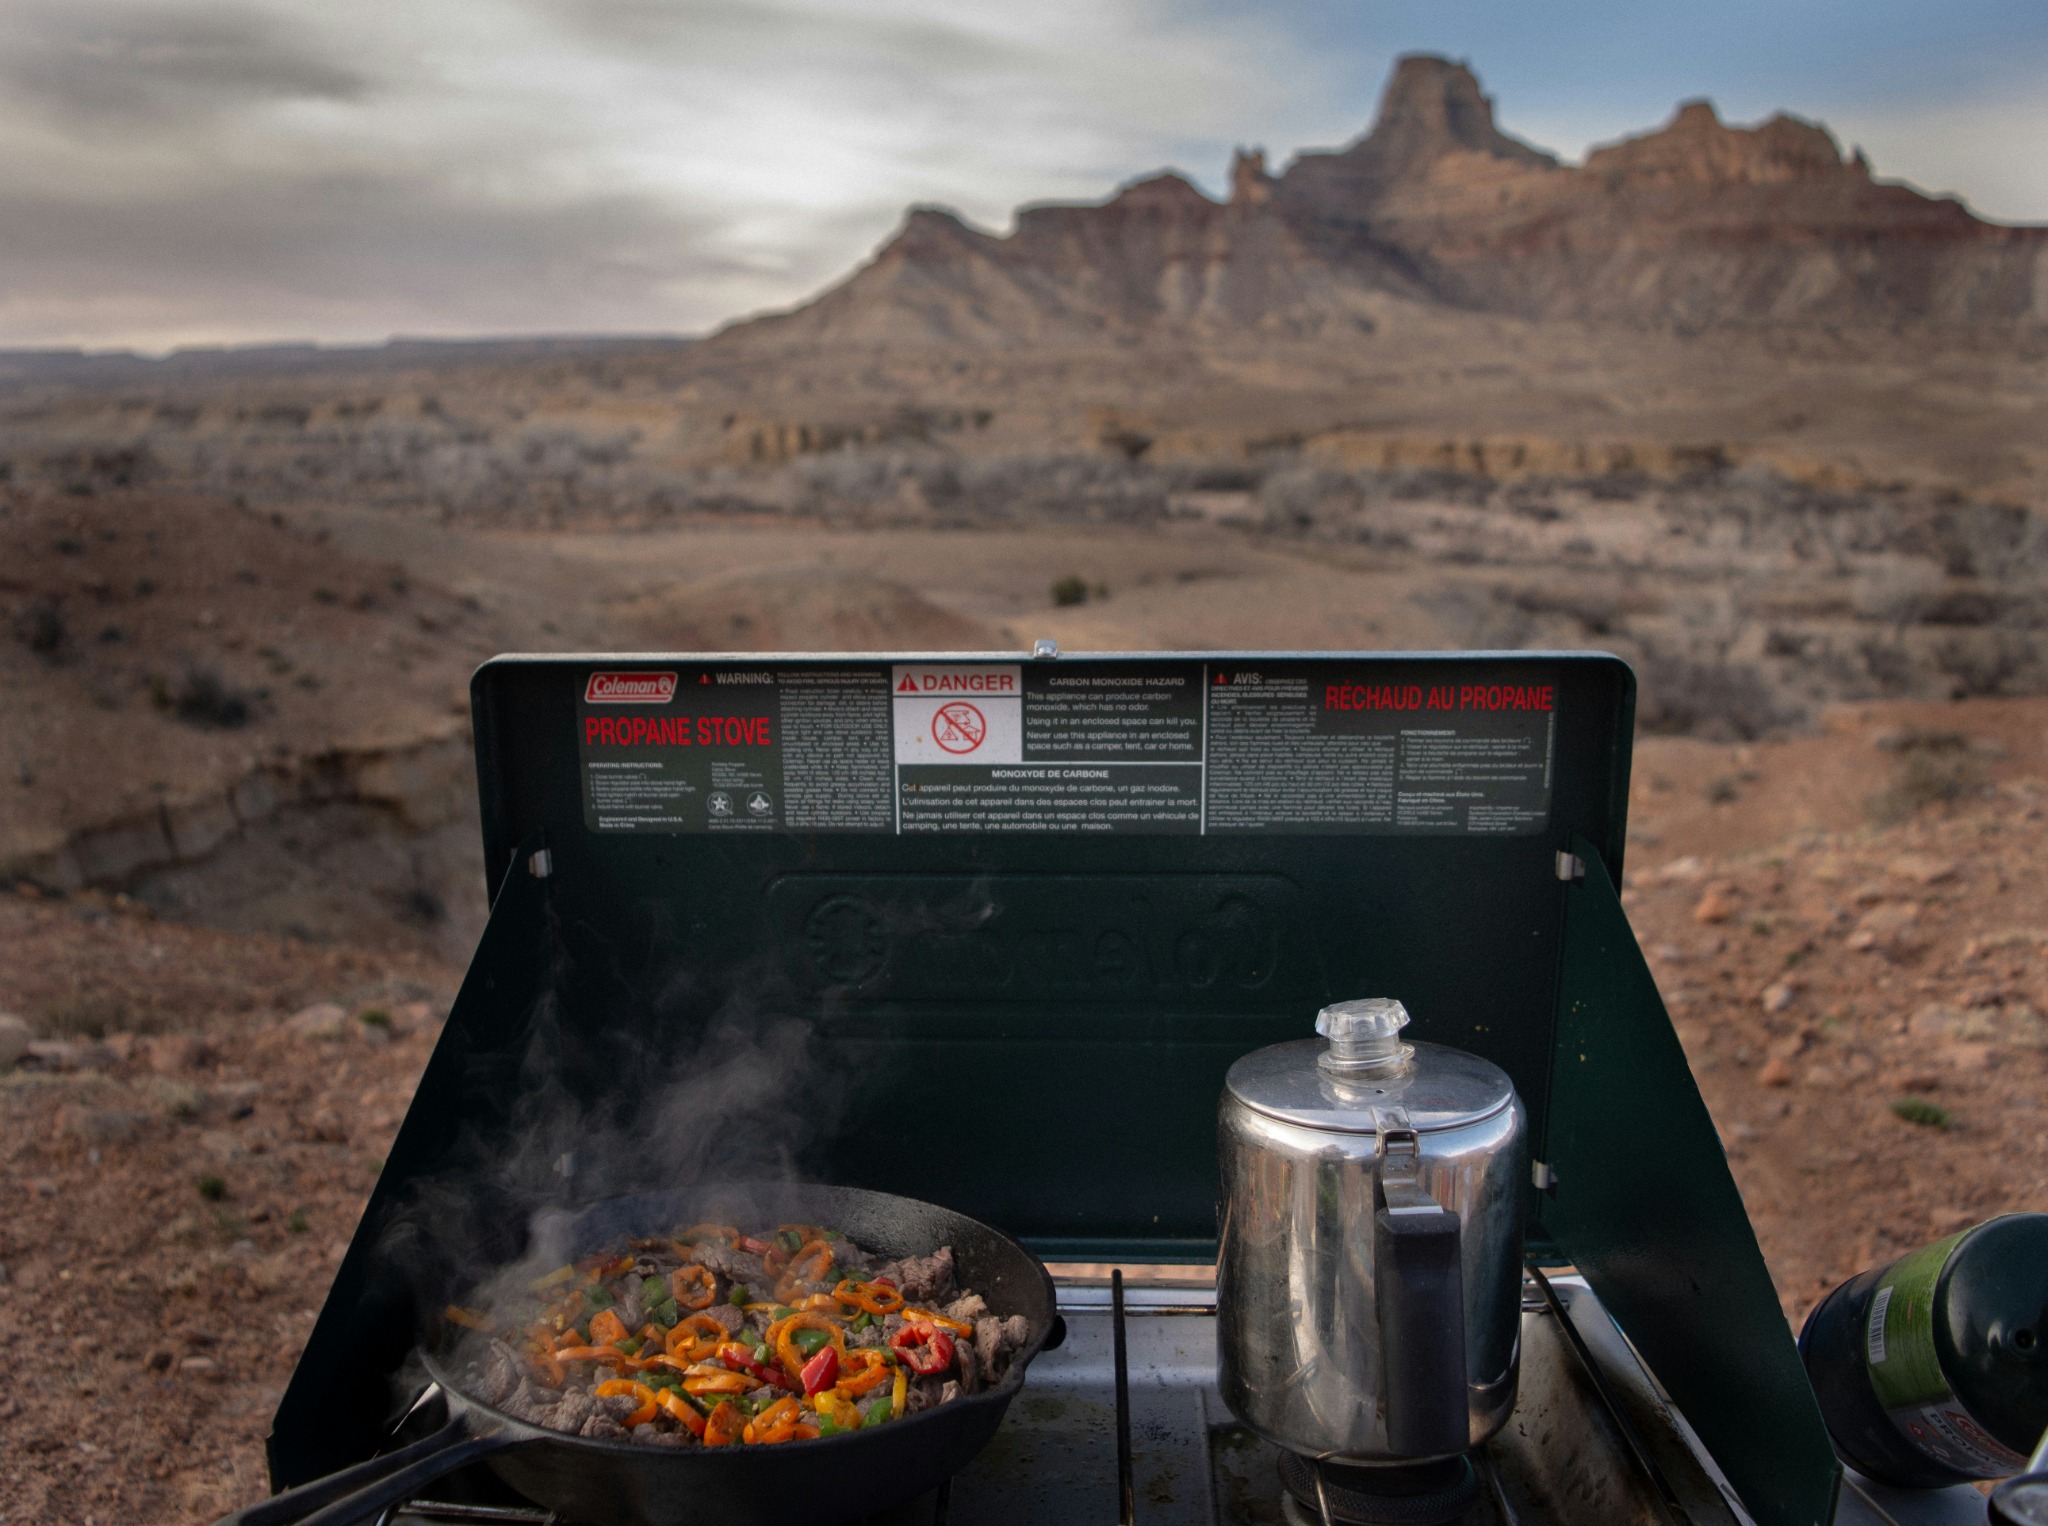
A persistent yellow or uneven flame on a gas cooker can point towards restricted airflow. Camp Chef identifies blocked air-mixing tubes and burner ports as possible causes. After cooling and disconnecting the fuel, clean the accessible passages using its stated method.[12] [2]
There’s an easy detail to misread here: Camp Chef allows a paperclip in the holes on top of its burners. Those are burner ports. The jet is a separate, precisely sized opening, and pushing improvised wire through it can damage it.[2] If cleaning and the fuel-supply checks don’t restore normal operation, or the flame appears somewhere it shouldn’t, stop using the stove and have it serviced.
Clearing a liquid-fuel jet
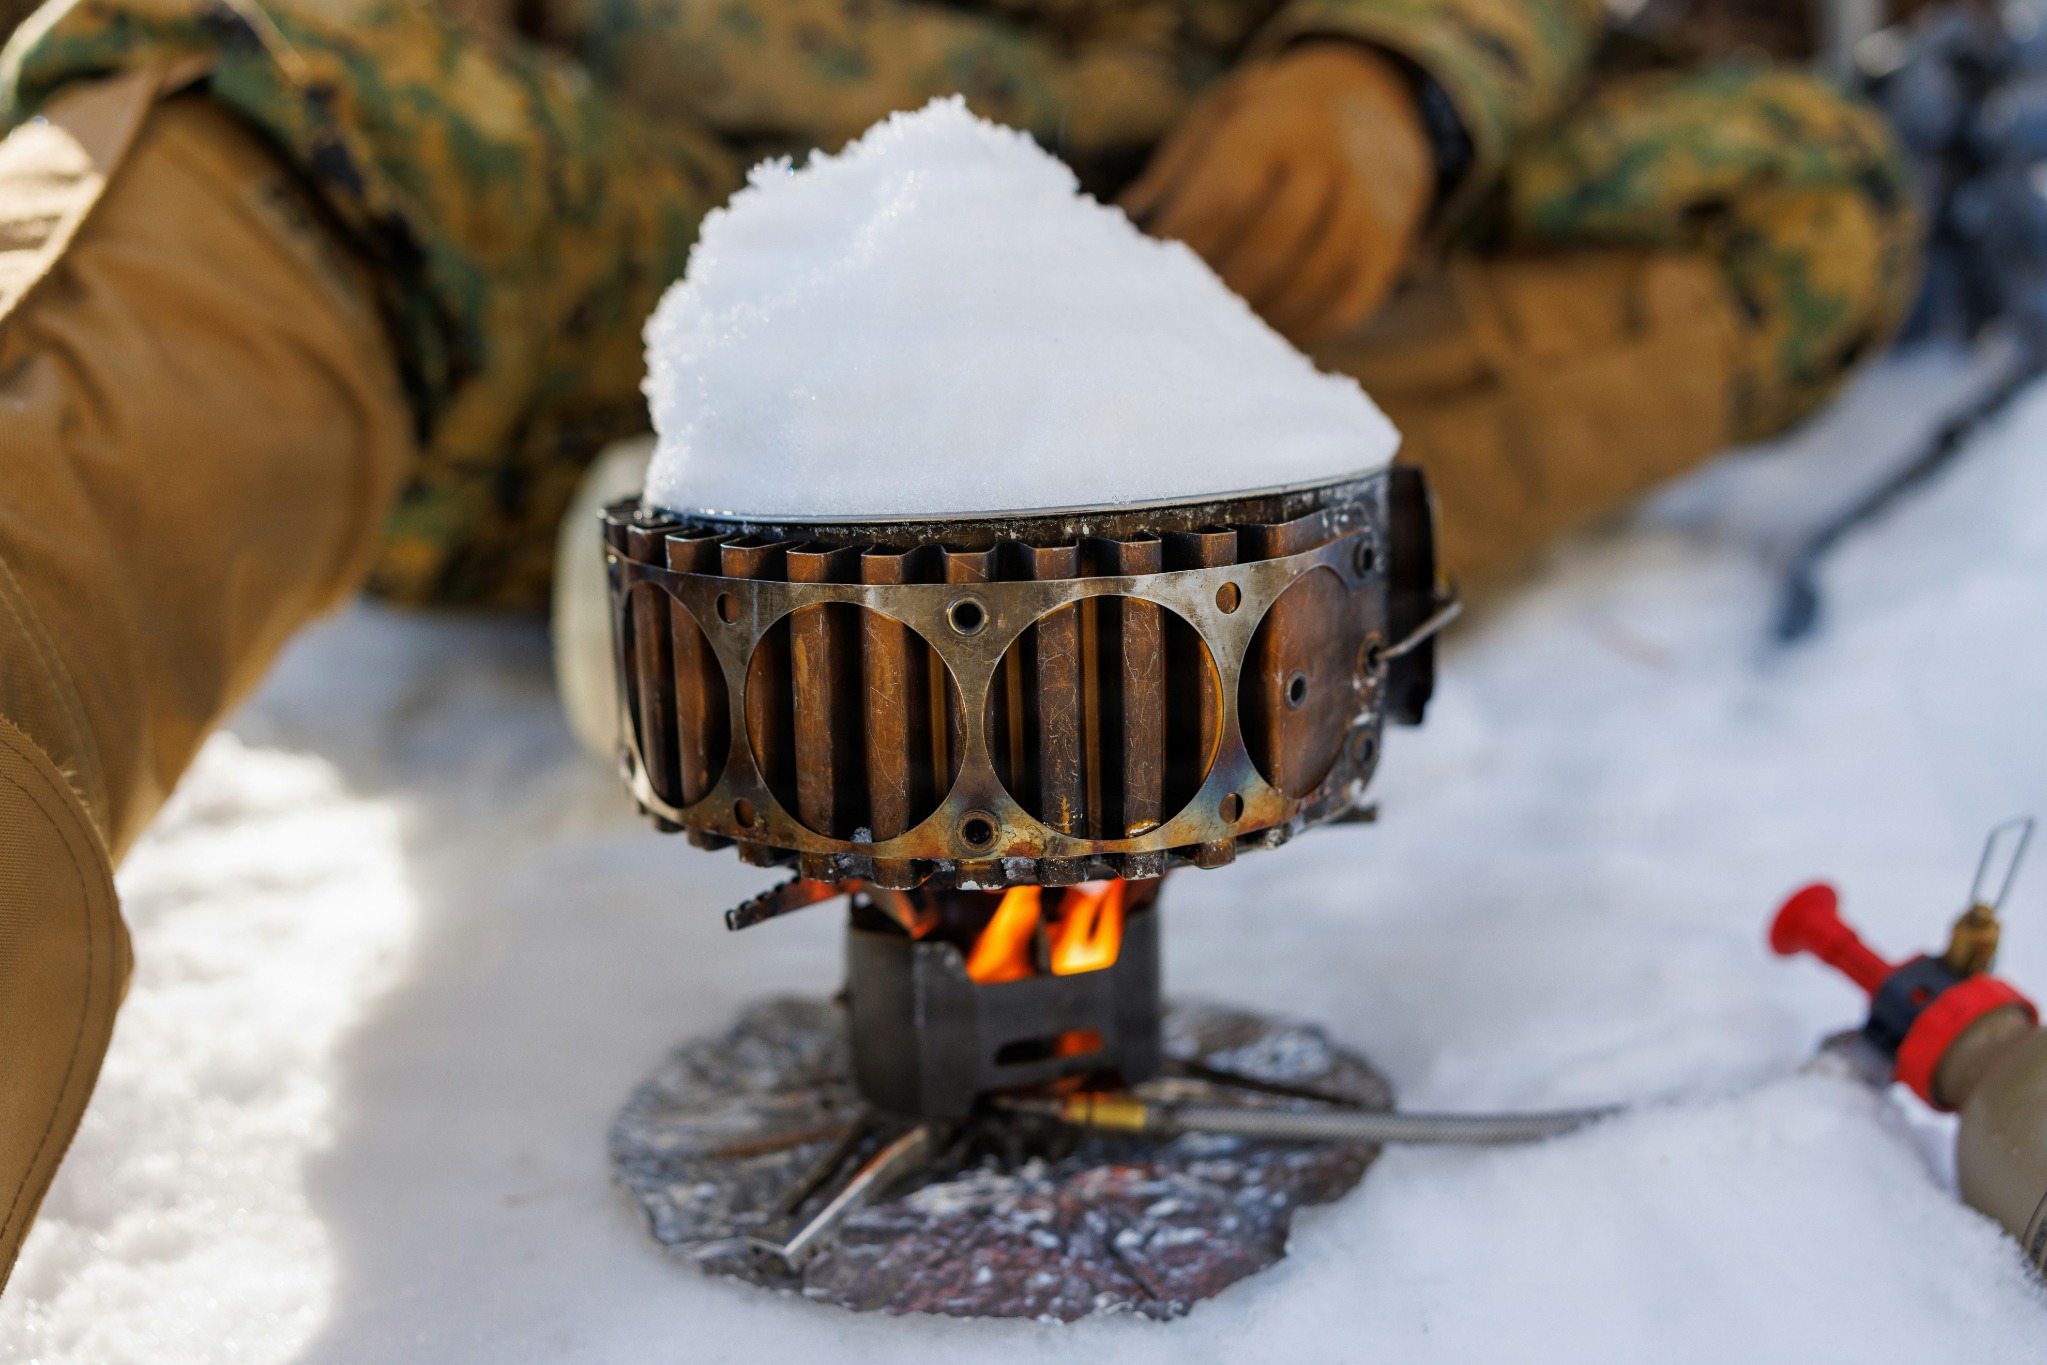
With a serviceable liquid-fuel stove, cleaning the jet is part of ownership. The fuel and hours of use influence how often you’ll need to do it, which explains MSR’s shorter intervals for dirtier kerosene compared with white gas.
On the WhisperLite Universal, the Shaker Jet gives you a quick first step before dismantling anything. MSR says to close the pump control valve, let the stove cool for at least five minutes and shake it up and down so the cleaning needle rattles. Any subsequent lighting still needs the normal preheating sequence.[5]
If that doesn’t clear it, the manual describes folding the legs, removing the priming cup and wick, and withdrawing the fuel line to reach the jet with the Jet and Cable Tool. Support the assembly so you don’t bend the generator tube. The supplied Shaker Needle clears the removed jet; fuel-line cleaning is a further procedure covered in the illustrated instructions.[5]
The replacement jet needs to match the fuel as well as the stove. Primus specifies 0.45mm for gas, 0.37mm for white gas and 0.25mm for kerosene or diesel on the OmniFuel. The OmniLite Ti uses 0.36mm, 0.32mm and 0.25mm respectively. Similar-looking parts can therefore give you a different opening. Primus specifies its cleaning needle or compressed air for a removed jet.[13]
I’d do the first strip-down at home, with the diagram open and the parts on a tray. The small Shaker Needle is easy to lose as you remove the jet, so it helps to be familiar with where it sits.
A pump that won’t build pressure
If pumping produces very little resistance, a dry or worn pump cup is one place to investigate. For current MSR liquid-fuel pumps, the maintenance guide describes drawing the plunger to its marked opening position, turning it a quarter-turn anticlockwise and withdrawing it. A dry, undamaged cup gets MSR Pump Cup Oil; a cracked one needs replacing. Follow the illustrated reassembly so the cup seats properly.[4]
Cracked or burnt pump housings need replacement too. MSR also identifies older grey-bodied and round-metal-control pumps as obsolete designs to upgrade.[4] That’s worth checking before spending time and money trying to revive an old pump with fresh seals.
The lubricant needs to suit the part. MSR specifies Pump Cup Oil on the brass liquid-fuel connector as well, to protect the O-ring during insertion.[14] An aerosol penetrating oil or whatever grease happens to be in the toolbox isn’t an equivalent choice.
O-ring dimensions are just as specific. Primus’s P732440 kit includes nitrile Lindal-valve rings in 8 x 2mm and 6.02 x 2.62mm sizes for different generations.[15] They may look close enough in a photograph, but the cross-section and material affect whether they fit and handle fuel correctly. Order against the model and part location; tape or stacked rings won’t correct a damaged sealing surface.
On a small canister stove, MSR recommends checking the connector gasket for cuts, tears or drying. Gas escaping with the control closed needs its support team.[9] A pump with replaceable O-rings doesn’t mean a sealed gas control can be repaired in the same way.
Leaking connections, hoses and regulators
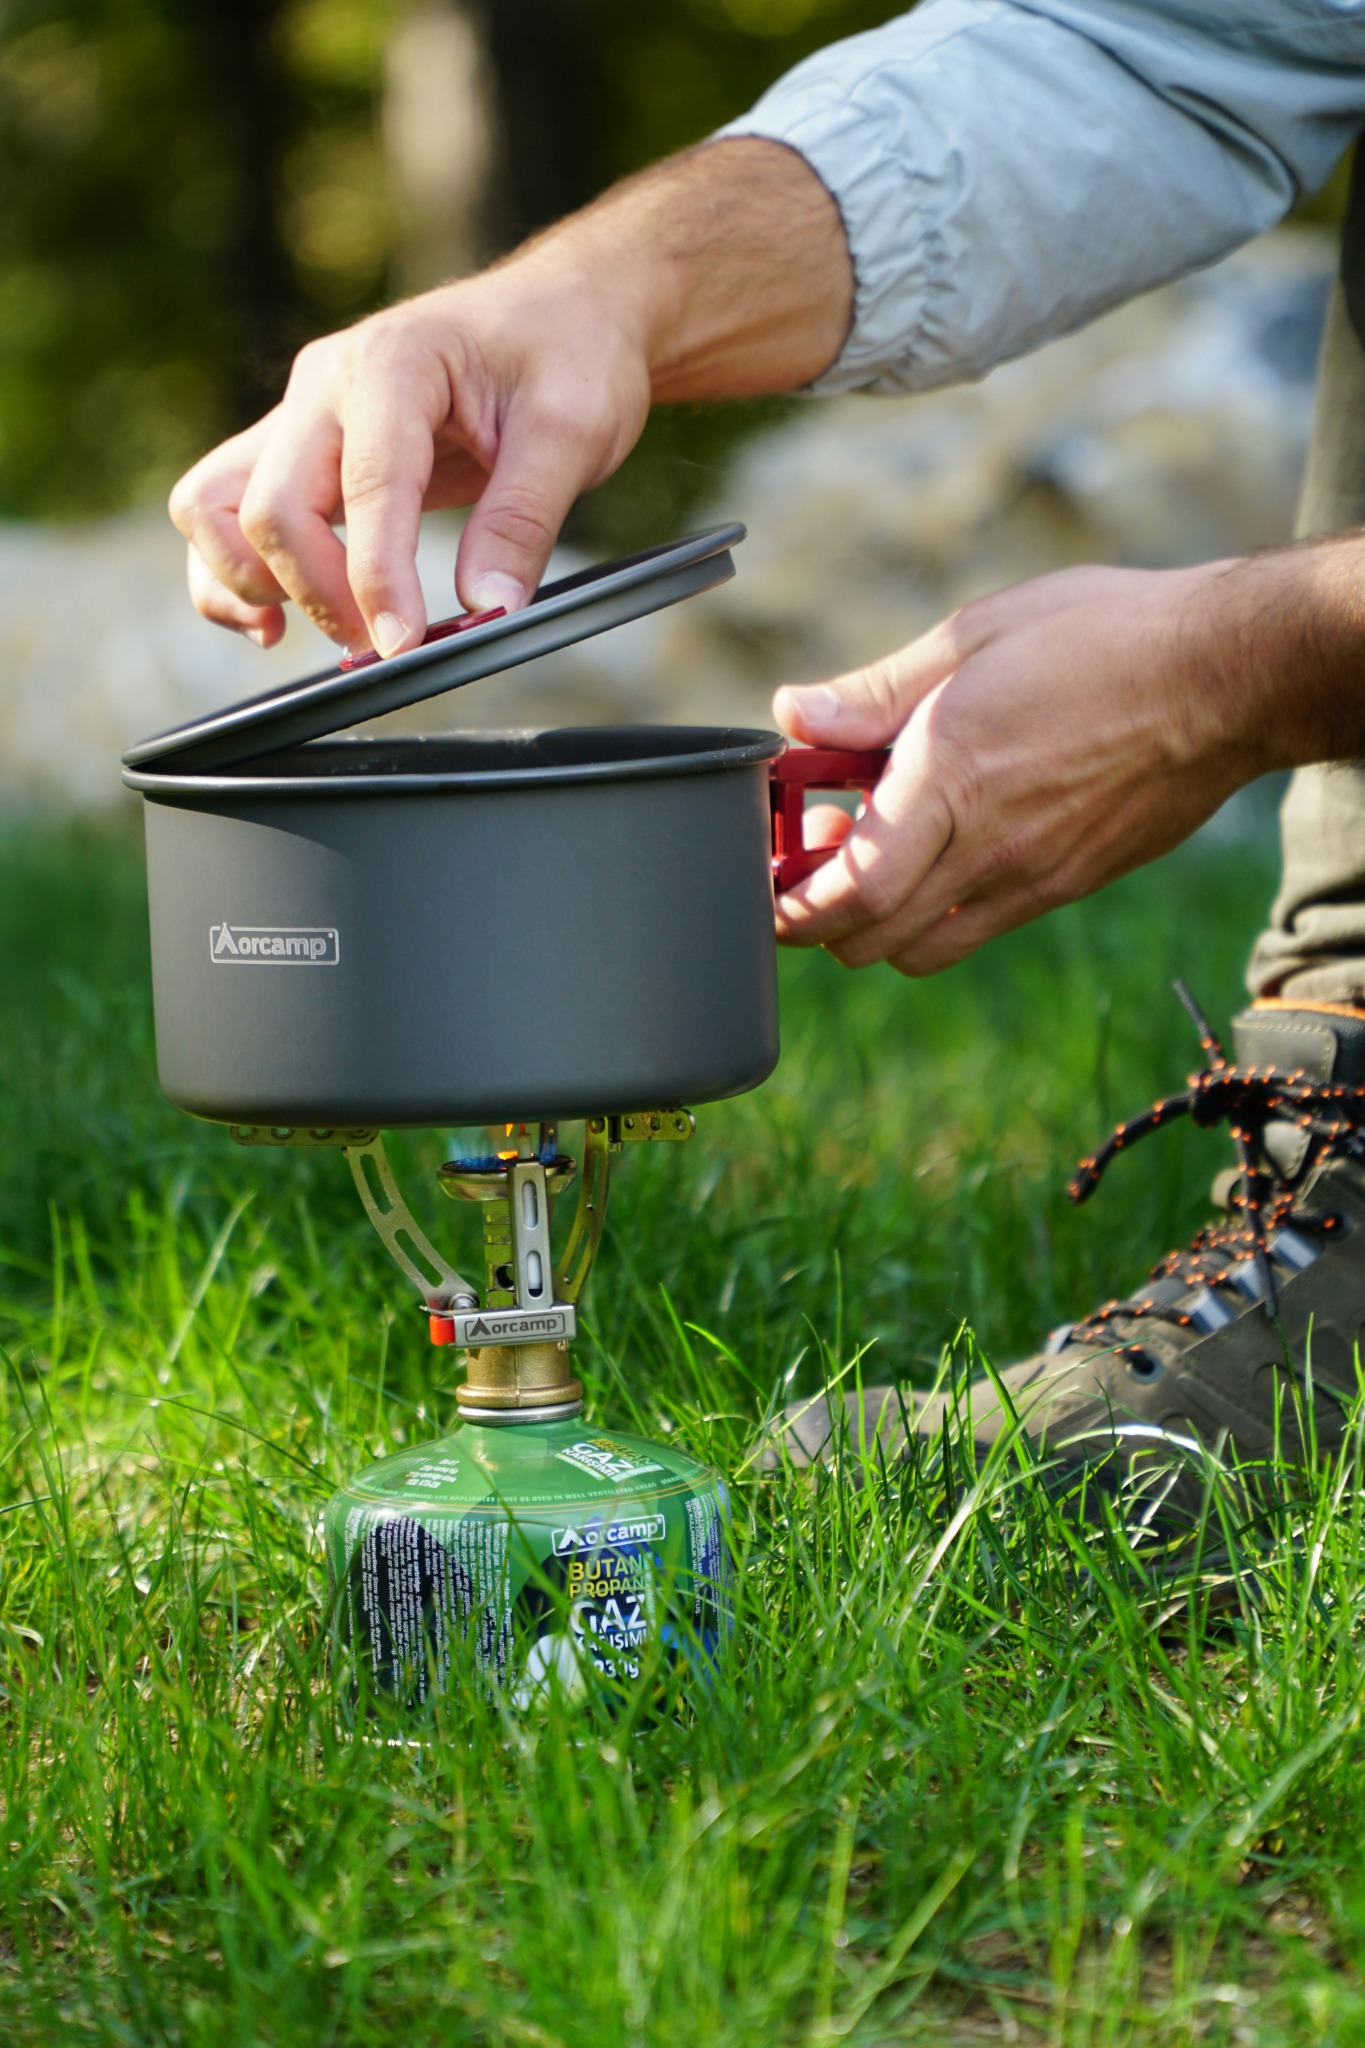
A smell of gas or a continuing hiss with the control closed needs attention before any more lighting attempts. Shut off the supply if safe, keep ignition sources away and follow the manufacturer’s fault procedure. Connection tests belong outdoors with the stove cold.
For the Genesis, Jetboil specifies soapy water at the regulator-to-stove and cylinder-to-regulator joints. Bubbles that grow reveal escaping gas. If either connection leaks, don’t light it; detach the fuel when safe and contact support. Never test for a leak with a flame.[7]
A replacement hose or regulator has to match the cooker and fuel system. Treat it as a complete specified part rather than adjusting a regulator to cure weak output or making an adapter fit. If you’re buying a used stove, check that the original fuel assembly is present and that the correct replacement is available.
The older Camp Chef regulator recall
There’s a specific label check for some older Camp Chef cookers. Its recall covers models MS40A, MSHP and MSGG paired with regulator date codes 1923 through 2030 inclusive. The model is on the underside of the stove and the code is engraved on the regulator. The CPSC recall, dated 16 December 2020, tells owners of affected combinations to stop using them and obtain Camp Chef’s free replacement regulator. You need both identifiers; the Everest name alone doesn’t establish whether a stove is affected.[16] [17]
Heat damage and damp storage
Trying to improve a stove’s performance can sometimes cause the damage. A close windscreen around an upright canister may protect the flame while trapping heat around the fuel. MSR warns that this can cause overheating, leaks or an explosion. Use only the screen arrangement approved for the model; a remote-fuel setup is different from a burner sitting directly on its canister.[18]
Keep within the permitted pan size and avoid heating empty cookware. Cooking and flame tests also need to stay outdoors, away from tent interiors, enclosed porches and vehicles because of the carbon-monoxide risk.[5]
Back at home, drying deserves as much time as washing. Water can sit in the corners of a cooker or inside a component that feels dry outside. Coleman warns that trapped moisture can cause rust and interfere with operation.[6] Leave washed parts open until thoroughly dry before putting the stove back in its case.
The Genesis manual recommends dry storage in a sealed bag, with the removable fuel cylinder detached, to keep dust and insects out.[7] For a burner and canister nested inside a cooking cup, Jetboil recommends drying the cup and using a cloth between the metal parts to reduce scratches.[10]
Then give it a run before the next trip. Boil some water outdoors, check the connections and confirm that the stove lights, runs and shuts down normally. A problem found on a Sunday afternoon at home is much easier to sort than the same problem when you’re hungry at camp.
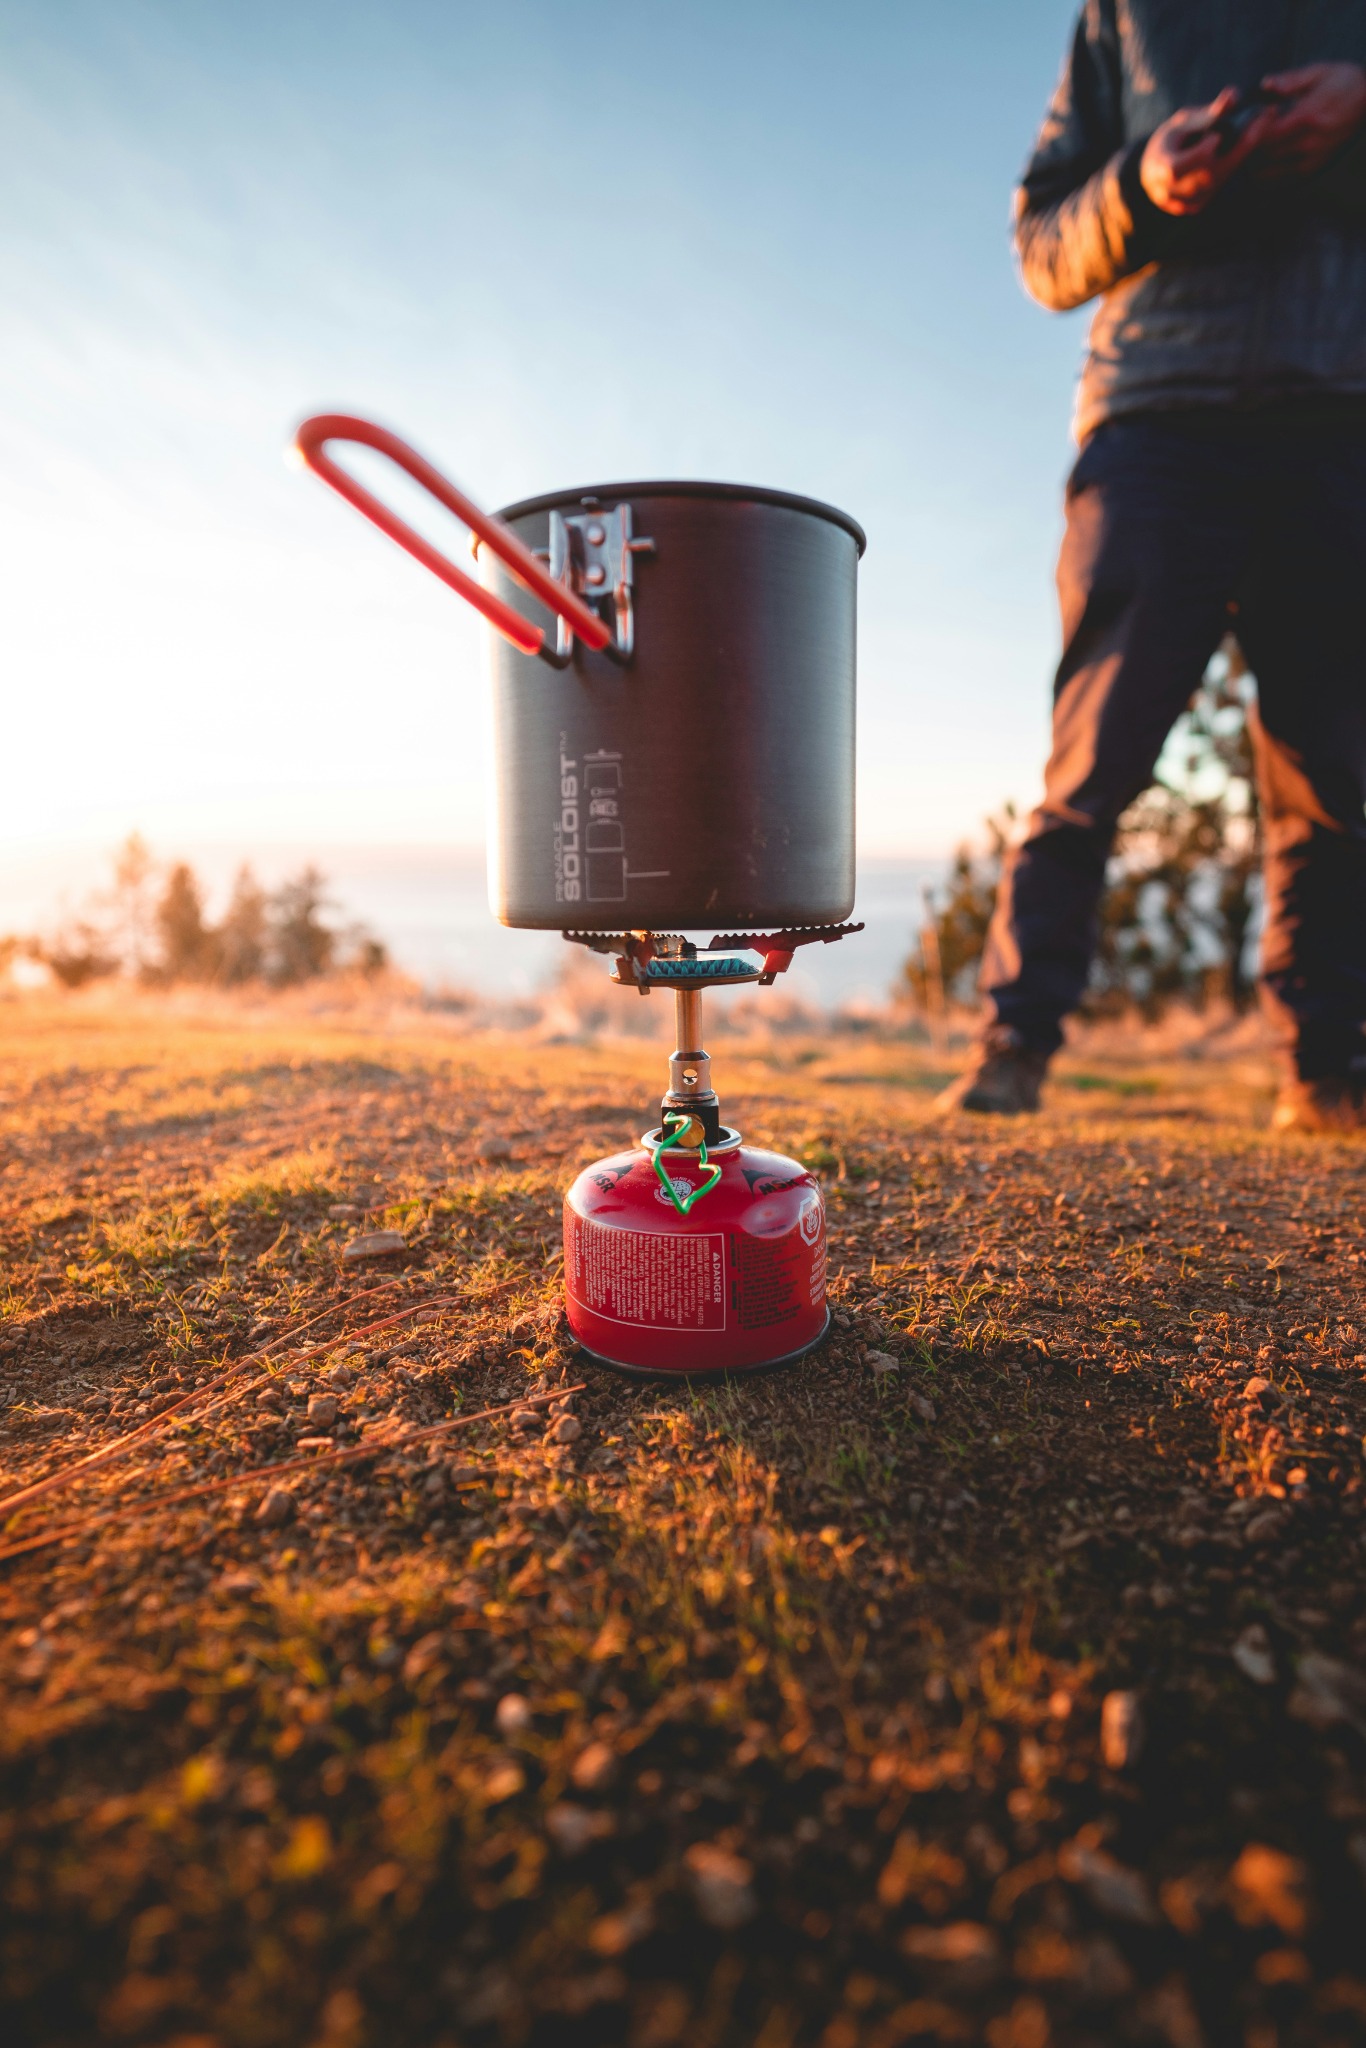
The spares worth carrying
For a longer trip with a liquid-fuel stove, I’d carry its jet tool, spare seals and pump lubricant. MSR offers pump service kits and more extensive, stove-specific expedition kits, so you can choose according to how much servicing you expect to do away from home.[4]
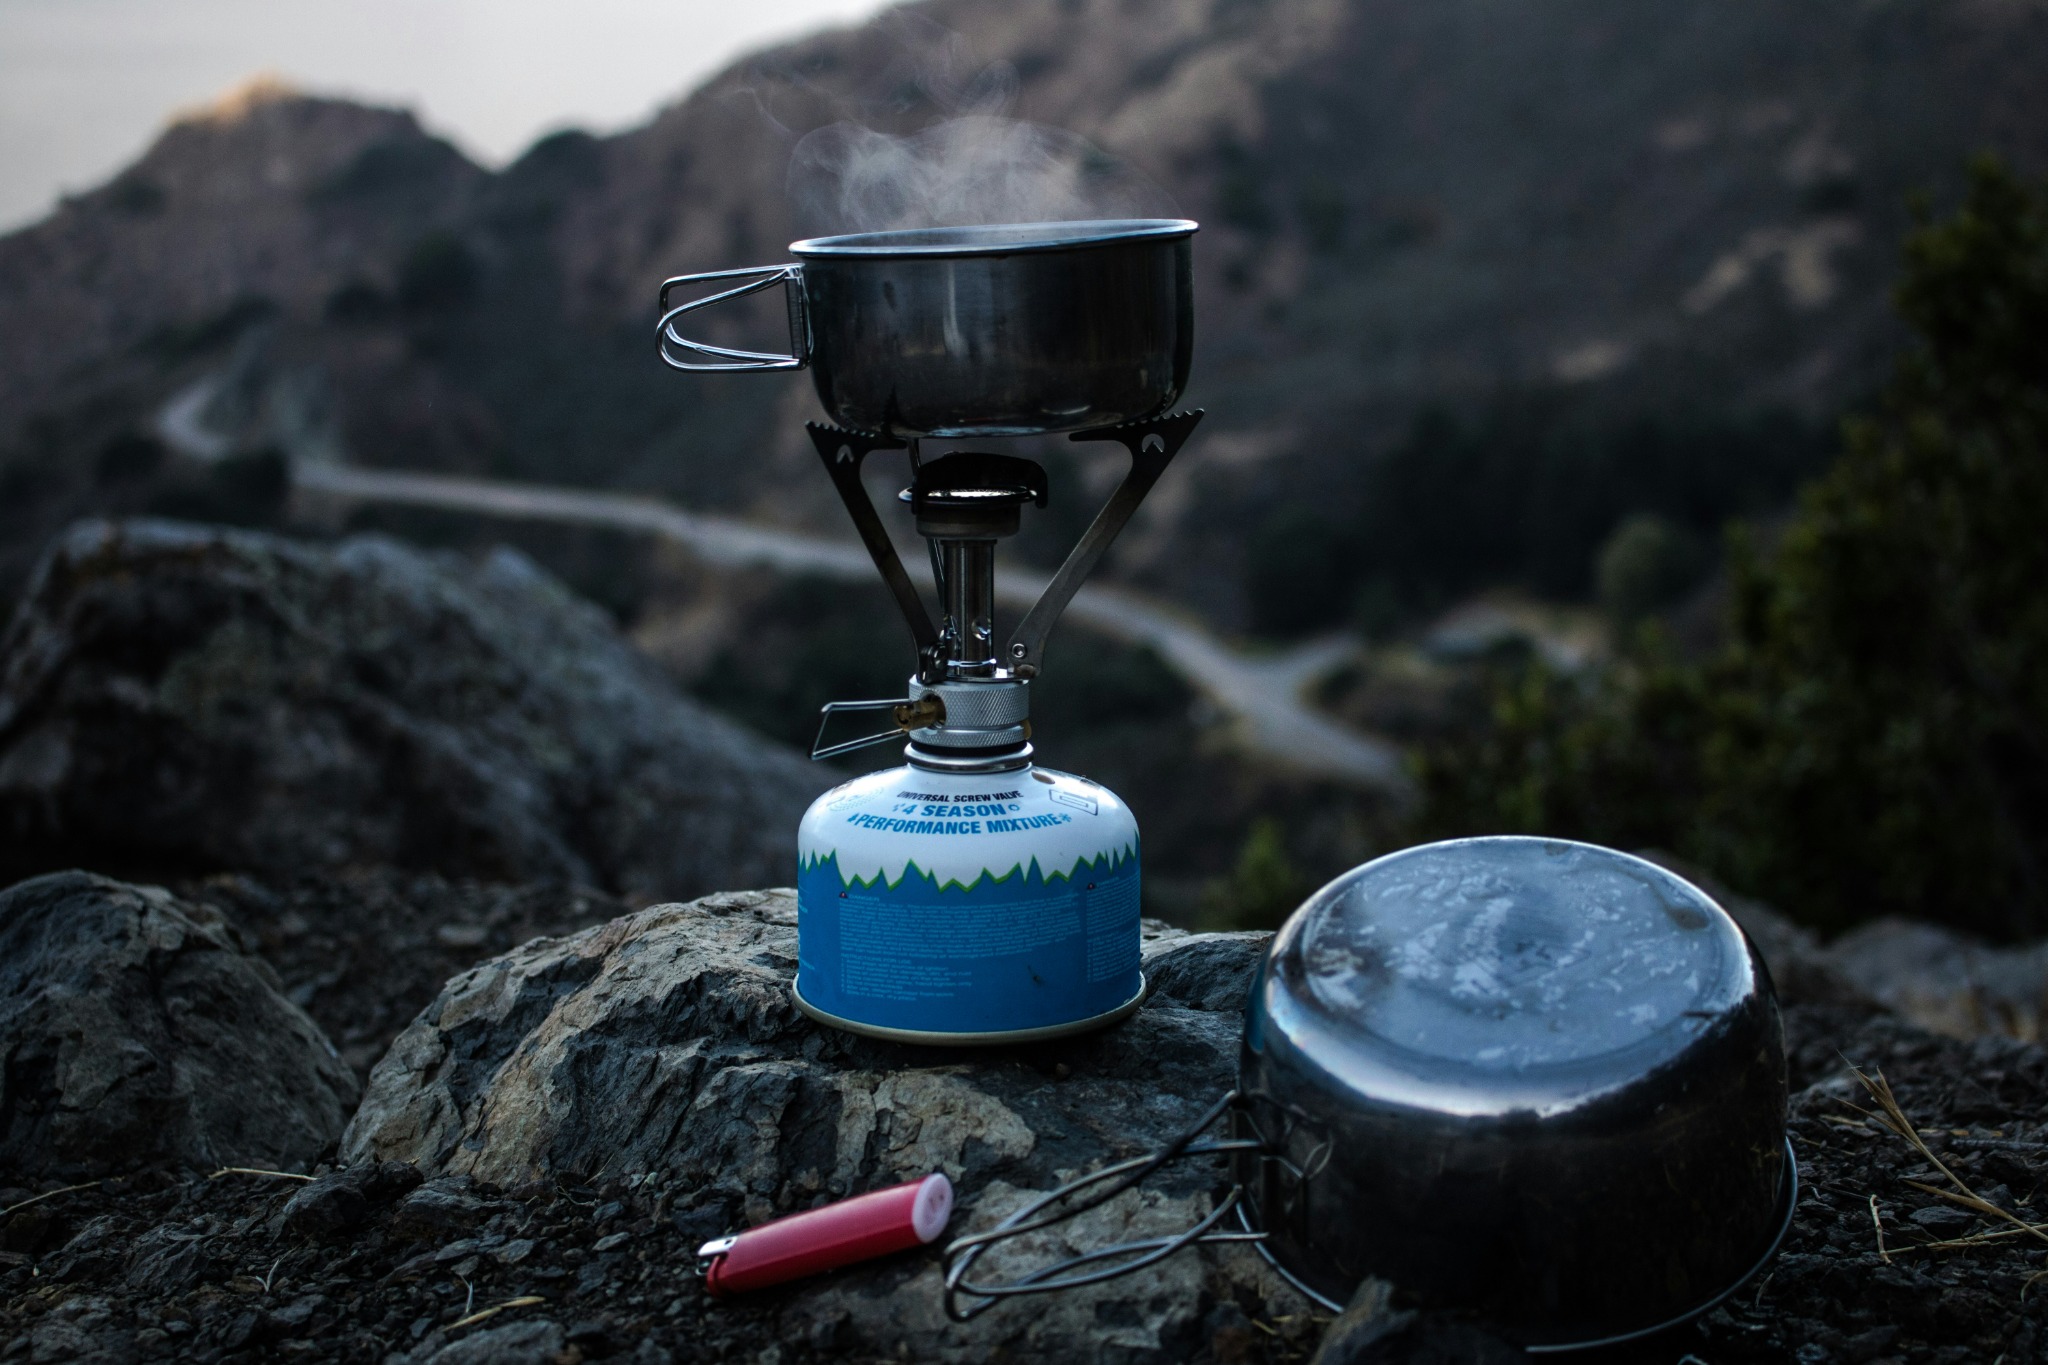
For a small gas burner, a separate lighter may be the most useful backup, provided manual ignition is permitted. The regulator can go back for service if it develops a fault. Our stove reviews give you examples of what went wrong in use, including the igniters that failed while the burners kept working.
If you’re considering a larger cooker, the Genesis and Everest 2X comparison covers the cleaning access and wear that came with their field use. For the stove already in your kit, clearing up after messy cooking, drying it properly and dealing with a change in performance early will save a lot of work later.
Sources and further reading
Manufacturer guidance checked on 2 November 2026.
- Coleman: care and cleaning intervals
- Camp Chef: how to clean your stove
- MSR: fuel-dependent cleaning intervals
- MSR: liquid-fuel pump maintenance and troubleshooting
- MSR: WhisperLite Universal operating and maintenance manual
- Coleman: cleaning and storing a camping stove
- Jetboil: Genesis Basecamp operating and maintenance manual
- Jetboil: burner cleaning guidance
- MSR: stove maintenance and troubleshooting guide
- Jetboil: vessel cleaning, cookware care and cold-weather operation
- MSR: canister-stove piezo ignition troubleshooting
- Camp Chef: low-flame troubleshooting
- Primus: multi-fuel stove troubleshooting and jet sizes
- MSR: lubricating a liquid-fuel connector
- Primus: replacement O-ring dimensions and materials
- Camp Chef: stove and regulator recall identifiers
- US Consumer Product Safety Commission: Camp Chef regulator recall, 16 December 2020
- MSR: canister-stove windscreen restrictions